Installing A Utility Sink In Your Laundry Room
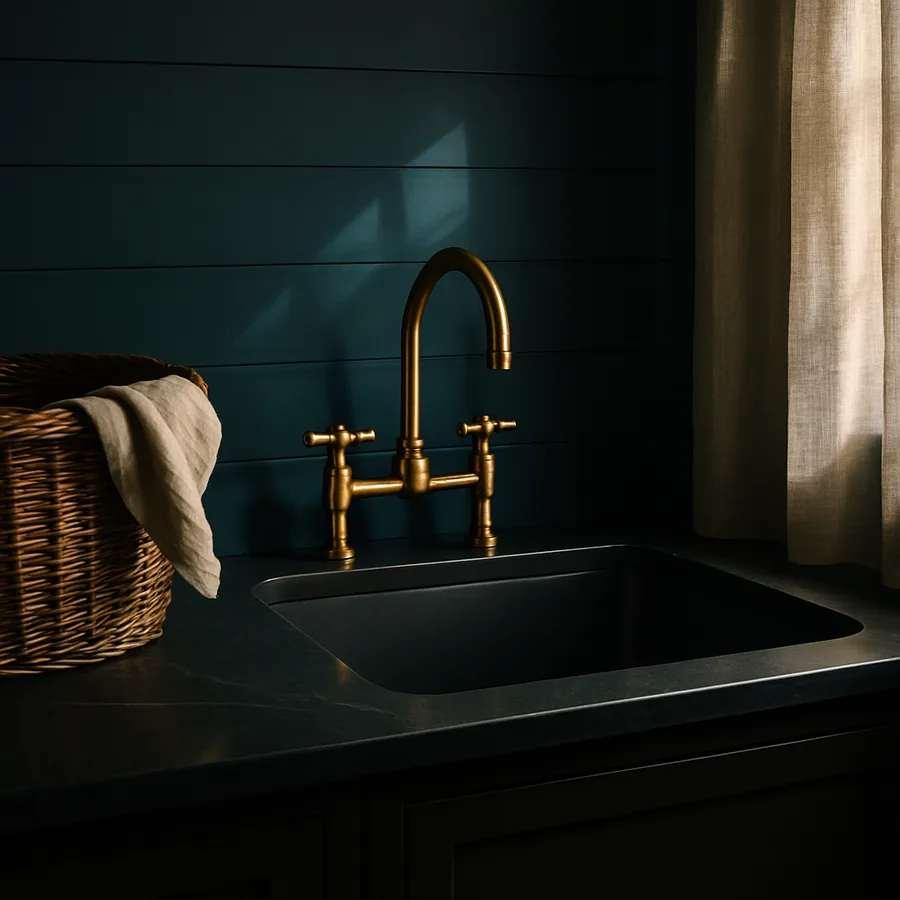
A utility sink in the laundry room ranks among the highest-return home improvements you can make for under four hundred dollars. Realtor surveys from the past three years consistently show that buyers value laundry room upgrades second only to kitchen and primary bathroom renovations, and among laundry upgrades, a proper deep basin sink shows up on nearly every wish list. The reason is practical rather than aesthetic. A utility sink handles the tasks a bathroom sink cannot, including hand-washing stained clothing, rinsing mop heads, filling five-gallon buckets, bathing small dogs, and catching overflow from a leaking washer standpipe.
The install itself is straightforward if you follow the plumbing code applicable in your jurisdiction. Most homes built after 1985 already have a laundry rough-in that includes hot and cold water supply, a P-trap, and a 2-inch drain sized to handle a washer discharge. Tying a utility sink into that existing rough-in usually takes a weekend for a DIYer with basic plumbing experience. The critical details are trap sizing, air gap protection, and drain slope, all of which are governed by the Uniform Plumbing Code in western states and the International Plumbing Code elsewhere. Get those three right and the rest of the install is fittings and patience.
Choose The Sink Style And Location
Utility sinks come in four broad configurations. Freestanding molded polypropylene units at around 100 dollars are the workhorse choice, offering a deep 14 to 16 inch basin on integrated legs. Wall-mounted cast iron or fireclay sinks feel more premium but require solid blocking behind the drywall and cost three to five times as much. Drop-in stainless models install into a laundry countertop but need a supporting cabinet. Finally, cabinet-integrated laundry sinks pair a basin with base cabinetry for storage below, running between 500 and 1,200 dollars installed.
Depth matters more than width for utility applications. A 14-inch basin holds a full 5-gallon bucket without the handle catching under the faucet. A 10-inch basin does not. Confirm the basin depth measurement is inside dimension, not the outside height including the rim. Also check the drain hole size. Most laundry sinks use a 1.5-inch drain, but a few budget models still ship with a 1.25-inch drain, which will restrict flow and clog faster with lint.
Location within the room comes down to proximity to existing plumbing. Ideally the sink sits within four feet of the washer standpipe and supply valves. Any farther and you are extending drain lines, which means opening drywall or floor. If your laundry room shares a wall with a bathroom, you may be able to tap into that plumbing wall instead. Just verify the drain size and slope requirements are met on whichever waste line you tie into. The standard slope for a horizontal drain is one-quarter inch of drop per running foot, which is enough to keep solids moving without letting water outrun them.
Finally, think about clearance. Building code requires a minimum 30-inch by 30-inch working area in front of any plumbing fixture, and 21 inches of clear floor space between the sink and any obstacle. That clearance is measured from the front face of the sink, not the wall behind it. A cramped install feels cramped forever.
Gather Materials And Verify Rough-In
Before the sink arrives, confirm your rough-in matches what the installation instructions expect. Shut off the water at the laundry supply valves and check that both valves actually close. Twenty-year-old quarter-turn ball valves are usually fine. Older multi-turn washer valves often seize open and dribble no matter how far you crank them. If yours are the failing kind, replace them now with 1/4-turn brass ball valves. Sharkbite or PEX crimp connections make this a fifteen-minute job on copper supply stubs.
For the sink itself, you need the following. A basin with drain assembly, either included or purchased separately. A laundry-duty faucet with 8-inch centers and hose thread on the spout, since you will want to attach a hose for outdoor tasks. Two supply hoses, ideally braided stainless with rubber washers, in lengths that match the distance from valve to faucet inlet. A P-trap kit sized to your drain, which for most laundry installs means 1.5-inch by 1.5-inch. Plumber's putty or a silicone gasket for the drain flange, PTFE tape for threaded connections, and pipe dope for the trap slip joints.
Do not skip the air gap. Every jurisdiction adhering to the International Plumbing Code requires either an air gap or a listed vacuum breaker at every fixture that might connect to a hose. A laundry sink with a threaded spout counts. If your faucet does not include a built-in vacuum breaker, add an inline model between the faucet and any hose you attach. This is not optional. Backflow through a laundry sink hose is exactly the contamination pathway the code was written to prevent.
Verify the drain vent is functioning. Older laundry rooms sometimes have an unvented waste line that gurgles and burps when the washer drains. Adding a sink to that line without proper venting will produce siphon issues that empty the P-trap and let sewer gas into the room. If in doubt, install an air admittance valve (AAV) above the sink trap arm. AAVs are legal under most modern codes when installed above the flood rim and in an accessible location.
Set The Sink And Connect Supplies
Assemble freestanding sinks upside down on the floor first. Attach the legs, install the drain flange with plumber's putty or a silicone gasket, and tighten the drain nut from below until snug. Overtightening cracks the basin, especially on polypropylene models. Snug means the flange resists rotating when you twist the strainer, not that the nut can no longer turn. Install the faucet next while the sink is still accessible. Bench installation is far easier than reaching behind a mounted sink to thread supply nuts.
Position the sink under the supply stubs and confirm the drain outlet aligns with the P-trap arm. Small misalignments, say up to an inch, can be corrected with a flexible extension. Larger offsets need to be planned around before the sink is set. Once the sink sits square and level, connect the supply hoses hand-tight, then snug them with a quarter turn using a wrench. Do not gorilla-tighten braided hoses. The rubber washer inside seals with modest pressure, and cranking the nut compresses the washer to failure.
Turn on the water in stages. Open the cold valve first, halfway, and inspect every connection with the underside of your hand. Hair-fine leaks feel cool on skin before they become visible. Then open the cold fully. Repeat for the hot side. Run water in the basin for a minute and inspect the trap connections. Slip-joint P-traps sometimes need a slight extra tweak on their compression rings to seat properly. If a joint leaks, don't just wrench harder. Take it apart, verify the beveled washer sits with its taper facing the correct direction, and reassemble.
Check the faucet aerator once flow is established. Debris from the supply lines sometimes clogs a new aerator on first use. Unscrew it, rinse, and reinstall. The extra flow you gain is worth the two-minute check.
Connect The Drain And Vent
The drain is where DIY installs most often go wrong. Correct trap orientation puts the U-shape below the sink outlet with the horizontal arm running toward the drain stub in the wall. The arm must slope one-quarter inch per foot downward toward the drain, not upward. A level or slightly reversed slope holds water and clogs within weeks.
Measure and cut the horizontal trap arm to the exact length needed. Trap arm length is regulated. Under most codes, the developed length from the trap weir to the vent takeoff cannot exceed 3.5 feet for a 1.5-inch drain. Longer runs allow siphonage that empties the trap and admits sewer gas. If your sink location forces a longer run, install a proper vent or AAV within that 3.5-foot window.
Assemble the trap dry first. Every slip joint should seat easily by hand. Forcing a slip joint means the washer is misaligned and will leak. Once you have a dry-fit that looks right, disassemble, apply pipe dope lightly to the outside of the male threads, reassemble, and hand-tighten. Slip joints seal by compression, not by thread tension. Overtightening deforms the plastic nut and produces the same leak you were trying to prevent.
If you are tying into an existing washer standpipe, do not simply tee the sink drain into it above the P-trap. That configuration lets the washer's pumped discharge back up through the sink drain. Instead, tap into the drain below both fixtures' traps, with each fixture having its own vent. When in doubt, hire a licensed plumber for this specific joint. It is the single most common inspection failure on utility sink installs, and getting it wrong can flood a laundry room.
Test For Leaks And Verify Drainage
Once the sink is fully connected, run a comprehensive leak test before you consider the install finished. Fill the basin to about three inches from the rim with cold water, then let it drain while you crouch under the sink with a flashlight and a paper towel. Wipe each joint and inspect the towel for wetness. Repeat with hot water. Then fill the basin completely and let it drain in one continuous flow to stress-test the drain under maximum load.
Watch for two failure modes. A slow drip at a slip joint usually means the beveled washer is installed backward or the nut is not fully seated. A steady flow means a cracked component or a stripped thread, both of which require replacement rather than tightening. Compression fittings do not respond well to repeated tightening cycles. If a joint has leaked and been retightened three times, the washer is compromised and needs replacement.
Test the vent function by running the washer and the sink simultaneously. Listen for gurgling in either fixture. Gurgling is the sound of air being pulled through the trap seal, which means the vent is undersized, blocked, or absent. If you installed an AAV, verify it is above the flood rim of the sink, meaning the highest water level the sink can reach without overflowing. AAVs installed below the flood rim can flood themselves during backup events.
Finally, confirm the shutoff valves work under pressure. Close each valve and verify the faucet stops flowing entirely within a few seconds. A valve that dribbles indefinitely after being closed has a compromised seat and will need replacement before any future service work can be done safely. Sinks last decades. The valves feeding them frequently do not, and knowing which is which up front saves flooding your laundry room during a future emergency.
Wrapping Up Your Project
A well-installed utility sink pays off every week for the life of the home. It handles the tasks that always seem to come up but that no other fixture in the house is designed for. Once yours is in and working, you will wonder how the laundry room ever functioned without it.
Before calling the project complete, run through the final safety checklist. Confirm the air gap or vacuum breaker is installed on any threaded spout. Verify the trap arm slope, the vent, and the fixture clearance meet local code. Test the shutoff valves under pressure. Walk the plumbing path with a flashlight one last time looking for any drip you might have missed on the first pass. Small leaks that seem trivial today produce warped subfloor and mold within a year.
Add the sink to your home maintenance calendar. Clean the trap once a year by unscrewing the cleanout or disassembling the slip joints and flushing debris. Lint, hair, and detergent residue accumulate faster in laundry drains than in kitchen or bathroom lines. Twenty minutes of preventive cleaning saves the misery of a backup during peak laundry season. Also check the supply hoses annually for bulges or corrosion at the fittings. Braided stainless hoses typically last ten years, and replacing them proactively is far cheaper than restoring water damage.
Finally, remember why you did this. A laundry room that supports actual work rather than merely housing appliances changes how you approach dozens of small household tasks. The utility sink is the fixture that makes that transition possible. Enjoy the upgrade, and take pride in having installed it correctly the first time.
More Articles You May Like



Comments
Post a Comment