Applying DIY Garage Floor Epoxy Coating Step By Step
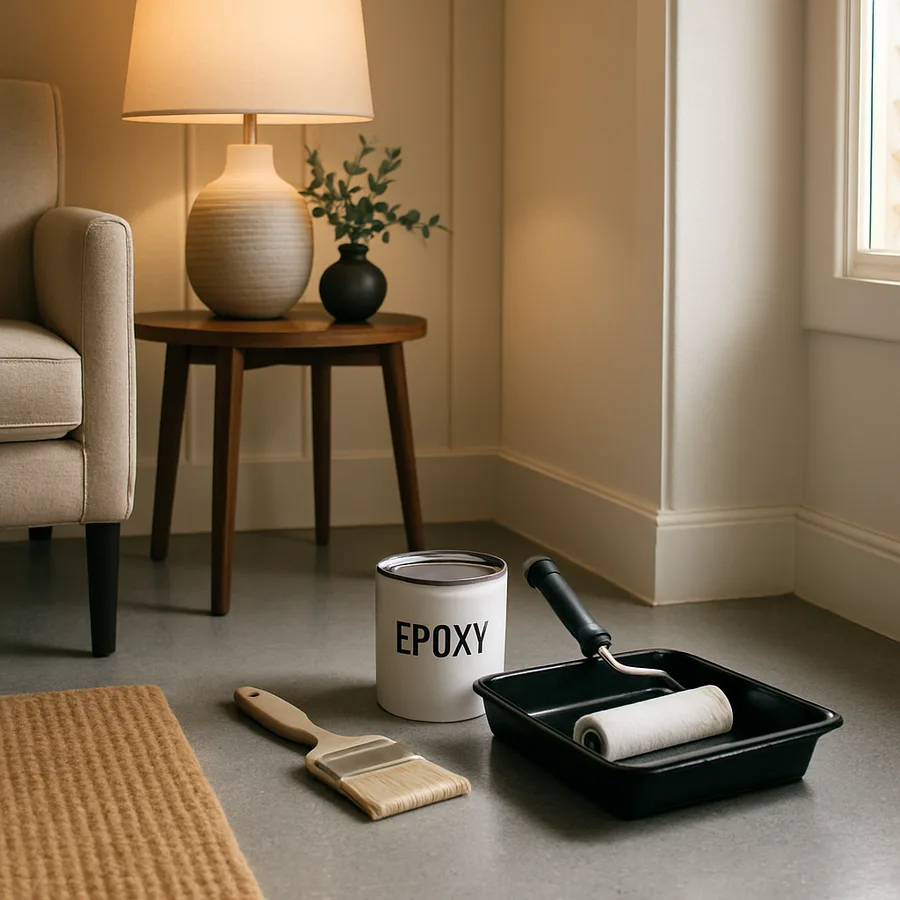
Epoxy floor coatings first appeared in industrial factory settings in the 1960s, where facilities needed a chemical-resistant surface that could shrug off hydraulic fluid, forklift traffic, and the occasional oil spill. Roll that history forward six decades and the same chemistry now protects millions of residential garage floors, though the DIY versions available at big box retailers are engineered for a different reality. A quality two-component water-based epoxy delivers roughly 3 mils of dry film thickness. A commercial solid-epoxy system runs 12 to 20 mils. That difference is why cheap kits fail in five years and proper systems last twenty.
What you get with a well-executed DIY epoxy application is a floor that resists hot tire pickup, cleans up with soap and water, and adds a genuinely upscale look to a space that most homeowners tolerate rather than enjoy. What you get with a poorly executed application is a peeling mess that costs more to remove than to install correctly the first time. The difference is almost entirely in the surface preparation. Manufacturers estimate that 80 percent of epoxy failures trace back to inadequate concrete prep, and no amount of expensive product compensates for a slab that was not cleaned, etched, and dried properly.
Evaluate Your Concrete Slab Condition
Start with a moisture test. Tape a 2-foot by 2-foot square of clear plastic sheeting to the floor with the edges fully sealed and leave it for 24 hours. If condensation appears under the plastic, your slab is releasing moisture from below. Water-based epoxy applied over a wet slab will bubble and delaminate within months. If moisture is present, the slab needs a moisture-mitigating primer or you need to switch to a solvent-based product designed for damp substrates. This test is non-negotiable, particularly for garages built on grade with no vapor barrier under the slab.
Inspect the concrete for cracks, spalling, and previous coatings. Hairline cracks under an eighth of an inch can be filled with epoxy crack filler before coating. Wider cracks or actively moving cracks need structural evaluation and may signal foundation issues that no coating will hide. Spalled areas where the surface has flaked away expose the coarse aggregate underneath and need patching with a concrete resurfacer before you can epoxy over them. Previous coatings, whether paint or another epoxy, must be fully removed. Coating over old finishes almost always fails at the interface.
The American Concrete Institute publication ACI 201.2R provides detailed guidance on evaluating concrete substrates for durability, and while the full standard targets professional contractors, the concepts translate to residential work. Check slab age. Concrete should cure at least 28 days before any coating goes on, and new construction slabs sometimes need 60 to 90 days depending on the mix design. Coat too soon and the epoxy adheres to the surface cream layer, which then delaminates as the concrete continues to cure and shrink beneath it.
Choose Your Epoxy Kit And Safety Gear
DIY garage floor kits fall into three tiers. Water-based epoxy kits from Rust-Oleum and Behr sell for 100 to 200 dollars and cover a single-car garage. They apply with a roller in about four hours and cure to a serviceable 3-mil finish. Solid-epoxy kits from brands like Epoxy-Coat and ArmorPoxy cost 300 to 600 dollars, apply in two coats, and deliver 10 to 15 mils of dry film with dramatically better durability. Polyaspartic and polyurea coatings from RockSolid and similar brands cure faster and add UV stability but cost more and offer a shorter working time that punishes any application delays.
For a first-time DIY project on a two-car garage, a mid-tier solid-epoxy system offers the best value. Kits typically include the base and hardener, a color pack, decorative flakes, a topcoat, and etch solution. What they do not include and what you must purchase separately: a 9-inch roller frame, several three-eighths-inch nap rollers rated for epoxy, a 3-inch angled brush for cutting in edges, a 5-gallon bucket with a mixing paddle for your drill, a stiff-bristled deck brush, and a wet-vacuum for cleanup. Budget another 60 to 80 dollars for these consumables.
Personal protective equipment is not optional. Epoxy chemistry can sensitize you permanently if you develop an allergic reaction, meaning future exposures cause dermatitis even in small amounts. Wear nitrile gloves rated for chemical resistance, safety glasses or goggles, and a respirator with organic vapor cartridges when applying solvent-based products. Ventilate the garage aggressively with fans blowing outward at the door opening. Read the safety data sheet for your specific product and follow its exposure guidance. This is one place where saving twenty dollars on PPE is not worth the health cost.
Prep The Concrete Surface Completely
Move everything out of the garage. Everything. Any workbench, shelving, or vehicle that remains creates a shadow where you cannot roll epoxy, and those shadows telegraph as bare spots when the room is empty later. Sweep the floor thoroughly, then vacuum with a shop vac fitted with a HEPA filter to capture fine dust. Follow with a degreaser applied to any oil-stained areas and scrubbed with a stiff brush. Rust-Oleum Krud Kutter and Simple Green concrete cleaner both work well for automotive grease. Rinse and let dry.
Etching or grinding is the critical prep step. Etching uses a mild acid solution, typically muriatic acid diluted per the manufacturer's instructions or a citric acid concentrate for a less aggressive approach, to open the concrete pores and give the epoxy something to bite into. Apply the etch solution with a garden sprayer, scrub it into the surface with a deck brush, and rinse thoroughly. The concrete surface after proper etching should feel like 120-grit sandpaper. If it still feels smooth, etch again. Mechanical grinding with a rented concrete grinder achieves the same result faster and cleaner, and for larger garages it is the better choice.
Let the slab dry completely. This means at least 24 hours in warm dry weather and 48 hours or more in cooler or humid conditions. Any residual moisture in the surface pores becomes a barrier between the concrete and the epoxy, and you get poor adhesion in exactly those spots. Fill cracks and small holes with epoxy crack filler and let it cure per the manufacturer's schedule. Vacuum one final time to catch any dust generated during patching. The slab is ready when it is clean, textured, dry, and free of loose material.
Apply The Epoxy Base Coat
Check the weather forecast before you mix anything. Most water-based epoxies apply between 50 and 90 degrees Fahrenheit with humidity under 85 percent, and you need those conditions to hold through the cure window, which can run 24 to 72 hours depending on product. Applying epoxy on a day that turns rainy and cold triples your cure time and can compromise the finish. Check the product data sheet for exact temperature limits and pot life. A shorter pot life means you have less working time once the two components mix.
Mix the base and hardener per the manufacturer's instructions, using a drill-mounted paddle for at least two minutes to ensure complete blending. Under-mixed epoxy does not cure fully and stays tacky forever. Once mixed, transfer to a paint tray and start cutting in the perimeter with a 3-inch brush, working in sections you can complete in about 20 minutes. Immediately follow with the roller, working in 4-foot by 4-foot squares and maintaining a wet edge. Two-person application dramatically improves the finish, with one person cutting in and mixing while the other rolls.
Broadcast decorative flakes into the wet epoxy immediately after rolling each section. Toss the flakes into the air over the freshly coated area rather than down at the surface, which gives an even distribution and prevents piling. The flakes serve both aesthetic and functional purposes, adding traction that mitigates the slip hazard of a smooth epoxy floor. Once the section is coated and flaked, move to the next section and repeat. Do not stop for lunch in the middle of a coat. Any hard edge between sections telegraphs through the topcoat and cannot be sanded out. Work continuously, then take a break at the door.
Add The Topcoat And Cure The Floor
Once the base coat cures per the manufacturer's schedule, typically overnight to 24 hours, sweep loose flakes from the surface and vacuum any accumulated debris. Some flakes will not have embedded fully and will sweep up as loose material. That is normal. Do not scrape the surface to remove them, as you risk gouging the still-soft base coat. Inspect the coated surface for any thin spots, drips, or debris embedded in the epoxy. Sand small imperfections with 220-grit paper and wipe with a tack cloth.
Apply the clear topcoat exactly as you applied the base coat, using the same cut-in and roll technique. The topcoat locks in the decorative flakes, adds chemical resistance, and provides the UV protection that keeps the floor from yellowing over time. Standard epoxy topcoats yellow slightly under long-term UV exposure, and polyaspartic topcoats resist yellowing better. If your garage sees direct sunlight through open doors for hours a day, a polyaspartic topcoat is worth the upgrade. Follow the recoat window carefully, which is typically 12 to 24 hours after the base coat.
Cure time to foot traffic is usually 24 hours. Cure time to vehicle traffic is usually 72 hours to seven days depending on product and temperature. Do not rush this window. Driving on undercured epoxy leaves permanent tire marks and can lift the coating along the tire path. Keep the garage door closed against dust and pollen during the cure window if possible, and warn the household that the space is off-limits. Once fully cured, the floor cleans up with a mop and mild detergent and resists most chemicals for years to come.
Wrapping Up Your Project
A well-applied epoxy floor changes how you use the garage. Spills wipe up rather than staining. Dust collects on a smooth surface where you can sweep it out the door in seconds. The reflective finish brightens the space significantly under overhead lighting, and the coated slab feels warmer underfoot than bare concrete in cold weather. The whole job takes two solid days of work for a two-car garage plus a week of cure time, and the material cost typically runs 400 to 900 dollars depending on kit choice.
The recipe for a coating that actually lasts a decade or more is straightforward but unforgiving. Test the slab for moisture and coating age. Choose a system matched to your climate and use pattern. Etch or grind aggressively enough to open the concrete surface. Apply base coat and topcoat with proper technique in the right weather window. Give the finish time to cure fully before you load the space. Skip any step and you cut the service life of the coating dramatically. Do them all and the floor outperforms the vehicle you park on it.
A few maintenance habits keep the finish looking new for the long haul. Wipe up petroleum spills within 24 hours, sweep grit and dirt weekly during winter road salt season, and use walk-off mats at the door threshold to keep abrasive debris from grinding under tires. Refresh the topcoat every seven to ten years if the finish shows wear at high-traffic areas, and address any chips or scratches immediately with the touchup kit sold by most epoxy manufacturers. Your garage floor just became a room, not a slab. Treat it accordingly.
More Articles You May Like



Comments
Post a Comment