Garage Floor Jack Storage and Lift Pad Placement for DIY Mechanics
A floor jack is the most expensive tool that most home mechanics treat carelessly. It gets shoved against a wall after an oil change, leaks a few drops of hydraulic fluid onto the slab, and waits months until the next brake job pulls it back into service. Proper storage and a clear understanding of lift pad placement are the two habits that separate a hobbyist who works under a car safely for thirty years from one who has a near-miss in year three and never quite trusts the garage again.
This guide treats jacks as a system with three parts: the jack itself, the jack stands that hold the load once the car is up, and the lift pads or rubber blocks that protect the vehicle frame from steel-on-steel contact. Get those three working together and a routine repair becomes routine. Get any one of them wrong and you have introduced a risk that compounds every time the car comes off the ground.
Storing the Jack to Preserve Its Hydraulics
A floor jack stored on its side or upside down loses pressure faster than one stored upright, and the seal life can be cut in half if the jack lives in a car trunk that swings between freezing winters and one-hundred-degree summers. Hydraulic fluid has a viscosity range that drifts with temperature, and the seals are designed for vertical orientation where the fluid pressure pushes evenly against them. Storage matters more than most owners realize.
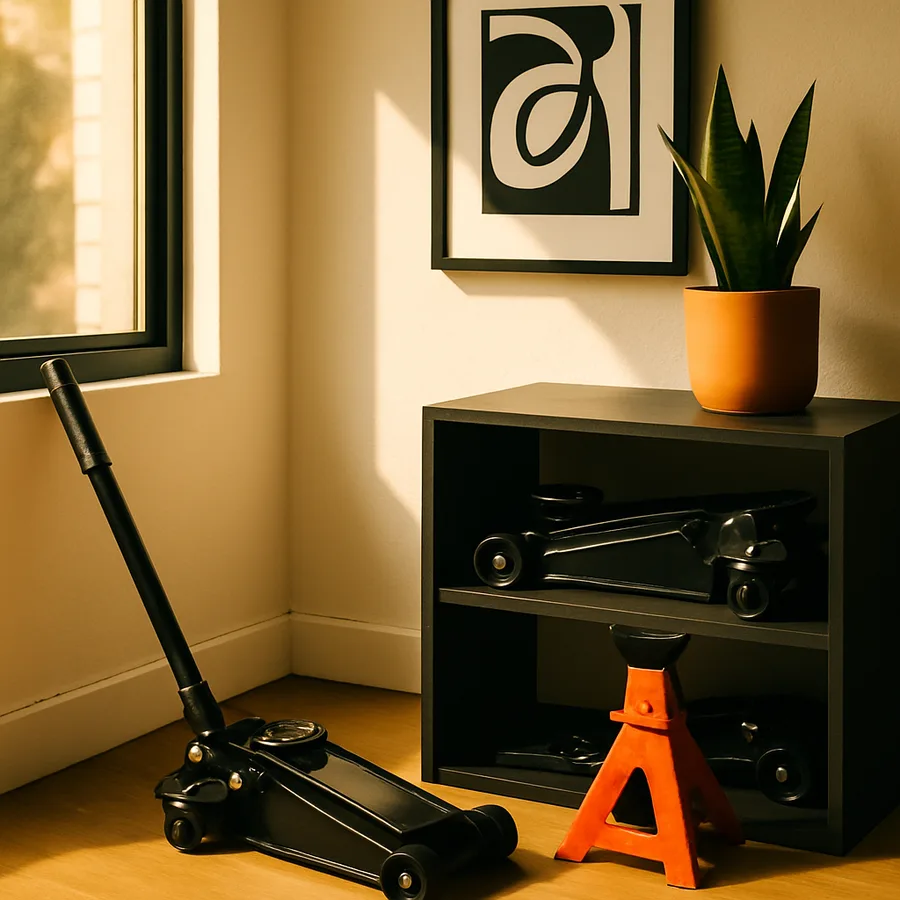
The ideal storage spot is upright, on a stable surface, with the saddle lowered all the way down to relieve pressure on the lift cylinder. A wall-mounted bracket that cradles the jack body works well in a garage where floor space is at a premium. If the jack must sit on the floor, a dedicated rolling cart or a marked footprint near the workbench keeps it from getting kicked or drifting under a vehicle accidentally during a repair. Keep the jack covered with a light cloth or a vinyl jack cover if the garage is dusty, because the lift saddle attracts grime that ends up on the underside of the next car.
Have you ever pumped a jack twenty times with no response on a cold morning? That is usually a temperature-related fluid issue rather than a seal failure. Letting the jack acclimate to the working temperature for ten minutes before use, and exercising the handle through its full range a few times, will get a stored jack back to spec for almost any home repair. The Family Handyman covers cold-garage maintenance routines in detail at FamilyHandyman.com for anyone who works through the winter.
Jack Stands Are Not Optional
This is the section that hardware-store advice tends to skim over. A floor jack is a lifting device, not a holding device. The hydraulic seals can fail without warning, the release valve can drift open, and a jack handle bumped sideways can lower the car in a fraction of a second. Jack stands are what hold the vehicle while you work underneath, and they belong on every car the moment it leaves the ground.
Pair the jack stand rating to the vehicle weight, with at least a twenty-five percent safety margin per stand. A four-thousand-pound car needs stands rated at one ton each minimum, and that pair sits at the rear axle or the rocker panels depending on what is being repaired. Set the stand to the lowest height that gives you working clearance; a tall stand on a small base is dramatically more prone to tipping than the same stand at half height.
The Occupational Safety and Health Administration has documented that vehicle-fall incidents are among the most common fatal accidents in home garage work. Their general industry guidance translates well to home shops and lives at OSHA.gov. According to the National Highway Traffic Safety Administration, falling vehicles account for several dozen home fatalities each year in the United States, and almost every one involves a missing or improperly positioned jack stand.
Reading the Vehicle for Correct Lift Points
Modern vehicles are not designed to be lifted anywhere a steel pad fits. Unibody construction concentrates the load-bearing structure into specific reinforced points, and lifting on the wrong spot can crush a rocker panel, bend a control arm, or puncture a fuel line. The owner's manual is the first reference; it includes a diagram of factory-approved lift points, usually marked on the vehicle itself with a small notch or arrow on the pinch weld.
The four primary lift zones on most passenger cars are the front and rear differentials or subframes for whole-end lifts, and the four pinch-weld points along the rocker panels for single-corner lifts. Pinch welds are the seam where the underbody floor pan meets the rocker, and they are remarkably strong in compression but very easy to deform with a flat steel saddle. Always use a slotted lift pad or a notched rubber block that captures the pinch weld in a groove rather than crushing it flat.
Trucks and body-on-frame SUVs lift differently. The frame rails themselves are the primary lift point, and the saddle of the floor jack contacts the frame directly, often without any rubber pad needed. The rear differential housing is also a valid lift point on most trucks, but watch for cast components or sensor housings that should never see jack pressure.
Lift Pad Materials and When to Use Each
The lift pad sits between the steel saddle of the jack and the vehicle. Its job is to spread the load, prevent metal-on-metal slippage, and protect painted or coated surfaces from gouging. Three pad materials cover almost every scenario.
Hard rubber pads, often hockey pucks or purpose-made slotted rubber blocks, work for almost any pinch-weld lift on a passenger car. They grip the steel without marring it, compress slightly to fill small gaps, and last for years if they are not contaminated with oil. Polyurethane pads are firmer, more expensive, and preferred for heavier vehicles where rubber would compress too far under load. Wood blocks, the traditional improvised option, are acceptable for emergency roadside use but should not be the regular pad in a home garage; wood splits unpredictably under shear loads and the splinter damage can compromise the lift.
Slotted pads with a center groove are specifically designed for pinch-weld lifting, and they are the single best upgrade most home mechanics can make. The groove captures the weld seam, prevents lateral slippage, and keeps the load centered on the strongest part of the rocker. This Old House has covered DIY garage upgrades in their archives at ThisOldHouse.com, and slotted lift pads consistently appear on their high-impact, low-cost lists.
Floor Surface and Jack Mobility
The garage floor itself influences how a jack performs. Cracked or pitted concrete catches the jack wheels and makes precise positioning difficult, especially with a heavy jack and a low-profile saddle. A smooth, level slab is ideal, but few older garages offer that. An epoxy-coated floor or a section of polished concrete in front of the work area solves the rolling problem and makes oil drips far easier to clean.
If the floor is sloped for drainage, position the vehicle so the slope runs along the long axis of the car rather than across it. A side-to-side slope encourages a lifted vehicle to creep off the jack stands, and the creep is invisible until something fails. For garages with significant slope, a pair of leveling boards or a dedicated lift mat under the jack stand bases will keep the load vertical even on imperfect concrete.
Where does the jack actually live during a repair? The handle should be oriented away from the vehicle, ideally pointing into open space where you can pump it without bumping a tire or fender. A jack tucked too close to the lifted wheel becomes a hazard during the repair itself, especially when reaching for tools above the work area.
Maintenance Routines That Catch Failures Before They Matter
A floor jack should be inspected at the start of every project, not at the end. The inspection takes ninety seconds. Pump the jack to full extension with no load and watch for smooth, steady travel. Hold at full extension for thirty seconds and check for any visible drift downward, which signals an internal seal leak. Lower the jack and inspect the cylinder housing for fresh fluid, which indicates an external seal failure.
Hydraulic fluid in a quality floor jack should last several years, but the fill plug deserves a check every spring. The fluid level should sit just below the fill port with the jack lowered all the way down. Top off only with the fluid specified by the jack manufacturer; mixing fluid types degrades the seals and can cause foaming under load. Family Handyman publishes brand-by-brand fluid compatibility charts that simplify the decision.
Caster wheels collect debris and pick up small metal shavings that bind the bearings. A monthly wipe with a clean rag and an annual disassembly to clean the axles will keep the jack rolling smoothly for a decade or more. Squeaking casters are not just an annoyance; they often signal that the axle is dry and the wheel is wearing unevenly, which makes the jack drift under load.
The handle and saddle deserve their own attention. The pump handle pivots on a pin that benefits from a drop of light machine oil twice a year, applied at the pivot point and worked through the full range of motion. The saddle itself, especially the rubber pad if your jack has one, should be inspected for cracks or chunks missing from the contact surface. A degraded saddle pad lets the steel underneath bite directly into the vehicle frame, which is exactly the failure mode the pad was meant to prevent.
Keep a small inspection log on a clipboard near the jack storage spot. Note the date of each fluid check, each seal inspection, and any concerns that surfaced during a project. Five minutes of writing every quarter creates a maintenance history that catches slow drifts toward failure long before any single inspection would notice them. The discipline feels excessive at first and pays off the first time the log catches a slow leak two months before the seal would have failed under load.
Conclusion
A floor jack is a tool you use rarely and depend on absolutely. The discipline that protects you under a car begins long before the saddle touches the pinch weld. Store the jack upright, in a stable spot, with the saddle lowered. Pair it with jack stands rated for the load, and never work under a vehicle that is supported by hydraulics alone. These two habits eliminate the most common failure modes in home garage work.
Lift point knowledge is the second pillar. Every vehicle has factory-approved points marked in the manual and often on the body itself, and using anything else risks crushing structural components that hold the car together. Slotted rubber pads protect the pinch welds, hard urethane pads handle heavier loads, and wood blocks belong in the emergency kit rather than the regular workflow. The right pad costs less than a single brake rotor and protects every panel underneath.
Floor surface, slope, and jack mobility round out the system. A smooth floor, a level work area, and a clear handle path turn a jack from an awkward struggle into a precise tool. Combine that with a ninety-second inspection at the start of every project, and the jack becomes the most reliable piece of equipment in the garage.
Before your next repair, walk the space and look at where the jack lives, where the stands wait, and where the pads hang. Set up the system once, deliberately, and use it the same way every time, and home mechanic work becomes safer, faster, and far more enjoyable. The car comes off the ground only when everything else is already in position, and that small ritual is what makes a thirty-year garage practice possible.
More Articles You May Like


Comments
Post a Comment