Fireplace Surround Tile Selection Heat Resistant Materials
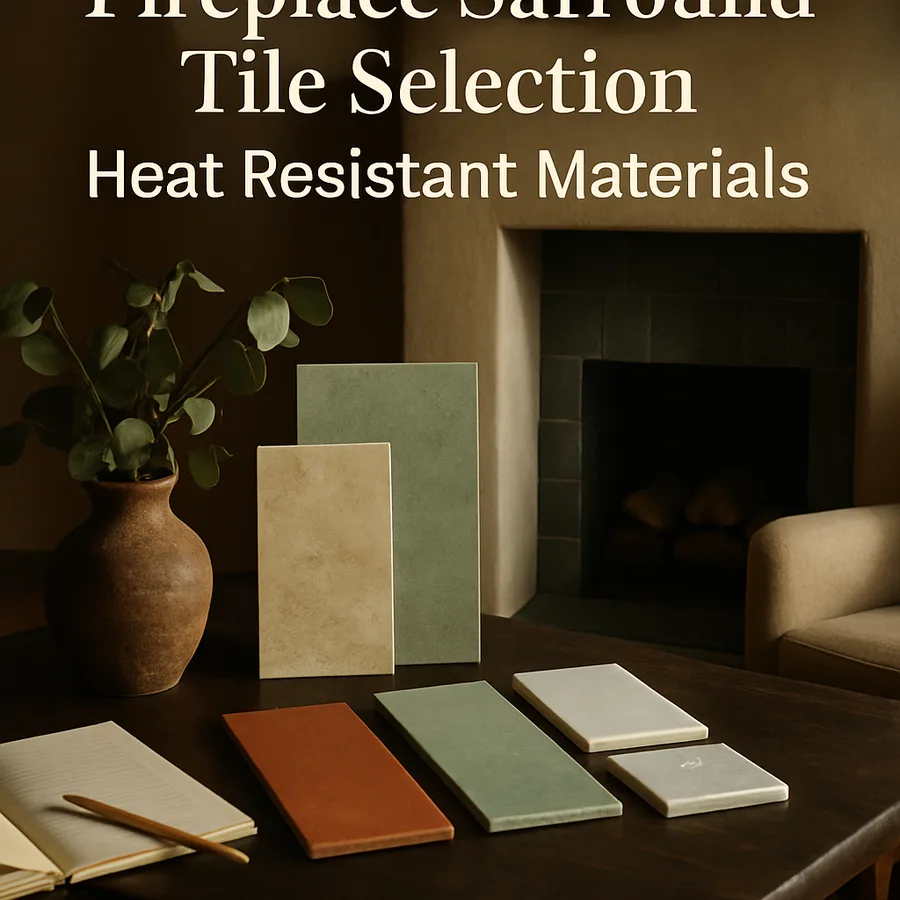
Tile is the most flexible, most durable, and most visually rewarding material you can put around a fireplace. It survives radiant heat, ignores the occasional spark, cleans easily, and gives a designer almost unlimited freedom in pattern, color, and scale. It is also one of the easiest places in a remodel to choose the wrong product, install it with the wrong adhesive, and produce a beautiful failure that cracks, discolors, or releases from the wall in the first cold winter. This guide is built to keep that from happening to you.
We will look at which tile materials are genuinely heat resistant and which are not, how to read manufacturer specifications without falling for marketing language, what code says about non-combustible surround dimensions, how to choose adhesives and grouts that will not fail under thermal cycling, and how to plan the design so the tile reads as deliberate rather than as a default choice. By the end, you should be able to walk into a tile showroom with a clear shortlist and a set of questions that quickly separate serious products from cosmetic ones.
Which Tile Materials Are Actually Heat Resistant
The honest answer is that nearly all true ceramic and porcelain tiles, all natural stone tiles, and all properly tempered glass tiles can handle the radiant heat profile of a modern residential fireplace, which rarely exceeds 200 degrees Fahrenheit on the surround surface even under sustained operation. The much more important variables are the substrate behind the tile, the adhesive holding it in place, the grout filling the joints, and the specific clearance from the firebox opening.
Porcelain is the safest default. Porcelain is fired at higher temperatures than standard ceramic, producing a denser body with a water absorption rate below 0.5 percent and excellent dimensional stability under thermal cycling. Large format porcelain panels, now available in sheets up to 60 by 120 inches, allow a fireplace surround to be built with as few as two visible seams, producing an unbroken visual field that no other material can match.
Natural stone (marble, limestone, travertine, slate, soapstone) is heat resistant and beautiful but introduces complications. Marble and limestone are calcium-based and can etch or discolor on contact with soot or smoke residue from a wood burning unit. Soapstone is famously heat-stable and historically the material of choice for wood stove surrounds. Slate is durable and forgiving. Granite is essentially bulletproof but heavy and increasingly out of fashion.
Glass tile and glass mosaics deserve special caution. Standard glass tiles are not always tempered and can crack from rapid temperature changes near a high-output appliance. If you want glass at the surround, look for products specifically rated for fireplace use and confirm the rating in writing from the manufacturer.
Substrate, Backer Board, and What Goes Behind the Tile
The substrate behind the tile is at least as important as the tile itself. The original brick or block of an existing fireplace is an excellent substrate and accepts tile directly with the right thinset. New construction or extensive remodels typically use one of three substrate systems: cement backer board (such as products meeting ANSI A118.9), fiber-cement panels, or rigid foam-core tile backer panels with a polymer face.
Drywall is not an acceptable substrate within the non-combustible clearance zone around a firebox. The International Code Council publishes the relevant requirements in the International Residential Code. As a general rule, any surround material within 6 inches of the firebox opening (12 inches on the sides for wood burning units) must be non-combustible. Cement backer board satisfies this requirement; standard gypsum drywall does not.
For tile installation over brick, the brick surface must be clean, dry, and free of any loose mortar or efflorescence. A bonding primer or a skim coat of polymer-modified thinset is often used to even out irregular brick faces before tile installation. Skipping this step almost always produces lippage problems and uneven grout lines.
One pragmatic warning: many older fireboxes have brick faces coated with decades of soot, smoke residue, or even old paint. Tile adhesive will not bond reliably to any of these surfaces. Plan on a thorough cleaning, possibly including media blasting, before any tile work begins. The EPA publishes lead-safe work practices for pre-1978 homes that may apply if the existing paint or finish predates the lead paint ban, and following those practices is both a legal and a health requirement.
Code, Clearances, and the Hearth Extension
Every fireplace code in North America establishes a non-combustible clearance zone around the firebox opening. For a typical gas or electric appliance, the requirement is set by the appliance listing and is usually 6 to 8 inches on the sides and top of the firebox. For wood burning units, NFPA 211 establishes more conservative clearances, typically 12 inches on the sides and at the top of the opening.
The hearth extension, the floor area in front of the firebox, has its own requirements. For wood burning units, the hearth must extend at least 16 inches in front of the firebox opening and 8 inches on each side, with the entire surface constructed of non-combustible material at least 2 inches thick (per the NFPA guidance). For most gas and electric units, the hearth requirement is dictated by the appliance listing and is often less restrictive. Tile is acceptable for the hearth surface as long as the substrate beneath meets the thickness and non-combustibility requirements.
One detail that surprises many homeowners: any combustible trim, including wood casing or a wood mantel, must respect the same clearances as any other combustible material. Tile installed inside the clearance zone with a wood trim immediately outside the zone is the standard configuration. Tile and trim are not interchangeable from a code perspective.
Have you confirmed which clearance regime applies to your appliance? Wood burning units have the most conservative requirements, vented gas units come next, and sealed direct vent gas or electric units typically have the least restrictive requirements. The label inside the firebox or on the appliance frame is the authoritative source. Field-measured clearance is one of the items every permit inspector verifies before final sign-off.
Adhesives, Grout, and Thermal Movement
Standard mastic tile adhesive is not appropriate for fireplace installations. Mastic is an organic-based product that softens at elevated temperatures and can fail under sustained heat exposure. The correct adhesive for fireplace tile is a polymer-modified thinset mortar meeting ANSI A118.4 or higher, applied with the trowel notch size specified by the tile manufacturer for your specific tile format.
Grout selection is equally important. Sanded cement grout is the traditional choice and performs well in most fireplace applications when properly cured and sealed. Epoxy grout, more expensive and more demanding to install, offers superior stain resistance and dimensional stability and is increasingly specified for premium installations. Avoid pre-mixed acrylic grouts in fireplace applications; they are formulated for ease of use rather than thermal stability.
Thermal movement is the silent killer of fireplace tile installations. As the firebox heats and cools, the surrounding materials expand and contract at different rates. A tile installation with no provision for movement will eventually develop hairline cracks, particularly along long horizontal grout lines or at internal corners. Soft joints, which are flexible silicone or urethane sealants used at material transitions and at perimeter corners rather than rigid grout, are the industry-standard solution. The Tile Council of North America (TCNA) publishes detailed handbook guidance on soft joint placement that any qualified tile contractor will follow.
Design Strategy and Pattern Choice
Fireplace tile is the most visible single design decision in most living rooms. The wrong choice ages quickly, dates the room, and is expensive to replace. The right choice anchors the space and improves with time. A few useful principles separate strong choices from weak ones.
First, scale matters more than pattern. A large-format tile, 24 inches or larger on its long dimension, almost always reads better at a fireplace than small mosaic or subway-scale tile. The fireplace is a focal point and benefits from material that reads as continuous and confident rather than busy. Designers affiliated with the American Society of Interior Designers (ASID) increasingly specify single-slab porcelain panels or large stone tiles precisely because they minimize visual noise and let the firebox itself stand out.
Second, vertical extension changes the room. A surround that stops at the mantel reads as conventional; a surround that extends from floor to ceiling reads as architectural. The vertical line lifts the eye, makes ceilings feel higher, and gives the fireplace the visual weight it deserves as the focal point. The additional material cost is modest relative to the design impact.
Third, color decisions should account for sooting and weathering. Light-colored stone near a wood burning unit will show discoloration within a few years no matter how carefully it is sealed. Dark tile, matte porcelain, and honed surfaces hide soot well and age gracefully. Polished surfaces show every fingerprint and water spot. Choose finishes that match the way your household actually uses the space.
Installation Sequence and Quality Control
A successful fireplace tile installation follows a predictable sequence. The substrate is prepared, inspected, and primed if required. The tile layout is mapped on the wall with chalk lines or laser, with cuts planned at the perimeter rather than at the center where they will be visually obvious. Thinset is mixed in small batches to maintain working time and back-buttered onto the tile for large formats. Each tile is set with firm pressure, leveled against adjacent tiles, and confirmed for lippage before the thinset begins to set.
Spacers are used to maintain consistent grout joint widths, typically 1/16 to 1/8 inch for porcelain and slightly wider for stone. Grout is applied after the thinset has cured for at least 24 hours and is sealed (for cement grout) after a full 7-day cure. Soft joints are installed at all perimeter conditions and internal corners after the rigid grout has cured.
The most common installation defects to watch for during walk-through are lippage between adjacent tiles, inconsistent grout joint widths, missing soft joints at corners and transitions, and adhesive squeeze-out left in grout lines. Each of these defects is much easier to fix in the first week than in the first year. A reputable installer will walk the project with you before final payment and address any visible issues without resistance.
Project costs vary widely. A simple surround with mid-range porcelain installed over an existing brick face typically runs $1,500 to $3,500 including materials and labor. A floor-to-ceiling large-format porcelain slab installation with full substrate replacement and premium trim details can exceed $8,000. Natural stone slabs and custom mosaics push higher still. The National Association of Home Builders (NAHB) Cost vs. Value data shows fireplace surround tile work consistently recouping 70 to 90 percent of project cost at resale in upper-tier housing markets.
Conclusion
Tile is the most versatile material available for a fireplace surround, but versatility cuts both ways. The same flexibility that allows you to express almost any design intent also allows you to make expensive mistakes that show every day for the next several decades. The defense against those mistakes is preparation: understand which materials are genuinely heat resistant, confirm the clearance requirements for your specific appliance, choose substrate and adhesive systems engineered for thermal cycling, and commit to a design strategy that uses scale and proportion in your favor.
If you are remodeling an existing fireplace, the single most valuable investment you can make is a careful inspection of the substrate before any new tile is specified. Brick, soot, old adhesive, and unknown paint layers all require attention before tile can be installed reliably. Skipping this step is the most common cause of tile failure on remodeled fireplaces, and it is entirely preventable.
If you are working with a designer or a contractor, ask them to walk you through their adhesive and grout selection and their soft joint plan in writing. Any installer who cannot articulate why they are using a specific thinset, grout, and movement-joint scheme is not the installer you want at your fireplace. The competent ones will explain their choices in detail; the inexperienced ones will hand-wave.
Ready to start your project? Walk through your living room with a tape measure, photograph the existing firebox and surround conditions in detail, and bring those photos and measurements to a tile showroom that specializes in residential remodeling. Ask to see large-format porcelain panels in person, ask about heat-rated glass options if that is on your shortlist, and ask for a written specification that includes the substrate, the adhesive, the grout, and the soft joint plan. With that document in hand, you can compare contractor quotes on a like-for-like basis and choose with confidence.
More Articles You May Like



Comments
Post a Comment