Plaster Accent Walls With Limewash for Old European Texture
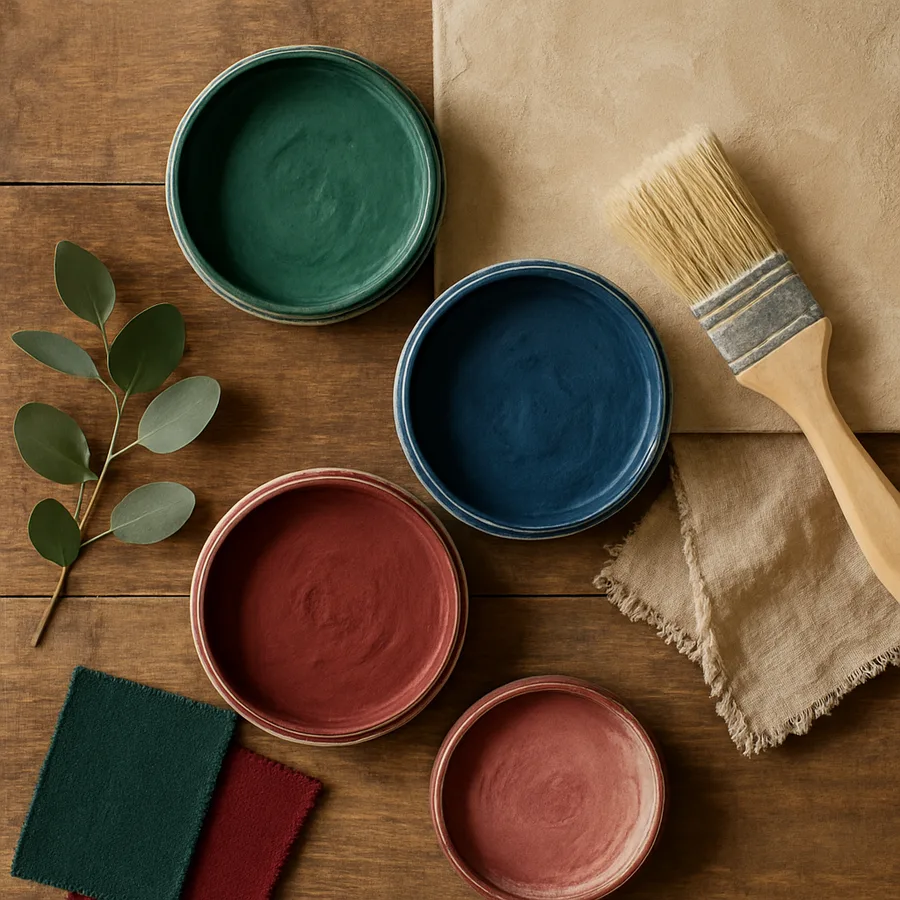
Walk through any restored townhouse in Florence, any country manor in Provence, or any whitewashed village house on the Greek coast and you will encounter the same wall finish, a chalky, mineral-rich surface that catches morning light differently than evening light, that holds shadows in subtle gradients no flat paint can produce, and that reads unmistakably as old. The finish is plaster topped with limewash, and it is finally available to American homeowners through a combination of imported European products and domestic specialty plaster makers who have rediscovered traditional techniques.
The good news is that achieving genuine Old European texture is more accessible than the imported aesthetic suggests, and dramatically less expensive than equivalent custom faux finishes from a decade ago. The complexity is in the material choices and the application sequence, not in the labor cost. This guide covers the plaster substrate options that work for residential walls, the limewash chemistry and color selection that determines the final look, the application techniques that distinguish authentic results from amateur attempts, and the realistic costs and timeline for a typical accent wall project.
Why Plaster and Limewash Are a System, Not Two Separate Products
The most common mistake in DIY Old European walls is treating the substrate as ordinary drywall and trying to achieve the look through limewash alone. Limewash applied directly to standard drywall produces a flat, slightly chalky surface that reads as cheap paint with poor coverage. The depth, the cloudy texture, the way light moves across the surface, all of this depends on what is underneath the limewash, not just the limewash itself.
Authentic old European walls are lime plaster built up in two or three coats over masonry or wood lath, then finished with limewash that is chemically related to the plaster (calcium hydroxide carbonating to calcium carbonate over weeks and months). The limewash bonds into the plaster surface rather than sitting on top of it, which is why authentic walls have luminosity that paint cannot replicate. The plaster and limewash together act as a single mineral system, and replicating this system is what produces the look.
For residential applications, you have three viable substrate paths. The first is traditional lime plaster applied by a specialty plasterer over wire lath or directly over masonry, which is the most authentic and the most expensive. The second is polished plaster products like Venetian plaster or Marmorino, applied over standard drywall as a thin troweled finish, which delivers excellent results at moderate cost. The third is specialty mineral primer plus limewash, where a modified mineral primer is applied to drywall to create a limewash-receptive surface, then limewash is applied over that primer. This is the budget-friendly DIY-accessible approach and produces good (not perfect) results.
Choosing Your Limewash Source and Color Range
Limewash quality varies dramatically by source. Genuine slaked lime limewash, made from calcium hydroxide that has been slaked and aged in water for at least three months, produces the deepest texture and most luminous finish but requires careful handling because wet lime is mildly caustic and finished surfaces continue to "cure" for weeks after application. European brands from Italy, France, and the UK have dominated this category for decades, and several American specialty makers now produce comparable products.
Premixed limewash paints from mainstream paint retailers offer a more accessible entry point. These products use modified lime chemistry that is gentler to handle and faster to cure, with somewhat reduced depth in the final finish but significant convenience advantages for DIY applications. Read the label carefully, products marketed as "limewash effect" or "lime paint" are often acrylic paints with a chalky additive rather than true lime, and these produce a flat painted look without the mineral luminosity.
Color selection follows different rules than standard paint. Limewash colors are made by adding mineral pigments (raw umber, yellow ochre, terre verte, iron oxides) to the white lime base, which produces complex earthy tones that shift slightly with the angle of light. The most authentic Old European palette stays in the warm white, cream, buff, soft gray, and pale terracotta range, with occasional dramatic departures into deep terracotta, ochre yellow, and faded blue. Cool whites and bright primary colors do not exist in traditional lime palettes and read as wrong even when carefully applied.
Substrate Preparation and the Hidden Time Investment
The single biggest time investment in a quality plaster wall is preparation, and skipping preparation is the most common reason DIY projects look thin and amateur. For the polished plaster approach, the existing drywall must be smooth (any visible texture will telegraph through the plaster), free of glossy finish (sand any semi-gloss or gloss areas to dull the surface), and primed with a tinted primer that approximates the final color so that areas where plaster is thin do not show as bright drywall white.
For the mineral primer plus limewash approach, preparation involves cleaning the wall, addressing any patches or texture inconsistencies (skim-coat any patched areas with joint compound and sand smooth), and applying two coats of mineral primer. The primer creates a slightly absorbent surface that accepts limewash properly. Skipping the mineral primer and applying limewash over standard latex primer produces a streaky finish where the limewash sits on top rather than bonding into the surface.
Timeline for a typical 80-square-foot accent wall in the polished plaster approach runs roughly two to three days: one day for substrate preparation and primer, one day for the first plaster coat (which must dry overnight), and one day for the second plaster coat plus the finishing burnish or trowel work. Limewash over mineral primer runs faster, typically one day for prep and primer plus one day for two limewash coats. Have you scheduled adequate dry time between coats, or are you assuming you can compress the work into a single weekend?
Application Techniques That Separate Authentic From Amateur
For polished plaster, the technique is troweled application in thin layers with deliberate variation in pressure and direction. The first coat fills the substrate and establishes the base color; the second coat creates the surface texture and luminosity. The trowel angle determines the final look, a flat trowel held nearly parallel to the wall produces a smooth burnished finish, while a tilted trowel held at 30 to 45 degrees produces visible texture and movement. Practice on cardboard or a scrap of drywall before touching the actual wall.
For limewash, the technique is brush application using a wide masonry brush (4 to 6 inches), worked in irregular X-pattern strokes rather than tidy horizontal or vertical lines. Limewash is much thinner than paint and will appear streaky and uneven during application, this is normal and self-corrects as the lime carbonates over the following days. Apply two thin coats rather than one thick coat. Resist the urge to brush limewash smooth; the brush marks and slight irregularities are the source of the depth that defines the look.
The most useful professional trick is controlled wet edges. Plaster and limewash both look better when each application is completed wall-to-wall before stopping for breaks, because dry edges can show as visible lines where the work resumed. For accent walls under 100 square feet, this typically means committing to two to three hours of uninterrupted work per coat. Plan your schedule accordingly, and have a helper available to refill brush water and maintain materials so the primary applicator never has to stop midwall.
Cost Realities Across the Three Approaches
For an 80-square-foot accent wall, expect material and labor costs in roughly these ranges. The traditional lime plaster approach with a specialty plasterer runs $1,500 to $4,000 for the wall depending on substrate complexity and the plasterer's hourly rate (typically $80 to $150 per hour, with the wall taking 12 to 25 hours of skilled work). This is the most expensive approach and produces the most authentic results.
Polished plaster applied by a finish trade specialist or experienced painter runs $800 to $2,000 for the same wall, with materials accounting for $200 to $500 and labor for $600 to $1,500. Polished plaster materials are sold in 5-kilogram or 25-kilogram pails, and a single 5-kilogram pail covers roughly 50 to 80 square feet depending on coat thickness. DIY application with the same materials runs $200 to $500 for materials only, plus 8 to 16 hours of your time and the inevitable learning curve on your first wall.
Mineral primer plus limewash applied DIY runs $100 to $250 for materials (primer plus two gallons of limewash) and 6 to 10 hours of work for an 80-square-foot wall. The same approach by a hired painter runs $400 to $900. This is the budget-conscious entry point and produces good results, particularly when the room conditions favor the look (warm lighting, tall ceilings, traditional or transitional furnishings). Premium European limewashes cost $80 to $150 per gallon, while domestic specialty brands run $40 to $90 per gallon. Reviewing case studies from Architectural Digest shows how dramatic the look can be even on modest installations.
Where Plaster Walls Work and Where They Fight the Architecture
Plaster and limewash walls succeed in rooms with traditional, transitional, European-inspired, Mediterranean, or warm modern aesthetics. They reinforce architectural features like crown molding, arched doorways, and tall windows. They pair beautifully with antique furniture, natural materials (linen, wool, leather, wood), and warm metallic accents (brass, aged bronze, copper). Dining rooms, primary bedrooms, formal living rooms, and powder rooms are the most common successful applications.
Plaster walls struggle in rooms with strong contemporary or industrial aesthetics, in rooms with low ceilings (the texture compresses visually and reads as messy paint rather than architectural plaster), in rooms with cool 4000K or higher lighting (which strips the warm luminosity from the limewash and makes the surface look gray and flat), and in homes where the surrounding walls are bright white smooth drywall without crown molding or trim, where the plaster wall reads as an isolated experiment rather than a coherent design.
The American Society of Interior Designers and the American Institute of Architects both publish project archives showing successful plaster wall installations consistently located in spaces with at least two of the following: tall ceilings (9 feet or more), traditional or transitional surroundings, warm 2700K to 3000K lighting, and architectural features like trim or millwork that establish the formal vocabulary the plaster wall extends. If your room lacks all four of these conditions, consider whether plaster is the right material or whether a different wall treatment would serve the design intent better.
Maintenance, Durability, and the Long-Term Story
Lime plaster and limewash walls have remarkable durability when properly executed. Traditional lime plaster outlasts most building materials and develops increasing depth and character over decades. Limewash continues to harden for months after application as the calcium hydroxide carbonates fully, and the cured surface is resistant to mildew (lime is naturally alkaline and inhospitable to mold), reasonably scuff-resistant, and easy to touch up. Spot repairs blend invisibly because the new limewash chemically bonds with the existing surface rather than creating a visible patch.
The maintenance is genuinely low. Damp-wipe cleaning with a soft cloth handles routine surface cleaning. Stains in kitchens and bathrooms wipe more readily after the limewash has fully cured (typically 30 to 60 days post-application). Touch-ups for scuffs or scratches are simple: brush a small amount of limewash over the affected area with a small brush, and the new limewash will blend with the existing surface as it cures. This is dramatically easier than touching up flat paint, which almost always shows the patched area as a slightly different sheen.
The honest limitation is that limewash is not appropriate for high-moisture areas like shower walls or backsplashes behind sinks where direct water contact is frequent. The surface tolerates humidity well but degrades under repeated direct water exposure. For powder rooms (no shower), bedrooms, dining rooms, and living rooms, the durability concerns are minor and the aesthetic rewards are significant.
Conclusion: The Wall That Glows With Time
A properly executed plaster and limewash accent wall is one of the few interior treatments that genuinely improves with age. The first six months bring the deepest carbonation and the gradual emergence of the luminous quality that defines mature limewash. Years one through five settle the color into its final character. Decades on, the wall reads as inherited architecture, with the same authority as the walls in centuries-old European buildings that inspired the technique. This is not paint. It is mineral architecture, and the rewards reflect the difference.
The financial commitment is moderate compared to alternatives like full stone, full brick, or millwork-heavy paneling, and the visual payoff is substantial. An $800 to $2,000 polished plaster wall transforms a room more decisively than a $4,000 furniture refresh. A $200 DIY limewash wall, executed with patience and the right materials, transforms a room more decisively than $1,500 of conventional decorative painting. The key is choosing the approach that matches your skill, schedule, and budget honestly rather than overreaching on technique or underbuying on materials.
Before committing, order sample materials from your selected supplier, prepare a 2-by-3-foot test panel using your actual substrate prep and finish technique, and live with the panel under your room's actual lighting for at least one week. Photograph the panel at morning, midday, and evening to see how the surface responds to changing light. Ready to plan your plaster wall project? Identify the wall, photograph it under your existing lighting, sketch the surrounding furniture and architectural features, and use those materials to interview specialty plasterers or to plan your DIY approach with confidence, the right preparation transforms a daunting project into a deeply rewarding one.
More Articles You May Like
Comments
Post a Comment