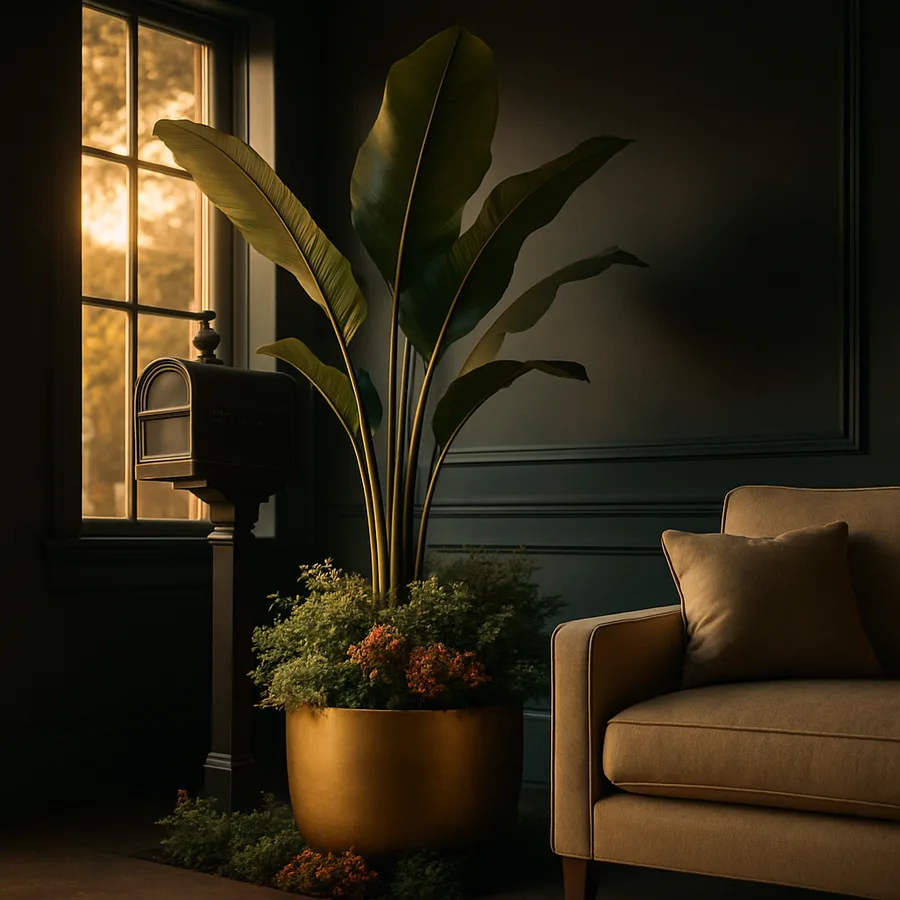
Mailbox Post and Garden Bed Combo Designs for Curb Charm
The mailbox is the smallest piece of architecture on most properties, and yet it sits at the most-viewed corner of the entire lot. Every neighbor, every visitor, and every passing car sees it before they see anything else. A neglected mailbox surrounded by weeds quietly tells the world that the rest of the home might be the same. A thoughtfully designed mailbox post combined with a small garden bed at its base, on the other hand, signals care, taste, and a sense of place. According to a National Association of Realtors Remodeling Impact Report, exterior curb appeal projects routinely rank among the top home improvements for return on investment, with landscape upgrades recovering 100 percent or more of their cost at sale.
This guide walks through everything required to plan, plant, and maintain a mailbox-and-bed combination that looks intentional from the moment it is installed and only improves with age. We will cover post styles, plant selection, soil prep, hardscape framing, and the often-ignored regulatory requirements set by the United States Postal Service. Whether you have a traditional black aluminum box on a four-by-four cedar post or a modern locking model on a powder-coated steel column, the principles translate. Have you ever wondered why some mailboxes look like they belong in a magazine spread while yours looks like a forgotten afterthought? The difference is almost never expensive materials. It is composition, scale, and seasonal stewardship.
Reading the Site and Following the Postal Service Rules
Before you draw a single sketch, walk to your mailbox and look at it from the street with fresh eyes. Note the post height, the distance from the curb, the angle of approach for delivery, and whether anything obstructs the carrier from reaching the box without leaving the vehicle. The United States Postal Service publishes specific guidelines that govern these dimensions, and ignoring them can result in your box being flagged for non-delivery. The standard requires the bottom of the box to sit between 41 and 45 inches above the road surface, with the front of the box set back six to eight inches from the curb face.
Carrier safety is the reason for the setback. Anything closer than six inches risks contact with the delivery vehicle, and anything farther than eight inches forces the carrier to overreach. Garden beds at the base of the mailbox must not extend into that approach zone, which means the planted area should generally curve behind and beside the post rather than wrapping around to the street side. A horseshoe or kidney shape works well, with the open end facing the curb. Decorative posts, ornamental fencing, and tall plants on the street side are also discouraged because they compromise visibility and can become collision hazards.
Local rules sometimes layer additional requirements on top of the federal ones. Many municipalities require break-away post designs in areas where snowplows operate, since rigid posts can damage equipment and rebound dangerously when struck. Check with your homeowner association if applicable, since some communities mandate specific post styles, colors, or numbering fonts to maintain a unified streetscape. Five minutes of research now can save you the headache of redoing the whole installation later.
Choosing a Post Style That Matches Your Home
The mailbox post is the architectural connector between your home's style and the street. A pristine craftsman bungalow deserves a stained cedar four-by-four with a chamfered cap, not a faux-Victorian cast aluminum scroll post that argues with everything else on the lot. A modern farmhouse looks right with a black metal column or a whitewashed wood beam capped in flat steel. A traditional colonial calls for a turned wooden post painted in the trim color, perhaps with a small finial. The American Society of Landscape Architects emphasizes that streetscape elements should echo the dominant lines and materials of the primary residence rather than competing with them.
Material durability matters as much as style. Pressure-treated southern yellow pine is the budget standard but tends to twist and check within a few years. Western red cedar resists rot and insects naturally and weathers to a soft silver-gray if left unfinished, or it can be sealed with a UV-resistant penetrating oil to preserve its warm color. White oak and black locust are even more durable but cost two to three times more. For metal posts, look for powder-coated steel rather than painted aluminum, since powder coating resists chips and scratches far longer.
Mounting the post correctly is non-negotiable. Set the base 24 inches deep in a hole 12 inches in diameter, with six inches of compacted gravel at the bottom for drainage. Pour quick-set concrete around the post and let it cure for 24 hours before mounting the box. Skipping the gravel base is the most common installation mistake and the reason so many posts develop a slight lean within a few seasons. A perfectly plumb post photographs beautifully and reflects the kind of craftsmanship that defines a well-tended home.
Sizing the Garden Bed Around the Post
The bed at the base of the mailbox should be large enough to feel intentional but small enough that one person can maintain it in 15 minutes a month. A good starting size is a kidney shape three feet wide along the front and four to five feet wide front to back, depending on the available street setback. The bed should curve gracefully rather than form a rigid square or circle, because organic shapes look more natural against the geometry of the post and box. Edge the bed with stone, brick, steel, or a defined trench to prevent grass from creeping in.
Bed depth should accommodate at least eight inches of amended soil for healthy root growth. If you are installing on top of compacted lawn or driveway gravel, build up rather than dig down, using a cedar or steel edging to retain the new soil. Mix in two to three inches of compost or aged manure to improve fertility, and incorporate a slow-release organic fertilizer at planting time. The Royal Horticultural Society recommends a final soil pH between 6.0 and 7.0 for most flowering perennials and annuals commonly used in mailbox beds.
Have you ever seen a mailbox garden that looked like it was strangling the post? That happens when plants are placed too close to the base or when overly aggressive species like English ivy are allowed to climb. Leave at least eight inches of clear space around the post itself for airflow and to prevent vines from wicking moisture into the wood. Plan the layout so the tallest elements sit directly behind the post, the medium-height plants flank the sides, and the shortest groundcovers spill toward the front edge.
Plant Combinations That Look Good All Season
Mailbox beds work hardest when they combine evergreen structure, multi-season perennials, and one or two annual color spots. A reliable backbone for sunny beds is a single dwarf boxwood behind the post, paired with two knock out roses on either side, a sweep of nepeta for purple haze in early summer, and a foreground of creeping thyme or sedum. This composition flowers from May to October, requires almost no deadheading, and tolerates the heat reflected from nearby asphalt.
For a cottage-garden feel, swap the boxwood for a tall ornamental grass like karl foerster feather reed grass, which adds vertical motion and stays attractive through winter. Add black-eyed susans, shasta daisies, and russian sage for a meadowy palette in white, yellow, and lavender. Tuck in a few daffodil bulbs in autumn for an early-spring surprise. The National Wildlife Federation notes that these prairie-inspired combinations also support native pollinator species, turning your mailbox into a tiny habitat hub.
Shaded mailbox beds, often found on north-facing lots or under tree canopy, benefit from a different palette entirely. Try a dwarf oakleaf hydrangea as the structural anchor, surrounded by heuchera in caramel and burgundy, japanese forest grass for chartreuse motion, and sweet woodruff as a fragrant groundcover. This grouping handles deep shade gracefully and provides four-season interest from spring blooms through autumn foliage to winter bark texture.
Hardscape Details That Frame the Composition
Edging is the visual frame that turns a planted patch into a designed bed. Belgian block, cobblestone, and weathered fieldstone all add timeless character but require careful installation to stay level. Steel edging in cor-ten or powder-coated black gives a crisp modern line and disappears visually once the plants fill in. Brick edging set on its end and laid in a soldier course pattern works beautifully with traditional architecture and can be color-matched to the home's masonry. The National Association of Home Builders reports that defined bed edging is one of the most-noticed details in front-yard curb appeal evaluations.
Consider adding a small accent element near the post to anchor the composition. A single granite millstone, a cast iron house number plaque, or a solar lantern on a low decorative pole all add layered interest without competing with the mailbox itself. Avoid the temptation to install too many ornaments, since clutter quickly reads as cluttered rather than charming. One thoughtful accent is almost always more powerful than three competing ones.
Mulch the entire bed with two to three inches of shredded hardwood, fine pine bark, or aged leaf mulch to suppress weeds and conserve moisture. Refresh the mulch layer once a year in early spring after the soil warms but before annual weed seeds germinate. Avoid dyed black or red mulch, which tends to fade unevenly and can release pigments into the soil during heavy rain. Natural mulch tones harmonize with nearly any planting palette and let the plants themselves carry the color story.
Lighting That Extends the Curb Appeal Into Evening
A mailbox bed that looks beautiful at noon disappears entirely after sunset unless you incorporate some form of lighting. Two main approaches work well. The first is a single low-voltage uplight installed at the base of the post, aimed upward to wash the post and box with warm light. The second is a pair of small path lights placed at the edges of the bed, providing low-glow illumination that shows off the planting and the bed shape. The Illuminating Engineering Society recommends using warm-temperature LED bulbs in the 2700 to 3000 Kelvin range for residential landscape applications, since these mimic the soft glow of incandescent and avoid the harsh blue cast of cooler color temperatures.
Solar fixtures have improved dramatically over the past decade and now offer reliable performance for mailbox lighting. Look for models with replaceable lithium-ion batteries, true LEDs rather than cheaper bulbs, and frosted glass or polycarbonate lenses that diffuse the light gently. Avoid bargain-bin solar lights, which fade within a single season and cheapen the overall composition. A pair of well-made solar fixtures at the bed corners delivers years of glow with no wiring required.
For homeowners who prefer wired systems, a small low-voltage transformer mounted on the home and a buried direct-burial cable can power a beautifully integrated lighting scheme. Bury the cable at least six inches deep, cover it with sand before backfilling, and use waterproof connectors at every fixture. This approach offers brighter and more dependable performance than solar, but requires planning at installation rather than retrofitting later.
Maintenance Routines That Keep It Looking Fresh
The single biggest threat to mailbox curb appeal is neglect that accumulates slowly over months. Plan a 15-minute monthly visit specifically for the mailbox bed. Pull any weeds, deadhead spent blooms, refresh mulch in any thin spots, and check the post for any signs of leaning or surface damage. Wipe down the box itself and the house numbers with a damp cloth, since road grime and pollen accumulate quickly on horizontal surfaces near the curb.
Schedule a deeper seasonal refresh four times a year. In spring, divide overgrown perennials, plant any seasonal annuals, and apply a slow-release fertilizer. In summer, water deeply during dry stretches and cut back any plants that have flopped. In autumn, plant fall-blooming chrysanthemums or ornamental kale, and tuck in spring bulbs for next year's surprise. In winter, add a few cut evergreen branches and a sprig of winterberry to keep the bed looking alive even under snow.
Repaint or reseal the post every two to three years, depending on local sun and weather exposure. A box and post that has been allowed to fade and chip ages the entire front yard, while a freshly maintained one signals a level of care that reflects on the whole property. The National Association of Realtors consistently ranks fresh exterior paint as one of the highest-impact, lowest-cost improvements for resale value.
Conclusion
A mailbox post and garden bed combo is one of the highest-leverage curb appeal projects you can take on. It costs a fraction of a kitchen renovation, takes a single weekend to install, and rewards you with daily visual pleasure for years to come. The framework is simple. Read the site, follow the postal regulations, choose a post style that matches your architecture, size the bed for easy maintenance, layer plants for four seasons, and frame the whole composition with thoughtful edging.
The mistakes to avoid are equally simple. Do not crowd the post with overgrown plants. Do not violate the postal service setback requirements. Do not skip the drainage gravel under the post. Do not over-ornament with too many accents. Do not let mulch and edging deteriorate without refresh. Each of these errors is easy to fix once you see it, and easy to prevent with a fifteen-minute monthly walk.
If you remember three things from this guide, remember the kidney-shaped bed, the four-season plant palette, and the warm low-voltage lighting. Those three elements alone will distinguish your mailbox from every undefined patch of grass on your block. Add a single thoughtful accent stone or solar lantern and you have a composition that photographs beautifully and reads as completely intentional from the street.
This weekend, take a photo of your current mailbox from the curb and a photo of one you admire in the neighborhood. Compare the two, list the differences, and prioritize the changes that will give you the biggest visual lift for the smallest budget. For more technical guidance on landscape design and curb appeal projects, the American Society of Landscape Architects and the National Association of Realtors both maintain free homeowner resources worth bookmarking before you begin.
More Articles You May Like


Comments
Post a Comment