DIY Upholstered Headboard With Tufting on a Weekend Budget
A beautifully tufted upholstered headboard can transform an ordinary bedroom into a boutique-hotel retreat, yet the price tags at most furniture showrooms hover between $600 and $2,200. The good news is that with a Saturday morning at the hardware store, a Sunday afternoon with a staple gun, and roughly $120 to $150 in materials, you can build a custom piece that rivals anything from a high-end retailer. According to a recent consumer report published by the Houzz Kitchen & Bath Study, bedroom-focused DIY projects grew 27% year over year as homeowners pursued higher-impact, lower-cost upgrades. This guide walks you through the exact process, tool list, and finishing tricks to deliver a showroom-quality headboard that fits your space, your style, and your wallet.
Before we begin, ask yourself two questions that will shape every decision in this project: How high do I actually want the headboard to rise above the mattress, and which fabric texture will still feel right to me three years from now? Answering those honestly keeps you from over-scaling the piece or choosing a trendy velvet you will regret. The American Society of Interior Designers (ASID) recommends that a headboard rise at least 28 inches above the top of the mattress for visual balance, though many designers push that number to 40 inches for a queen or king bed.
Why a Tufted Headboard Is the Highest-Impact Weekend Project You Can Tackle
Upholstered headboards, especially tufted ones, deliver a disproportionate amount of style per square foot. A recent reader survey from House Beautiful found that 64% of homeowners rated the headboard as the single most influential visual element in the primary bedroom, beating out bedding, art, and rugs. That statistic matters because it means the time and money you invest here will be visible from the moment anyone steps into the room. Tufting adds a sculptural, tailored quality that flat upholstery simply cannot match.
There is also a practical argument. A padded, fabric-wrapped headboard acts as an acoustic dampener, absorbing mid-range frequencies that would otherwise bounce off a bare drywall surface. If you read in bed, watch television at night, or share a room with a partner who works different hours, that absorption meaningfully reduces perceived noise. The International WELL Building Institute specifically cites soft wall-adjacent surfaces as a passive strategy for improving bedroom sleep quality.
Finally, a DIY headboard lets you nail a color or texture that is otherwise nearly impossible to source. Want a mushroom boucle, a muted sage velvet, or a vintage linen in a rust tone? Retail selections are limited, but fabric stores carry hundreds of options. This flexibility is the core reason interior designers overwhelmingly recommend the DIY route for bedrooms with any unconventional palette.
The Complete Materials List and Realistic Budget
Here is the exact list that I have used on three separate builds, along with typical prices from major home improvement retailers. For a queen-size headboard measuring 62 inches wide by 54 inches tall, expect to spend $130 to $160 total.
- 3/4-inch plywood panel cut to your dimensions at the store (free cutting at most Home Depot and Lowe's locations) - approximately $38
- 2-inch high-density foam from a fabric shop or upholstery supply - approximately $45
- Polyester batting, one full roll - approximately $14
- Upholstery-weight fabric, 3 yards minimum for a queen - $30 to $55 depending on material
- Cover buttons kit (size 30 or larger) - approximately $8
- Heavy-duty upholstery thread and a long curved needle - approximately $6
- Spray adhesive - approximately $9
- Staple gun and 3/8-inch staples - approximately $22 if you do not already own one
If you can borrow a staple gun, the total drops under $130 for a queen. According to the Joint Center for Housing Studies at Harvard, Americans spent over $482 billion on home improvement in a recent reporting year, yet small-scale bedroom projects represent less than 4% of that figure - a reminder that high-impact rooms are often under-invested. A weekend headboard build is one of the easiest ways to reverse that imbalance in your own home.
Step-by-Step Construction: Saturday Morning Through Sunday Afternoon
Start Saturday by picking up your plywood cut to size. I recommend drawing the shape at home first on kraft paper so you can test how tall it reads against the wall. Once you have the panel, lay it flat on a drop cloth and use spray adhesive to bond the foam sheet to the front. Press it with steady palm pressure for 60 seconds along each edge. Do not skip the spray adhesive step - shifting foam is the single biggest cause of uneven tufting.
Next, drape the batting over the foam with at least 4 inches of overhang on every side. Flip the panel face-down and staple the batting to the back, pulling it taut like a drum skin. Work from the center outward, alternating sides, so you do not create bunching. Trim excess batting with scissors once everything is secured.
Now comes the fabric layer. Iron your fabric first - this is the single most important tip most DIY tutorials skip. Wrinkles baked into the fabric during storage will remain visible under studio lighting or morning sun. Lay the fabric face-down on the floor, center the padded panel on top of it, and staple the fabric to the back just like the batting. Keep tension even but not so tight that you distort the weave.
The Tufting Process Explained in Plain Language
Tufting is where most first-time builders get nervous, but the mechanics are simple. You drill small holes through the plywood in your desired tufting pattern before upholstering. A classic diamond pattern uses a 6-inch or 8-inch grid, with alternating rows offset by half a unit to create the diamond shape. Mark your grid with a pencil before drilling.
Once the fabric is stapled, thread a long upholstery needle with heavy-duty thread, push it through the back of the panel through one of your pre-drilled holes, catch the fabric on the front, slip a covered button onto the thread, and push the needle back through the same hole. Pull the thread tight from the back and staple it to the plywood in a figure-eight pattern to lock it. The compression of the foam creates the signature tuft.
Work one tuft at a time and resist the urge to power through. Ask yourself this as you go: Am I pulling each button to the same depth? Consistency is what separates a professional-looking headboard from a homemade one. Designers at Apartment Therapy consistently flag uneven tuft depth as the number one tell of a novice build.
Mounting Options That Actually Work for Renters and Owners
You have three realistic mounting choices. The first is a French cleat, a beveled wood strip that attaches to the wall and a matching strip on the back of the headboard. French cleats hold hundreds of pounds, sit flush, and lift off easily when you move. This is my preferred method for owners.
The second option is attaching 2x4 legs to the back of the panel that slide between the bed frame and the mattress, letting the headboard rest against the wall without any hardware in the wall itself. Renters love this approach because it leaves zero damage. The third option is heavy-duty D-ring hangers paired with wall anchors rated for at least 50 pounds, which works well for lightweight foam-and-fabric headboards on drywall.
Whichever method you choose, measure twice before drilling. The National Association of Home Builders (NAHB) reports that bedroom mismeasurements are the most common DIY failure, accounting for roughly 19% of weekend project redos. A laser level and a pencil mark on painter's tape will save you hours of frustration.
Styling the Finished Headboard for Maximum Impact
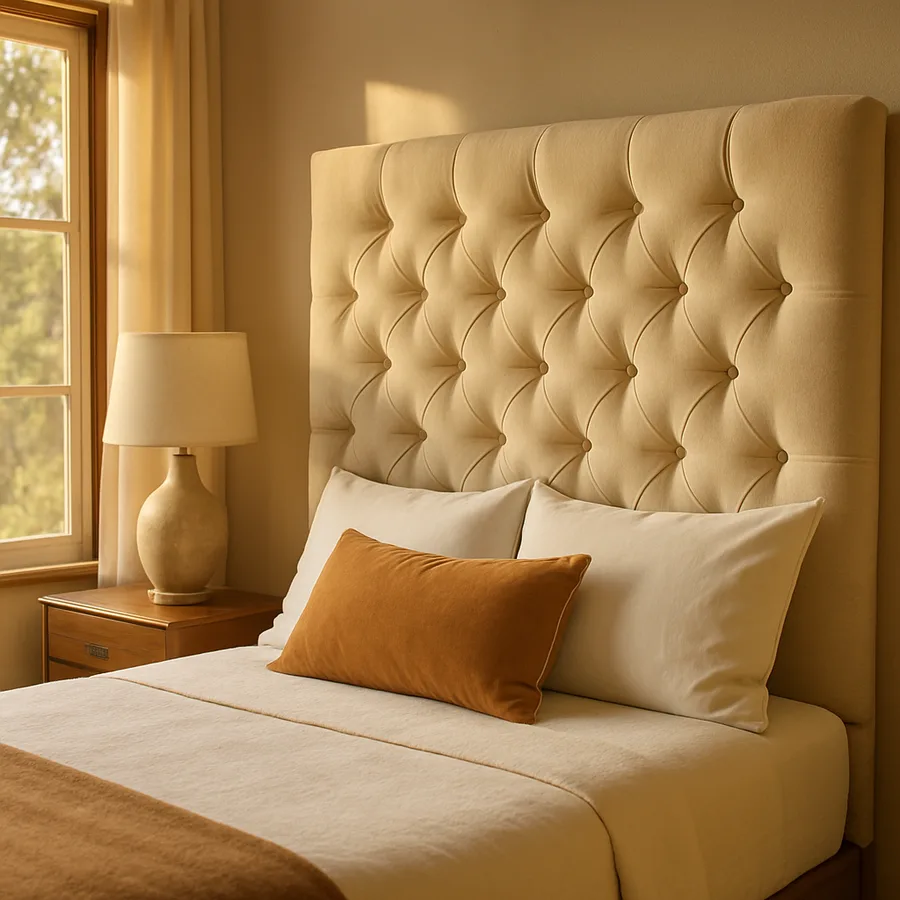
A tufted headboard deserves styling that lets it breathe. Layer your bed with a white or ivory fitted sheet, a textured linen flat sheet, a waffle or matelasse coverlet, and two to three pillows in complementary but non-identical textures. Avoid matching the sham fabric to your headboard fabric - contrast is what makes tufting read as deliberate. Designers featured in Architectural Digest frequently pair velvet headboards with linen shams and vice versa.
Lighting matters more than most people realize. A pair of plug-in sconces flanking the headboard at roughly 60 inches from the floor casts warm downward light that flatters the tufting texture. Avoid overhead-only lighting, which flattens the dimension you worked so hard to create. If sconces are not an option, two slim nightstand lamps with linen shades will do the job beautifully.
Finally, consider scale when you hang art or mirrors above the headboard. A common mistake is hanging a small piece over a large headboard, which makes the wall feel unfinished. Either skip the art entirely and let the headboard be the statement, or choose a piece that is at least 60% as wide as the headboard itself.
Conclusion: Your Weekend Is Worth More Than You Think
A tufted headboard is one of the rare DIY projects where the finished piece genuinely looks custom, not homemade. The skills you pick up - stretching fabric, measuring tuft grids, working with foam and batting - transfer directly to other upholstery projects like window benches, ottomans, and dining chair seats. Many readers tell me the headboard was their gateway into a larger upholstery hobby that now saves them thousands of dollars a year on furniture.
The other quiet benefit is the bedroom itself. A fabric-wrapped focal wall softens acoustics, adds warmth, and signals intentionality the moment you walk in. That feeling of this room was made for me is something no off-the-shelf retail purchase can replicate. You do not need to be an experienced woodworker, and you do not need a dedicated shop. You need a flat floor, a staple gun, a Saturday, and a willingness to take your time.
If you have been putting off the project because it felt intimidating, let this be the weekend you commit. Clear your Saturday morning calendar, make the hardware store trip tomorrow, and have dinner Sunday night in a bedroom that feels brand new. Photograph your finished headboard from three feet away in natural light - you will want to remember exactly how it looked on day one.
Still on the fence? Here is the final question to sit with: What is one visible element in your bedroom right now that makes you feel less than proud of the space? For most people, the answer is a bare wall behind the bed. The fix is closer, cheaper, and more achievable than the furniture showroom wants you to believe.
Troubleshooting Common Tufting Problems Before They Ruin Your Weekend
Even with careful preparation, first-time builders run into a handful of predictable issues. Knowing about these in advance will save you hours of frustration and probably a second trip to the fabric store. The most common problem is puckering around each button, where the fabric bunches at the tuft rather than pulling smoothly into the depression. This happens when the hole drilled through the plywood is too small - widen it to 3/8 inch and the fabric will fold into the cavity cleanly. The Upholstery Professionals Association recommends a minimum 3/8-inch hole for any diamond tufting work.
The second issue is uneven button depth, where some tufts sit deeper than others. Fix this by counting exactly how many staples you use to anchor each button thread on the back. Consistency in the anchoring pressure translates directly to consistency on the front. Many builders find it useful to mark the back of the plywood with each tuft number as they go, creating a simple log of thread tension.
Finally, you may notice fabric slippage at the edges where the upholstery meets the corners of the plywood. This is almost always a sign that you rushed the corner folding step. The fix is a hospital-corner technique - fold one side first, then the perpendicular side on top, then staple through both layers at a 45-degree angle. A well-executed corner is nearly invisible from the front and holds its shape for years.
Caring for Your Handmade Headboard Over the Long Term
A DIY upholstered headboard rewards modest ongoing care with a decade or more of good looks. Vacuum the surface every two to three months using a low-power upholstery attachment. This prevents dust and skin cells from working into the fabric fibers, which is the invisible cause of headboards that look dingy after a few years. The American Cleaning Institute specifically recommends regular vacuuming as the single most important maintenance step for fabric furniture.
For spot cleaning, test any product on an inconspicuous area first - the bottom back corner is ideal. Water-based cleaners work well on cotton and linen; solvent-based ones are safer for synthetics. Ask yourself: Do I know for certain what fiber content my fabric is? If the answer is no, check your original purchase receipt or fabric roll tag before applying anything stronger than a damp microfiber cloth.
If the fabric eventually shows wear after many years of use, the beauty of a DIY build is that you can simply reupholster. Remove the existing fabric, leave the foam and batting in place if they are still in good shape, and apply new fabric. A reupholstery refresh costs roughly $50 in materials and takes an afternoon. Compare that to replacing a store-bought headboard entirely, which typically runs hundreds of dollars.
More Articles You May Like


Comments
Post a Comment