Self Watering Window Box Reservoir Size And Drainage Rules
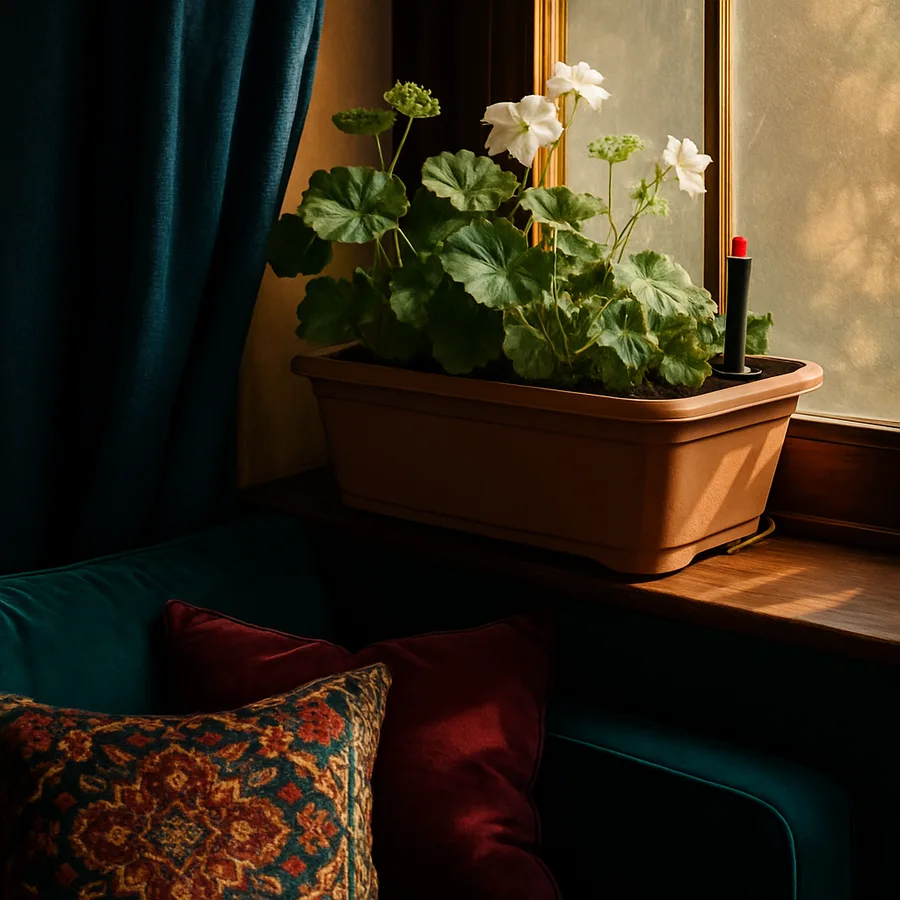
A self-watering window box looks like a piece of magic until the first heatwave hits, the reservoir runs dry by noon, and the petunias collapse. Or, equally common, the reservoir never empties at all, the roots sit in stagnant water, and by August the whole box smells like a swamp. Both failures come from the same root cause: the reservoir was sized for a different climate, a different plant mix, or a different box than the one you actually own.
Sizing a reservoir is not difficult, but it is specific. The right answer for a sunny south-facing aluminum box with verbena in Phoenix is wildly different from the right answer for a partly shaded cedar box with impatiens in Portland. Here is how to think through it.
How Much Water Does A Window Box Actually Lose On A Hot Day?
Evapotranspiration, which is the combined loss of water from soil evaporation and plant transpiration, is the figure that drives reservoir sizing. The USDA Natural Resources Conservation Service publishes regional reference evapotranspiration rates, and the spread is striking. A 36-inch window box in Phoenix in July can lose 1.2 to 1.5 gallons of water in a single day. The same box in Seattle in July loses about 0.4 to 0.6 gallons. That is a three-times difference for the same hardware.
Container plants lose water faster than the same plants in the ground, because the root mass is restricted and the soil column is thin. Research published by the American Society for Horticultural Science suggests container evapotranspiration can run 25 to 40 percent higher than open-ground rates for the same species and exposure. The practical takeaway: design your reservoir for two days of capacity at your local peak summer demand, not for the average day.
For most of the continental United States, that means a 36-inch box wants a reservoir holding between 1 and 3 gallons. In the desert Southwest, push toward 3.5 gallons. In the Pacific Northwest, 1 gallon is often plenty.
Why Does A Bigger Reservoir Sometimes Cause Root Rot?
The instinct is to oversize the reservoir so you can water less often. The instinct is wrong, and understanding why explains most self-watering box failures.
A reservoir feeds the soil through capillary action: water wicks upward through a fabric or perlite column, soaking the root zone from below. If the reservoir is too deep relative to the soil column above it, the wicking distance exceeds what soil capillarity can manage, and the upper soil stays bone dry while the bottom stays saturated. The plant roots, sensibly enough, grow down into the wet zone, and then they drown the moment the reservoir refills after a rainstorm.
The rule the Royal Horticultural Society publishes in its container gardening guidance: the reservoir depth should not exceed 25 to 30 percent of total box depth, and the soil column above it should be at least 6 inches. A 9-inch deep box can support a 2-inch reservoir at most. An 11-inch deep box can support up to 3 inches. Going deeper buys you nothing in usable water and costs you healthy roots.
There is also a temperature dynamic that few homeowners think about. A reservoir that sits saturated and stagnant under a metal or dark composite box can reach 95 degrees by mid-afternoon in a south-facing exposure. At that temperature, dissolved oxygen levels in the water drop sharply, and the anaerobic conditions that follow are exactly what root-rot pathogens such as Pythium and Phytophthora need to take hold. A shallower reservoir cycles its water faster through plant uptake, which keeps oxygen levels and pathogen counts in check.
What Drainage Holes Belong In A Self Watering Box?
This question trips up almost every first-time builder. A self-watering box still needs drainage holes, but they belong in a very specific place: at the top of the reservoir, not at the bottom of the box.
The mechanism is an overflow weir. You drill a row of holes (typically 1/4 inch diameter) horizontally through the side wall at exactly the height where the reservoir is full. When rain or overwatering pushes the water above that line, the excess drains out the overflow rather than rising into the soil column. The reservoir below that line stays full, the soil above stays moist but not saturated, and the system self-regulates.
Cornell University's cooperative extension has documented that boxes without overflow weirs are roughly four times more likely to develop root rot during a wet summer than boxes with proper weirs. The fix is a $2 drill bit and ten minutes of work.
One reader question I hear repeatedly: do I still need a saucer underneath? If the box hangs from a wall, no, the overflow simply drips down the wall (which is why you want overflow holes facing outward, not toward the house siding). If the box sits on a railing or shelf, yes, place a tray underneath to catch overflow during heavy rain.
The overflow weir also serves a diagnostic purpose during the season. If you check the box after a heavy rainstorm and water never drips from the overflow, the holes are clogged with soil or debris, and the reservoir is at risk of overfilling into the root zone. A quick poke with a wire or toothpick clears most blockages. If the overflow drips constantly for hours after a rain, the reservoir is functioning correctly and the system is shedding excess water on its own. This visible feedback is one of the underrated benefits of a properly built overflow weir compared to a sealed reservoir with a manual drain valve.
One placement detail that matters more than it sounds: orient the overflow holes so that the dripping water clears the wall surface entirely. A drip line of mineral-laden water down a stucco wall will leave permanent staining within a single season, and the staining is essentially impossible to remove without repainting. A simple drip edge (a quarter-inch lip extending outward from the box wall just below the overflow holes) directs the water away from the wall and prevents the streaking.
How Big Should The Fill Tube And Wicking Column Be?
The fill tube is how you top up the reservoir without disturbing the soil. A 1-inch PVC pipe is standard (Schedule 40 to ASTM D1785 for cold-water service), though 3/4 inch works for shallower boxes. The tube should run from the top surface of the soil down to within half an inch of the reservoir floor, with the bottom end cut at an angle so it does not seal against the floor when seated.
The wicking column is more critical. This is the vertical pathway, usually a perforated tube filled with potting mix or a fabric sleeve, that draws water from the reservoir up into the soil column. The Brooklyn Botanic Garden's container gardening publications recommend a wicking column diameter of at least 2 inches for boxes up to 4 feet long. Smaller wicks cannot move enough water during peak demand and the upper soil dries out even with a full reservoir.
For boxes longer than 4 feet, use two wicking columns spaced evenly along the length. This is one of those small details that makes a noticeable difference in plant performance during August. A second consideration is wick material: a coarse, fibrous medium such as a perlite-coir blend transports water faster than dense pure potting mix and reaches the surface noticeably better in hot weather. If you find the top inch of soil staying dry even with a full reservoir, the wick is almost always the bottleneck, not the reservoir volume.
Which Soil Mix Works With A Reservoir System?
Standard potting mix is too coarse for self-watering boxes. The peat-perlite blends sold for general container use have too much air space, which breaks capillary continuity, and the water never reaches the top of the soil column.
What works: a mix heavy in coir (coconut fiber) or fine peat, with perlite added at no more than 20 percent by volume. Coir holds 8 to 9 times its weight in water and releases it slowly enough that the wicking action stays smooth. Add a slow-release fertilizer formulated for containers, because the constant moisture leaches nutrients faster than in conventionally watered boxes. Iowa State University Extension recommends fertilizing self-watering containers at roughly 1.5 times the rate listed on the package for standard pots.
Avoid bagged garden soil, topsoil, or anything labeled for raised beds. Those mixes are designed for free-draining ground contact and will turn into anaerobic mud at the bottom of a reservoir box within three weeks.
Where To Start
Begin by measuring your existing box (or the one you plan to buy) and calculating 25 percent of its internal depth. That is your maximum reservoir depth. Then look up your regional reference evapotranspiration rate for July and multiply by 1.3 to get the container-adjusted figure. That tells you the daily water demand, and you can size the reservoir volume to cover two days at peak.
From there, the build is straightforward: drill the overflow weir at the top of the reservoir line, install a 2-inch wicking column (two if your box is over 4 feet), add a 1-inch fill tube, and fill with a coir-based mix. If you want to test before committing to a planted display, fill the reservoir, wait 24 hours, and check that the surface soil feels evenly moist to the touch. If it does, you have a system that will carry healthy plants through your hottest week. If the surface is still dry, your wick is too small or your soil mix is too coarse, and either is an easy fix before the plants go in.
More Articles You May Like



Comments
Post a Comment