
Window Box Mounting Hardware For Stucco And Brick Walls
Window Box Mounting Hardware For Stucco And Brick Walls
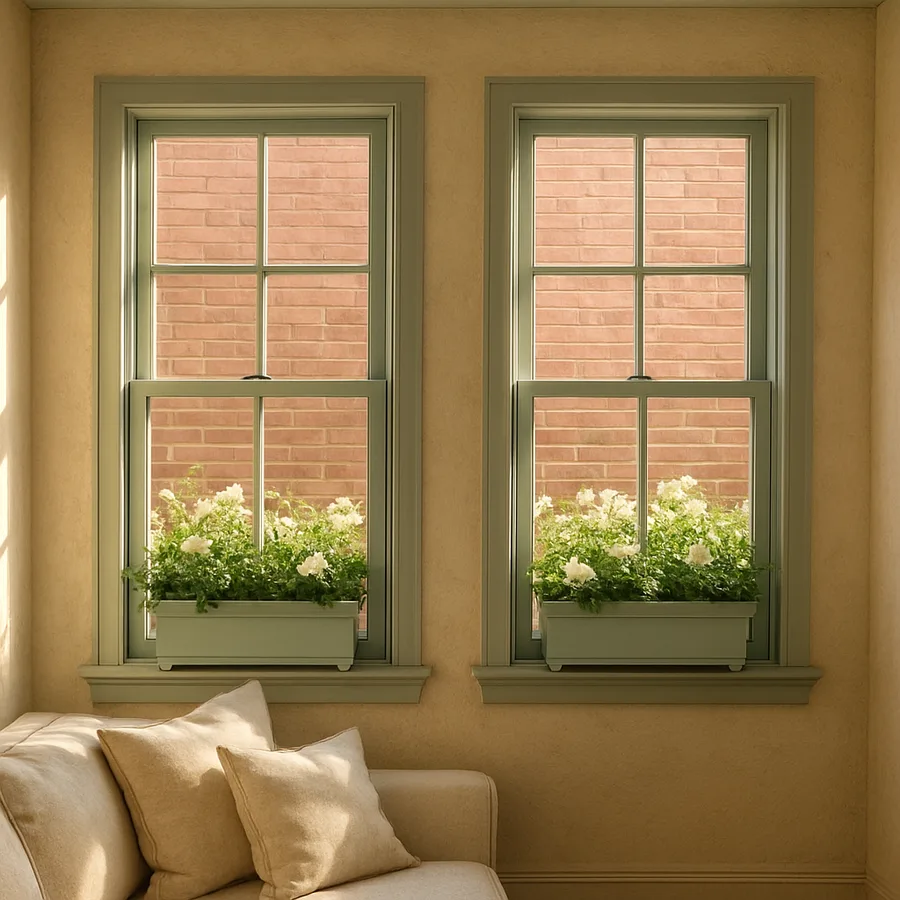
A window box loaded with wet soil, mature plants, and a recent rain can tip the scales at sixty to ninety pounds. That weight has to hang from a wall material that was never really designed to carry vertical loads at a single point. Stucco was meant to shed water, and brick was meant to stack. Once you understand how each material behaves under a hanging load, the hardware question stops feeling like a guess and starts feeling like a math problem with a clean answer.
What follows walks through the questions homeowners ask most often when they reach the hardware aisle and freeze. I have written it as a sequence of questions because that mirrors the way most people actually think through this project.
How Heavy Will My Window Box Actually Be When Fully Planted?
A planted window box is heavier than people expect. The Royal Horticultural Society notes that wet potting soil weighs roughly 12 to 15 pounds per cubic foot, and a standard 36-inch cedar box holds about 1.5 cubic feet of mix. That gives you 18 to 22 pounds of soil alone before a single plant goes in. Add the box itself (10 to 25 pounds depending on material), mature root balls, foliage, and standing water after a storm, and the realistic loaded weight lands between 55 and 95 pounds.
The University of Illinois Extension recommends sizing mounting hardware to support at least three times the dry weight of the assembled planter. That triple-safety figure is not paranoia. It accounts for wind loading, freeze-thaw cycling that loosens fasteners over time, and the eccentric pull a deep box exerts on the wall as the plants lean outward and the soil mass shifts forward. If your box and contents come in at 70 pounds, you are shopping for hardware rated at roughly 210 pounds of pullout resistance per anchor pair, minimum.
Wind load is the variable people most consistently underestimate. A 36-inch by 10-inch tall planter presents about 2.5 square feet of broadside area to the wind. At a 50 mph gust, which is well within normal severe-weather range across most of the country, that surface experiences roughly 16 to 18 pounds of lateral force, multiplied by the moment arm from the wall to the planter's center of mass. The resulting pry-out force on the upper fasteners can easily exceed the static weight of the planter itself.
Which Anchor Type Holds In Soft Brick Versus Hard Brick?
Not all brick is created equal. The Brick Industry Association classifies face brick into three weathering grades, and the difference between a Grade SW (severe weathering) and an older soft-fired brick is enormous when you start drilling. Hard, modern brick takes a sleeve anchor or a Tapcon-style concrete screw beautifully. Soft brick, common on homes built before 1950, will spall around the hole and lose grip within a season.
The rule most masons use: drill into the brick face, not the mortar joint, whenever the brick is hard enough to keep its edge cleanly. If the bit chatters or the surface flakes, switch to the mortar joint and use a longer anchor (3.5 inches minimum) to reach through the soft outer layer into the firmer bedding mortar behind. For hard brick, a 1/4-inch sleeve anchor at 2.5 inches deep will routinely test out above 400 pounds of pullout resistance, which is more than enough.
One question I get asked constantly: can I just use plastic plug anchors? The short answer is no. Plastic anchors rely on friction against the wall material, and brick has too much variability in its internal void structure to give a reliable grip. Stick with metal expansion anchors or masonry screws for any exterior load-bearing application.
What Changes When The Wall Is Stucco Instead Of Brick?
Stucco is a sandwich. There is the visible stucco coat (typically 7/8 inch thick over wire lath), an air gap or building paper, and then the actual structural sheathing or framing behind. The stucco itself cannot hold a screw under load. The American Society for Testing and Materials standard ASTM C926 specifies stucco as a finish material, not a structural one. Every fastener for a window box has to pass through the stucco and bite into framing.
That means locating studs is non-negotiable on a stucco wall. A standard stud finder will often struggle with the wire lath, so the trick most installers use is to measure from a known reference point such as a window frame, which is always nailed to a king stud. From the edge of the window trim, studs typically run on 16-inch centers heading outward. Drill a small pilot hole at your intended bracket location, and if the bit pulls dry wood shavings back out, you have hit framing. If it goes soft, reposition.
For the stucco face itself, the trick is to drill a slightly oversized hole through the stucco (5/16 inch for a 1/4 inch fastener) so the fastener does not bind on the stucco coat as the wall flexes seasonally. Seal the annular gap with a paintable polyurethane sealant. The seasonal flex matters: stucco walls can move noticeably between July expansion and January contraction, and a fastener that binds tight to the stucco coat will crack the surrounding finish within two or three winters, creating an obvious failure point for water entry.
Are French Cleats Or L-Brackets Better For This Job?
This is where people get into trouble. The most common failure mode I see is not the wall giving way. It is the bracket itself rotating downward because all the load was concentrated on a single screw at the top. L-brackets are vulnerable to this. They want to peel off the wall under any forward tipping load, which a planted box generates constantly as the plants grow and lean forward.
French cleats solve this elegantly. A French cleat is two interlocking 45-degree beveled rails: one screws to the wall through multiple anchor points, the other screws to the back of the planter. The angle of the bevel pulls the planter tighter against the wall as gravity acts on it. The University of Vermont Extension's master gardener program has noted that cleat-mounted window boxes can carry roughly 40 percent more sustained load than equivalent L-bracket setups, because the load distributes across the full length of the rail rather than concentrating at two points.
If you do use L-brackets, choose a model with a triangular gusset (the diagonal stiffener between the two arms) and use at least three anchor points per bracket. Two-hole brackets are for picture frames, not planters. For a 36-inch box, plan on three brackets across the span rather than two, with the middle bracket carrying the bulk of the eccentric load that develops as the soil compacts forward over the season.
Bracket material matters more than people realize. Powder-coated steel brackets fail at the powder-coat first, and once corrosion reaches the steel beneath, the structural capacity drops quickly. Hot-dipped galvanized steel brackets last longer but eventually show rust at any drilled or cut edge. Solid stainless steel brackets cost roughly three times more up front but are the only choice with a realistic 25-year service life in a corrosive environment. For inland installations the cost difference rarely justifies stainless, but within sight of saltwater the math flips entirely.
How Do I Stop Water Damage Where The Hardware Meets The Wall?
Every penetration through a stucco or brick wall is a potential entry point for water, and water that gets into the wall cavity is far more expensive to fix than the window box itself. The detail that matters most: the fastener hole on a vertical wall must shed water, not collect it.
Drill all anchor holes with a slight downward angle (about 5 degrees from horizontal) so any water that enters drains back out before reaching the wall cavity. Apply a bead of polyurethane sealant around the head of each fastener after installation. Polyurethane is the right material here because silicone does not bond well to porous masonry and will fail within a few years of UV exposure.
One more reader question worth addressing: should I leave a gap between the back of the planter and the wall? Yes. A half-inch air gap, achieved with neoprene spacers behind the cleat or bracket, allows the wall to dry out after rain and prevents the back of a wooden planter from rotting against trapped moisture. This single detail can double the lifespan of a cedar box.
Where To Start
Before you buy a single anchor, weigh your empty planter and add the soil volume figure to estimate your loaded weight. Then identify your wall type honestly. If you live in a home built before 1950 and see soft, sandy brick, plan for mortar-joint anchors. If you have stucco, accept that stud location is the entire game.
From there, the path is straightforward. Buy a French cleat rated above your tripled load figure, choose anchors matched to your wall material, drill with a downward angle, seal every penetration, and install spacers for an air gap. Take photos of the bracket positions before the planter goes on so you can find the same holes next spring when you reinstall after winter storage. A window box that stays up for ten years is almost always one where the homeowner spent thirty extra minutes on the hardware decision at the start.


Comments
Post a Comment