Outdoor String Light Hanging Methods From Trees and Posts
String lights have moved from a temporary patio accent to a defining feature of outdoor living, and getting them hung correctly is the difference between a magical evening canopy and a sagging tangle that fails by midsummer. Whether you are working with mature trees, fence posts, pergola corners, or a dedicated set of installed poles, the principles of safe anchoring, proper sag, and weather-resistant hardware stay the same. This guide walks through the practical methods that professional landscape lighting designers use for residential installations, translated into language any homeowner can act on this weekend.
The goal is not just to hang lights that work tonight; it is to build an installation that survives wind, rain, ice, and the slow swelling of tree trunks across multiple growing seasons. Done right, an outdoor string light layout becomes a permanent architectural feature of the backyard that you only refresh when bulbs burn out. Done poorly, it becomes a recurring chore that you dread every spring. Have you ever looked at a beautifully lit restaurant patio and wondered how they keep everything so taut and even? The answer almost always involves dedicated guide wires, professional-grade hardware, and a few small techniques you can replicate at home.
Planning the Layout Before You Buy a Single Light
Every successful installation starts on paper, not at the hardware store. Sketch your yard from above and mark every potential anchor point: tree trunks thicker than six inches, fence posts set deep enough to resist lateral pull, building corners with structural framing behind the siding, and any pergola or arbor structures. The Illuminating Engineering Society recommends planning lighting layouts at least one full design pass before installation, accounting for sight lines, seating zones, and the geometry of how guests will move through the space.
Once anchor points are marked, draw the desired light paths between them. The best layouts create a sense of enclosure overhead, with lights crisscrossing the dining or seating area at a height of nine to eleven feet. Lower than nine feet feels cramped and creates head-strike risk for tall guests. Higher than twelve feet loses the intimate canopy effect and starts to feel more like commercial parking lot lighting. According to research from the American Lighting Association, the sweet spot for residential ambient lighting density is roughly one bulb every twelve to eighteen inches along the strand.
Measure the linear distance of each run and add roughly fifteen percent for sag, terminations, and the path from the last bulb back down to an outlet. A run that looks like sixty feet on the ground often needs seventy or seventy-five feet of strand once you account for the natural curve of the wire. Reader question: have you ever bought a light strand only to discover at the last moment that it falls eighteen inches short of the outlet? A few minutes of measurement upfront prevents almost all of these surprises.
Anchoring to Living Trees Without Causing Damage
Trees are the most beautiful anchor points but also the most easily damaged ones. Never wrap wire, rope, or zip ties tightly around a trunk or branch. As the tree grows, that wrap will girdle the bark and either kill the limb or invite disease into the cambium layer. The American Society of Landscape Architects has formal guidance for any temporary or semi-permanent attachments to living woody plants, and the core rule is simple: use methods that allow for trunk expansion and avoid penetrating the bark unnecessarily.
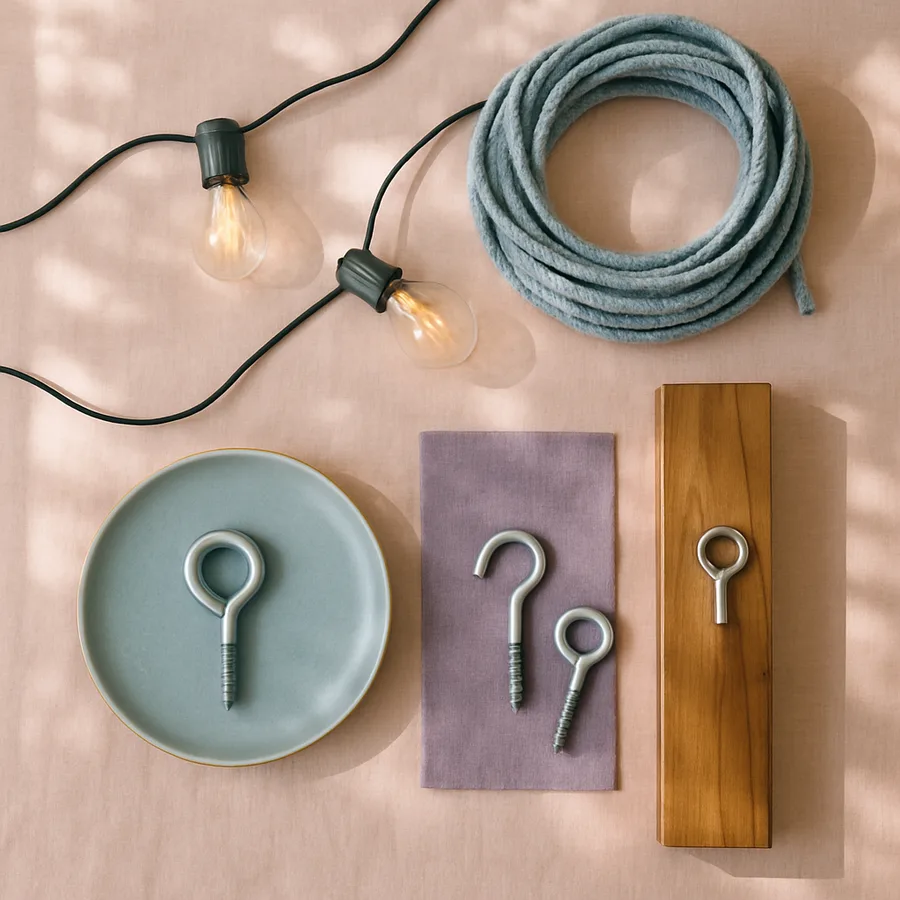
The cleanest method is a tree-friendly strap or sling that wraps loosely around a major branch or trunk and provides a single attachment point on the outside. Cinch straps designed for hammocks work well, as do specialty arborist slings rated for at least one hundred fifty pounds of load. The strap distributes pressure across a wide surface area and can be loosened or relocated annually as the tree grows. From the strap, attach a stainless steel carabiner or marine-grade snap hook, which then connects to your guide wire or directly to the string light.
If you must attach directly to the trunk for a heavy load, use a single galvanized eye lag screw rather than multiple smaller fasteners. Trees compartmentalize wounds around individual injuries far better than they handle clusters of small punctures, so one well-placed lag screw causes less long-term harm than four nails or screws spread across a few inches of bark. Always pre-drill the pilot hole, install in dormant winter months when possible, and remove the screw entirely if you change layouts later rather than leaving abandoned hardware.
Using Posts and Building Structures as Anchor Points
Wooden fence posts, building corners, and dedicated lighting poles offer the most predictable anchoring of any option. The key is matching the fastener to the substrate. For pressure-treated wood posts, stainless steel or galvanized eye screws rated for outdoor use will outlast standard zinc-plated hardware by roughly four to one in coastal or humid climates. Pre-drill a pilot hole roughly seventy percent of the screw diameter to prevent splitting.
For attaching to a house, locate structural framing behind the siding rather than relying on siding itself. The siding alone cannot reliably support the lateral load of a tensioned light strand, especially in winds. A stud finder or careful inspection of soffit nailing patterns can help identify safe attachment points. The National Electrical Code provides guidance on outdoor lighting attachments to dwellings, particularly around clearance from roof edges, gutters, and any overhead service drops.
Dedicated lighting posts are the gold standard for permanent installations and can be added even in yards with no existing structure. A four-by-four cedar or pressure-treated post set thirty inches into the ground in concrete will hold tension indefinitely. Allow the concrete to cure fully for seventy-two hours before applying any tension load. Reader question: do you have a corner of the yard that lacks a natural anchor point? Adding a single dedicated post can unlock entire new lighting zones that were previously impossible.
Guide Wire Versus Direct Strand Hanging
One of the most important decisions you will make is whether to hang the string light directly between anchors or to install a separate stainless steel guide wire and clip the light strand to it. For runs under twenty feet between solid anchors, direct hanging is acceptable. For anything longer, a guide wire dramatically improves both appearance and longevity.
The reason is that string light wire is not designed to carry significant tensile load. The conductors inside are sized for electrical current, not structural duty. Pulling a long strand taut between two anchors stresses the connection points at every bulb socket, and over a season of wind the wires fatigue, sockets crack, and the strand fails at the weakest link. A separate stainless aircraft cable, typically one-eighth inch diameter, carries all the structural tension while the light strand simply hangs from clips along the cable.
A galvanized turnbuckle on one end allows you to adjust tension throughout the season. Aim for a slight visible droop of roughly six to twelve inches over a thirty-foot run; pulling the wire perfectly straight invites failure during the first ice storm. Use stainless steel zip ties, S-hooks, or dedicated string light clips every twelve to eighteen inches to attach the strand to the cable. This separation of structural and electrical functions is the single biggest upgrade most homeowners can make.
Weatherproofing Connections and Outlets
An outdoor light installation is only as reliable as its weakest electrical connection. Every plug, junction, and end cap needs deliberate weather protection if you want the system to last beyond a single season. The National Electrical Code requires that outdoor outlets used for permanent or semi-permanent loads be of the in-use weatherproof variety, with a hinged cover that closes around the plug while it is energized. Any outdoor outlet on a string light circuit should also be on a ground fault circuit interrupter for safety.
Where two strands connect, wrap the joint in self-fusing silicone tape rather than electrical tape. Silicone tape bonds to itself permanently and creates a watertight seal that rivals factory connectors. Standard vinyl electrical tape relaxes in heat, peels off in cold, and lets moisture infiltrate the joint within a single season. For end-of-strand caps, a simple dab of dielectric grease inside the socket before installing the end cap pushes water out and prevents corrosion.
If your installation crosses a walkway or driveway, code typically requires conduit or buried wire rather than overhead spans. Consult your local building department for specific clearance requirements. Permanent overhead spans across vehicular paths often need a minimum of twelve to fifteen feet of clearance, and some jurisdictions require a permit for any installation that crosses property lines or attaches to detached structures.
Bulb Selection, Spacing, and Long-Term Maintenance
The visual character of your installation depends almost entirely on bulb choice. Warm white LEDs in the twenty-two hundred to twenty-seven hundred Kelvin range produce the candlelit glow that defines high-end restaurant patios. Cooler bulbs above three thousand Kelvin can read as harsh or industrial in residential settings. Filament-style LEDs that mimic vintage Edison incandescents are roughly ten times more efficient than the bulbs they replace, with quoted lifespans of fifteen thousand to twenty-five thousand hours depending on the manufacturer.
Spacing the bulbs every twelve inches creates a denser canopy effect, while twenty-four-inch spacing reads as more open and modern. Mixing strands of different spacing in the same yard tends to look chaotic, so commit to one cadence per zone. For long runs, consider how the strand will look when bulbs eventually fail; sockets that allow individual bulb replacement save you from having to replace the entire strand when one bulb dies.
Plan for an annual maintenance check at the start of each outdoor season. Walk every run, check each anchor for movement, inspect splices for any tape degradation, and replace any bulbs that have failed or grown dim. The American Lighting Association notes that systems with annual inspection routines last roughly twice as long as those installed and forgotten. A thirty-minute walkthrough each spring is a small price for years of reliable light.
Conclusion
A well-designed outdoor string light installation transforms a backyard from a place you visit during the day into a destination you actively want to spend evenings in. The work of planning anchors, choosing the right hanging method, separating structural from electrical loads, and weatherproofing every connection sounds tedious in the abstract, but it pays back every time you flip the switch and watch the canopy come alive. The household that invests one careful weekend in this project ends up with three to five years of reliable performance instead of the disappointing single season most casual installations deliver.
The most common regret homeowners share after a year or two is not that they did too much, but that they undersized the project. They wish they had run the cable a little tighter, anchored to a real post instead of a flimsy fence panel, used the slightly more expensive stainless hardware, and added one more zone of light to the seating area. Plan generously, buy quality components, and remember that a stainless steel guide wire and proper tree-friendly anchors will still be doing their job long after the bulbs have been replaced multiple times.
Once your main installation is in place, the upgrades become small and satisfying. Add a smart plug for scheduled on-and-off times. Layer in a second zone of lower lights along a pathway. Swap warm white for a controllable color strand on a deck section for variety. Each addition builds on the structural backbone you established at the start. Take the time this season to do the foundational work right, and you will be rewarded with years of effortless ambient lighting that elevates every outdoor gathering.
If you are planning a larger or more complex installation, consider consulting a licensed electrician for permanent circuits and dedicated outdoor outlets. Professional landscape lighting designers can also help with code compliance, bulb selection, and integration with existing landscape architecture. Resources from the Illuminating Engineering Society, the American Lighting Association, and the American Society of Landscape Architects offer deeper technical guidance for ambitious projects, and the investment in proper hardware now will pay off in seasons of trouble-free outdoor enjoyment.
More Articles You May Like


Comments
Post a Comment