Interior Column Wraps Hiding Steel Posts From View
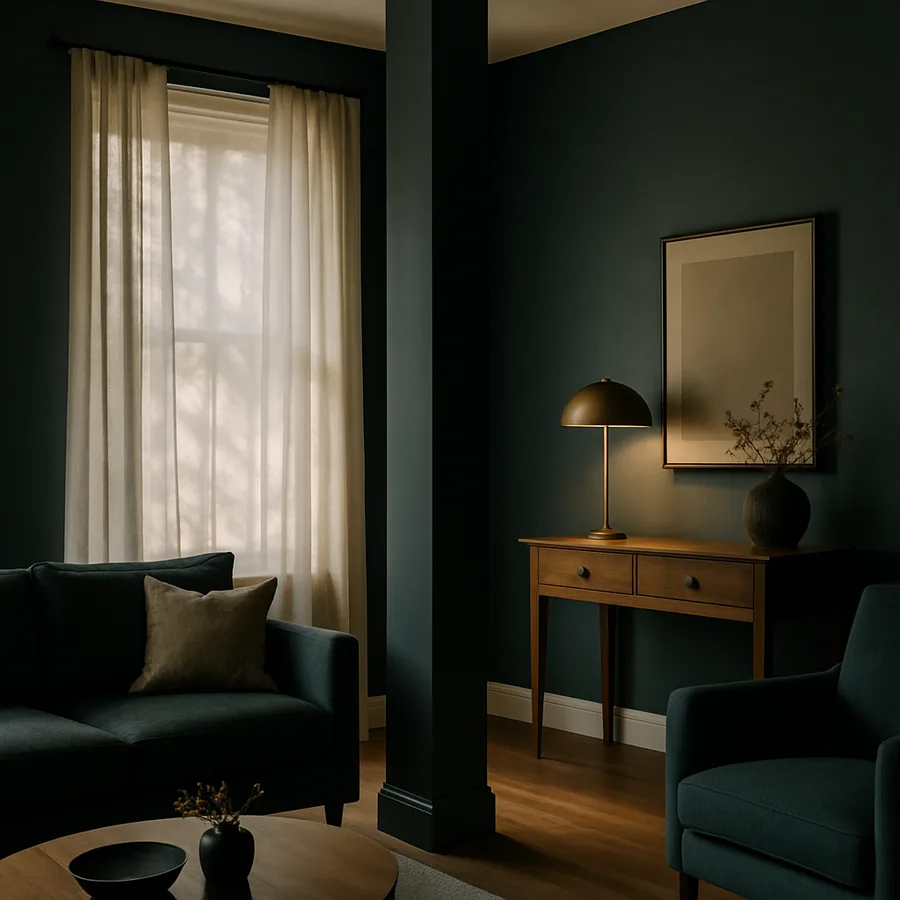
An exposed steel post sitting in the middle of a living room or basement family space rarely flatters a home. It is usually a leftover from a load-bearing wall removal, a basement support relocation, or original engineered framing in a mid-century split-level. The steel does important structural work, but it has the visual presence of a parking garage. A well-executed interior column wrap turns that bare lally column or W-shape into a finished architectural feature: a square painted column, a bookmatched wood pillar, a tapered tapered Craftsman post, or a slender black steel-look casing. The structural function is preserved, the room reads as intentional, and the exposed metal disappears.
This guide covers the practical knowledge needed to plan and build a column wrap that looks built-in rather than added on. We will cover when wrapping is appropriate, how to maintain code-required clearances and inspection access, the materials and framing options at each price point, and the finish details that separate a credible architectural element from a clumsy box. Whether you are working with a 3.5 inch round adjustable steel column in an unfinished basement or a 6 inch HSS structural post in a renovated kitchen, the same principles apply with adjustments for size and load.
When a Column Wrap Is the Right Solution
Not every exposed post needs to be wrapped. Some homes intentionally celebrate raw structure, and a clean black-painted steel column in a loft conversion or industrial-influenced kitchen can read as a deliberate design choice. Wrapping is appropriate when the post is at odds with the surrounding finishes, when it sits awkwardly in a furnished space and reads as accidental, or when the room is intended to feel traditional, transitional, or refined rather than industrial.
The other consideration is location. A post sitting in a corner where it can be partially absorbed into a built-in cabinet or a partition wall has different solutions than a post standing alone in the middle of a great room. Center-room posts almost always benefit from a sculptural wrap that makes the column a feature rather than an obstruction. Corner posts can sometimes disappear entirely into casework or partition walls, eliminating the need for a wrap altogether. Have you walked the room with a piece of cardboard sized to match a potential wrap dimension and lived with it for a few days? That simple test reveals whether wrapping is worth the cost or whether the bare post is doing acceptable work as is.
One important consideration: the post's structural role does not change when it is wrapped. The wrap is purely cosmetic and must not transfer load. The structural connection at the top and bottom of the post must remain accessible to inspectors and serviceable by a structural contractor in the future. This is where shortcut solutions go wrong: a wrap that traps the connections behind permanent finishes can violate code, trigger insurance issues, and cost thousands to undo when the home sells.
Code Clearances and Inspection Access
The International Residential Code and most adopted local codes require that structural connections remain accessible for inspection. For a basement adjustable steel column, this typically means the threaded adjustment mechanism at the top or bottom must be reachable without destruction of finishes. For a fixed structural post, the cap connection to the beam above and the base connection to the footing or post base must be visible during periodic inspections in many jurisdictions.
The practical solution is to design the wrap with removable access panels at each connection point. A common approach: build the wrap as a permanent four-sided box for the middle 80 percent of the column height, but cap each end with a magnetically secured or screw-fastened access panel at the top 6 inches and bottom 6 inches. The panel is finished to match the surrounding wrap and is essentially invisible from a few feet away, but can be removed in seconds for inspection or service. This satisfies code in nearly every jurisdiction and preserves long-term flexibility.
The National Association of Home Builders remodel guidance specifically calls out concealment of structural connections as a frequent source of failed inspections, with detailed best practices documented in NAHB residential construction resources. Before designing the wrap, confirm with your local building department what they require for structural access in your specific jurisdiction. Some jurisdictions are stricter than others, and some require visible labeling on the wrap to indicate that a structural element is concealed within. Treating this conversation as a five-minute phone call rather than an afterthought saves real headaches at sale.
Material Options and Style Direction
Column wraps come in a wide range of material and style options. The most common approaches:
Painted MDF or poplar wraps are the workhorse choice for most renovations. Four pieces of half-inch or three-quarter-inch panel are mitered at the corners and assembled into a square or rectangular box that slides over the steel post. The result is a clean painted column that pairs naturally with traditional and transitional interiors. Cost runs $150 to $400 in materials for a typical 8 foot column, plus 4 to 8 hours of carpentry labor. This approach forgives small irregularities in the steel post position and is easy to refinish or repaint over time.
Stained hardwood wraps elevate the column into a furniture-grade feature. White oak, walnut, cherry, and rift-sawn red oak are popular choices depending on the home's existing wood tones. Hardwood column wraps require careful joinery, often using miter joints reinforced with biscuits or splines, or a four-sided box assembled with hidden mechanical fasteners. Stained finishes show every wood movement, so the panels must be quartersawn or at least carefully selected for grain stability. Cost rises sharply, often $700 to $1,800 in materials and 12 to 20 hours of skilled labor.
Tapered Craftsman columns add architectural weight and reference the porch posts of early 20th century American architecture. The wrap is built wider at the base and narrower at the cap, sometimes with a paneled face and reveal trim. This approach is heavy on style, heavy on labor, and best paired with homes that already lean Craftsman, Prairie, or American Foursquare. The visual payoff is significant when the rest of the room supports the language.
Slim steel-look or aluminum wraps deliver a contemporary, near-invisible result. The wrap mimics a slender black structural post, often using a custom-fabricated steel skin that is 16 gauge or lighter, powder-coated and slipped over the actual structural steel. The result reads as a designed steel element rather than a wrap, which suits modern, industrial, and Scandinavian interiors. Cost is highest for fabrication but labor is fastest. A custom 8 foot wrap from a metal fabricator typically runs $1,500 to $3,500.
Framing the Wrap and Maintaining Plumb
The structural steel post is rarely perfectly plumb. Adjustable basement columns can lean a quarter inch or more from true plumb depending on settling and adjustment history. Fixed structural posts are usually closer but still rarely arrow-straight from cap to base. The wrap must be plumb and square regardless of what the actual steel is doing inside it, so the framing approach is critical.
The standard method uses 2x2 or 2x4 nailer cleats attached at the top, middle, and bottom of the post. The cleats sit just inside the eventual wrap dimensions and are shimmed as needed to bring all four faces into alignment. A quality four-foot level checked on each face confirms plumb in both directions. Once the cleats are aligned, the wrap panels nail or screw to the cleats, not to the steel post itself. This isolates the wrap from any future post movement and lets the wrap stay plumb even if the post settles a fraction over time.
For round basement columns, an alternative approach uses foam standoffs: rigid foam blocks shaped to the column profile that hold the wrap a uniform distance from the steel surface. This is faster than wood cleats and forgives column irregularities elegantly, but it does not provide the same firm fastening surface, so it is best paired with thicker wrap panels that can span the gaps without flexing under everyday contact.
Whichever framing approach you choose, the goal is the same: a wrap that is independently plumb, square, and rigid, fastened to a substrate that does not bear on the structural post in any way. The wrap should be removable in pieces if access becomes necessary in the future, even if the access panels at top and bottom handle most inspection needs.
Top and Bottom Trim Details
Where the column meets the ceiling and floor is where most wraps either succeed or look amateur. The two transitions need different solutions, and both deserve careful attention.
At the ceiling, the standard detail is a capital trim: a small horizontal molding or paneled cap that visually grounds the column where it meets the ceiling plane. Even a simple 1x4 band wrapped around the column 4 to 6 inches below the ceiling reads as architecturally intentional and gives the eye a clear stopping point. More elaborate capitals add reveal lines, crown molding, or paneled inserts that match the home's other trim language. The capital also conveniently hides the joint between the column wrap and the ceiling drywall, giving the carpenter a forgiving margin.
At the floor, the standard detail is a plinth base: a slightly wider base block, typically 6 to 12 inches tall, that the column wrap sits on. The plinth handles the transition from column to baseboard at adjacent walls, gives a place to terminate floor finishes cleanly, and allows for slight floor irregularities without compromising the column's apparent plumbness. A plinth height roughly equal to or slightly taller than the surrounding baseboard reads as proportional and intentional.
Both capital and base details should match the home's existing trim language. In a craftsman home with thick flat trim, the capital is a paneled cap and the plinth is a substantial 7 inch block. In a modern home with minimal trim, both the capital and base may be a simple square reveal or a flush detail. The American Institute of Architects publishes residential trim and detail guidance through AIA architectural resources that emphasizes proportional consistency between elements as the single biggest predictor of whether trim work reads as designed or random.
Painting, Sealing, and Long-Term Care
The final visual quality of a column wrap depends heavily on paint and finish work. A perfectly framed and trimmed column with sloppy paint reads as low-quality, while a slightly imperfect frame disappears under careful finish work. Plan for at least three coats: a quality bonding primer, especially over MDF or new wood, followed by two finish coats of premium acrylic enamel. Sand lightly between coats and inspect under raking light to catch any dust nibs or brush marks before they become permanent.
Color choice matters. A column painted to match the wall behind it visually disappears, ideal when you want the wrap to feel quiet and supportive. A column painted in a contrasting trim color reads as architectural, drawing attention as a deliberate feature. A column finished in stained wood or contrasting paint becomes a focal point. None of these is wrong; the question is what role the column should play in the room. Have you considered painting a sample panel and living with it taped to the wrap framing for a few days? Color reads differently in morning, midday, and evening light, and the few days of testing usually saves a regret repaint later.
For long-term care, plan to inspect the column every two to three years for signs of moisture intrusion at the base, particularly in basement applications where occasional flooding or high humidity can wick into the wrap. A small caulk bead at the floor-to-wrap joint, refreshed every five years or so, prevents minor moisture issues from becoming major mold problems. The base access panel makes interior inspection easy if any problems are suspected. Schedule an annual walk-through with your contractor or home inspector to catch small issues before they become expensive ones.
Conclusion
An exposed steel post does not need to be a permanent visual compromise in a home. A well-designed and well-built column wrap turns the obstacle into an asset, transforming a leftover structural element into a feature that supports the room's overall design language. The work is well within reach of a careful homeowner working with a competent finish carpenter, and the cost is modest compared to other interior renovations. For most homes, the total project lands between $400 and $2,500 in materials and labor, with another few hundred dollars for paint and finish work.
The keys to a successful wrap are honest assessment, structural respect, and finish discipline. Honest assessment means choosing a wrap style that matches the home's existing language rather than imposing a style the rest of the room cannot support. Structural respect means designing the wrap with removable access at the connections, isolating the wrap from the post itself, and confirming code requirements with the local building department before construction begins. Finish discipline means careful framing alignment, proportional trim details, and patient paint or stain work. None of these are difficult individually, but skipping any one of them is what separates a wrap that disappears into the room from one that announces itself as added on.
For homeowners weighing whether to wrap or live with the bare post, the answer is usually clearer than it seems. If the post sits in a refined or formal room, wrap it. If it sits in a working basement or industrial-influenced loft, leave it. If it sits in a multipurpose family space, consider what role the room plays in daily life and what visual weight the bare post is carrying. The honest answer reveals whether the wrap is a need or merely a nice-to-have.
If you are ready to proceed, start with a careful site measurement, a sample of the existing trim profiles, and a conversation with a finish carpenter about budget and timeline. Most quality column wraps are a 2 to 4 day project for an experienced carpenter, plus a few days for paint and finish. Reach out to a licensed remodeling contractor or finish carpenter this week to schedule a site visit, and you can have a beautifully wrapped column within a few weeks of the first conversation. The transformation in how the room reads, even from a single column, is consistently larger than homeowners expect, and the investment is one of the highest visual returns available in residential interiors.
More Articles You May Like


Comments
Post a Comment