Framing Basement Walls With Furring Strip Moisture Barrier Method
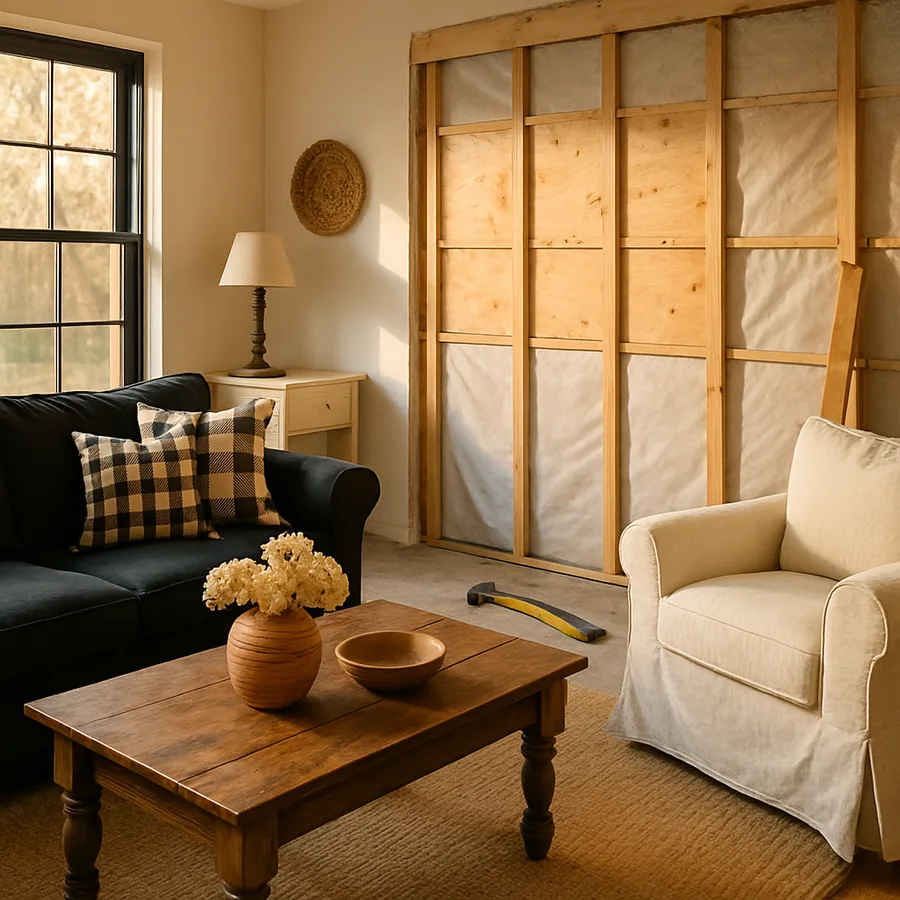
Finishing a basement is a masterclass in humidity management. Belowgrade concrete walls hold moisture from surrounding soil and release it slowly toward the interior throughout the year, with peak vapor drive occurring in humid summer months when warm interior air meets cool concrete. The 2021 International Residential Code requires either a continuous vapor barrier or continuous insulation on the interior face of belowgrade walls in most climate zones, precisely because unmitigated vapor migration produces mold, wood rot, and finished-wall failures within a few years. The stakes are high enough that basement framing deserves more thought than an above-grade partition wall.
The furring strip method has emerged as one of the most reliable approaches for handling this challenge. It replaces the traditional stud-framed wall with 1-by-3 or 2-by-2 furring strips attached directly to a foam-insulated concrete surface, producing a thinner wall assembly that dries inward when necessary, resists mold growth, and takes less floor space than a stud wall with batt insulation. Executed correctly, a furring-strip wall performs better and lasts longer than a conventional stud wall in a below-grade environment. The method requires attention to sequencing and material selection, but no exotic tools. Any patient DIYer with basic carpentry skills can build one.
Assess Moisture And Prep The Concrete
Before any framing begins, verify the concrete is dry enough to work with. A calcium chloride test kit measures moisture vapor emission rate in pounds per 1,000 square feet per 24 hours. Anything below 3 pounds per 1,000 square feet is acceptable for a furring strip assembly with continuous foam insulation. Higher readings indicate active water intrusion that must be corrected before any interior finishing. Sealing wet concrete with foam and drywall does not fix a water problem, it hides it while damage progresses.
Inspect the wall for cracks, efflorescence, and staining. Efflorescence, the white mineral deposit left when water evaporates through concrete, marks the entry points of ongoing moisture migration. Small hairline cracks can be filled with hydraulic cement or polyurethane crack injection. Larger cracks, particularly horizontal ones or those with visible water tracking, indicate structural or hydrostatic pressure issues that need professional evaluation before interior work continues.
Check the exterior grading and downspout drainage. The Environmental Protection Agency and most state extension services recommend soil grading of at least 6 inches of drop within the first 10 feet from the foundation. Downspouts should discharge at least 6 feet from the foundation wall onto a splash block or into a drainage line. Interior moisture problems overwhelmingly originate from exterior water management failures. Fixing gutters and grading first is cheaper and more effective than any interior barrier.
Once the wall is dry and any active water intrusion is addressed, clean the concrete thoroughly. Sweep away loose debris, then vacuum with a HEPA filter to capture fine dust that will otherwise interfere with adhesive bonds. Wash any oily or paint-contaminated areas with trisodium phosphate or a comparable degreaser. The concrete surface must be clean, dry, and structurally sound before foam installation begins.
Install The Continuous Foam Insulation
Rigid foam insulation forms the thermal and moisture layer of the assembly. Two products dominate the belowgrade market. Extruded polystyrene (XPS) offers superior moisture resistance and comes in blue or pink from major manufacturers. Polyisocyanurate (polyiso) offers higher R-value per inch but performs poorly in contact with damp concrete because its facing can absorb water. XPS is the preferred choice for direct-to-concrete belowgrade installation.
Choose a thickness that meets the applicable climate zone requirement. The International Residential Code Table N1102.1.2 specifies minimum belowgrade wall insulation values ranging from R-10 continuous in Zone 4 to R-15 continuous in Zones 6 and 7. XPS provides roughly R-5 per inch, so a 2-inch panel meets Zone 4 requirements and a 3-inch panel meets Zone 6. Check your local energy code, which may amend the base IRC requirements.
Attach the foam to the concrete using a foam-compatible construction adhesive. PL Premium, Loctite PL, or similar adhesives labeled for foam-to-concrete work well. Do not use solvent-based adhesives, which dissolve polystyrene foam. Apply adhesive in a serpentine bead across the back of each panel, press the panel firmly against the concrete, and hold for 30 seconds until the adhesive grabs. For belowgrade applications where mechanical fasteners are desirable, use plastic-cap concrete nails or specialized foam-anchor screws driven through the panel into the concrete at manufacturer-recommended spacing.
Seal every seam and edge with foil tape or spray foam. A continuous, unbroken foam layer is what defines this assembly. Any gap becomes a thermal bridge and a condensation site where warm humid interior air can reach the cold concrete surface. Pay particular attention to top edges where the foam meets the sill plate, bottom edges where it meets the floor, and around any penetrations such as electrical service entries or plumbing. The ENERGY STAR seal and insulate guidance reinforces that air-sealing quality frequently matters more than raw R-value for wall performance.
Attach The Furring Strips
Furring strips serve as the substrate for drywall and any wall-mounted fixtures. They also create a small utility cavity for electrical wiring. Use 1-by-3 or 2-by-2 furring strips of kiln-dried pine or spruce. Avoid finger-jointed material, which lacks the continuous grain needed for reliable fastener holding. Some builders use pressure-treated furring where the strips contact the concrete floor, but with a proper continuous foam layer separating wood from concrete, standard untreated lumber performs adequately.
Space the furring strips at 16 inches on center vertically, running horizontally across the wall, or 16 inches on center horizontally, running vertically. Vertical furring is more common because it aligns with standard drywall orientation and simplifies electrical box installation. Add extra furring at the ceiling line, the floor line, and any location where a wall-mounted fixture like a TV or shelving will attach. Extra blocking now costs pennies and saves considerable frustration during fitout.
Attach each furring strip through the foam into the concrete using tapcon-style concrete screws or powder-actuated fasteners. Concrete screws are the DIY-friendly choice. Drill through the furring strip and foam with a hammer drill and a masonry bit sized to the screw manufacturer's specification, typically 5/32 inch for a 3/16-inch tapcon. Depth of embedment into concrete should be at least 1 inch for reliable holding. Drive the screw until the furring strip sits snugly against the foam without crushing the foam. Overcompressing the foam voids its R-value locally and creates a hard spot that can telegraph through drywall.
Verify each strip is plumb and in-plane with adjacent strips. A wall of drywall applied to inconsistent furring highlights every irregularity. Check with a long straightedge or a laser level as you install. Small shims of thin plywood or PVC can bring outliers into plane. Aim for less than 1/8 inch variation across any 4-foot span.
Address Electrical And Penetrations
Electrical rough-in in a furring strip wall is tighter than in a conventional stud wall because the cavity is only 3/4 inch or 1.5 inches deep. Use shallow-mount electrical boxes designed for retrofit applications, and route wiring through holes bored in the furring strips rather than trying to snake it behind them. The National Electrical Code (NFPA 70) allows 12-gauge and 14-gauge NM cable in this application, but requires the cable to be at least 1.25 inches back from the finished wall surface or protected with metal nail plates where it passes through furring at less than that depth.
Bore wiring holes only in horizontal furring, not vertical. Vertical furring bearing on the concrete floor should remain uncut to preserve its structural continuity as a drywall substrate. Where you must route a wire vertically, run it in the corner of the wall where two intersecting furring strips meet, or add short horizontal blocking between vertical furring to support the cable run.
Install electrical boxes at standard heights. Convenience receptacles at 16 inches to the box center from the finished floor. Light switches at 44 to 48 inches. Ceiling fixture boxes recessed into the ceiling with proper support. Make sure every box is flush with the finished drywall face, which means the box front sits proud of the furring strip by exactly the drywall thickness, typically 1/2 inch for basement applications. A box set too shallow leaves the receptacle recessed and non-code-compliant.
Plumbing and HVAC penetrations require the same air-sealing rigor as the foam layer itself. Seal every hole around a pipe or duct with a fire-rated caulk or spray foam. In basements with combustion appliances, be particularly attentive to any penetration between the mechanical space and the finished area. Combustion air must be maintained, and even small air leaks around a water heater vent can produce carbon monoxide backdrafts under negative pressure. Consult your local building official for the specific combustion-air requirements in your jurisdiction.
Install Drywall And Baseboard
Standard 1/2-inch drywall attaches to furring strips with 1-1/4 inch drywall screws driven every 8 inches around the perimeter and every 12 inches in the field. Use mold-resistant drywall labeled with a green or purple face paper for basement applications. Standard white drywall paper is a food source for mold if the wall ever gets wet, and it will get wet at some point in a basement's life. The 5 to 10 dollar per sheet upcharge for mold-resistant board is trivial insurance.
Hang drywall horizontally with the long edge parallel to the furring strips. This orientation minimizes joint length and produces a stronger finished wall. Stagger the vertical butt joints between sheets so no two joints align, which improves the wall's resistance to cracking and telegraphing over time. Leave a 1/2-inch gap at the floor for expansion, which will be covered by the baseboard.
Tape and finish joints with three coats of compound over paper tape or mesh tape. Paper tape produces stronger joints but requires more skill to bed properly. Mesh tape is more forgiving for DIY finishers. Either way, sand between coats and feather each successive coat wider than the last. Prime the finished walls before painting. Basement environments benefit from moisture-resistant primer, which reduces the drywall's tendency to release trapped humidity into the finished surface.
Install baseboard trim last. Use PVC or moisture-resistant MDF baseboards rather than solid wood if there is any history of floor moisture in the space. Even a minor water event can swell solid wood baseboard within hours, while PVC survives repeated water exposure without damage. Attach baseboard to the furring strip at the floor line, not to the drywall alone. Drywall does not hold nails well enough for trim in a below-grade application.
Wrapping Up Your Project
A furring-strip basement wall assembly delivers thermal performance, moisture management, and finished-wall durability that traditional stud framing struggles to match in a belowgrade environment. When you complete this build correctly, the wall should stay dry, warm, and structurally sound for decades. The key to that outcome is respecting the sequencing. The foam layer must be continuous. The furring must be plumb and secure. The drywall must be mold-resistant. Skipping any of those steps produces a wall that looks fine on day one and fails within a few years.
Before you consider the project complete, run through the final verification checklist. Confirm the foam is fully sealed at every seam and edge with no visible gaps. Verify every electrical box is flush with the finished wall face and every wire has proper nail-plate protection where required. Check the drywall for any dents, dings, or unfilled screw heads before the primer coat. Small defects that seem invisible under bare drywall become obvious under paint, and are far easier to fix now.
Monitor the finished space through its first full annual cycle. Basement conditions vary dramatically between winter and summer, and any moisture issue will typically manifest during the humid months of July and August when the vapor drive is highest. Watch for condensation on ductwork, musty odors, or discoloration at the base of walls. Address any warning sign immediately. Moisture damage compounds fast in an enclosed wall cavity.
Finished correctly, a basement adds real square footage to your home, expands livable space in a way few other projects can match, and increases property value substantially. The furring strip method with continuous foam insulation is the approach most likely to give you that outcome without the callbacks and repairs that plague conventionally framed basement walls. Take the time to get every layer right, and enjoy a basement that performs the way a well-built above-grade room does, year after year.
More Articles You May Like



Comments
Post a Comment