Smart Garage Door Opener Retrofit Without Replacing Motor
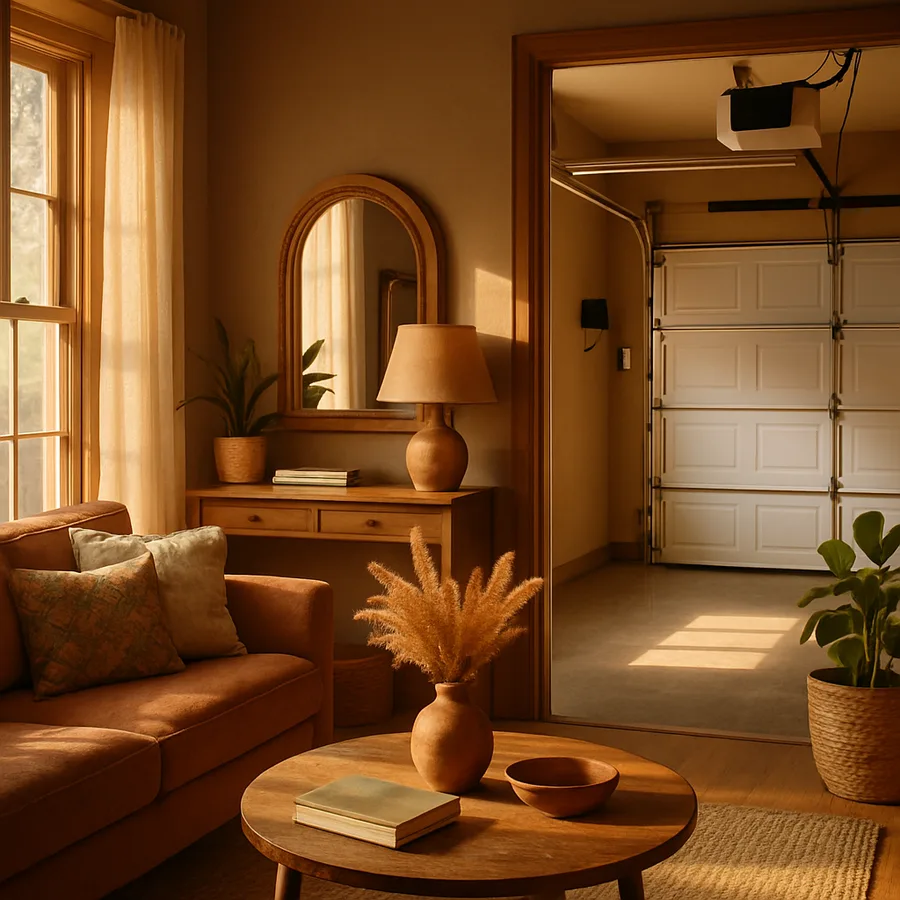
The garage door opener bolted to your ceiling probably has another decade of life in it. The motor is fine. The belt or chain is fine. The remote on your visor still works. What it lacks is the ability to tell your phone whether the door is open, accept a command from across the country, or grant a one-time code to a delivery driver. You don't need to replace the whole unit to fix that. A retrofit add-on solves it for $30 to $130 and an afternoon of work.
Here's how the retrofit category actually works, which approach fits which opener, and the install steps that keep you out of the most common failure modes.
How A Garage Retrofit Actually Works
Every garage door opener - even one made in 1998 - has a low-voltage terminal block where the wall button connects. Press the wall button, the terminals briefly short, the motor runs. A retrofit kit replicates that short electronically, on command from your phone. It also adds a tilt or magnetic sensor on the door itself so the system knows whether the door is currently open or closed.
That's the whole concept. The motor doesn't know or care that the command came from a Wi-Fi device instead of a button. The Underwriters Laboratories (UL) safety standards for garage door operators - UL 325 specifically - require that any automatic open/close command be paired with audible and visible warnings (a flashing light and a beep before motion), and most reputable retrofit kits enforce this in software.
According to the Door & Access Systems Manufacturers Association (DASMA), the average residential garage door opener lasts 10 to 15 years before the motor or logic board fails. If your opener is under 10 years old, retrofit is almost always cheaper and faster than full replacement. Over 15, the calculation flips - a new belt-drive opener with smart features built in runs $250 to $400 installed, and you get a new warranty.
Picking The Right Retrofit For Your Opener
Three categories of retrofit dominate the market.
myQ-compatible openers. Chamberlain, LiftMaster, and Craftsman openers manufactured after roughly 2011 have a "Smart Control Panel" wall button and a yellow learn button on the motor head. These openers can pair directly with the myQ Smart Garage Hub for about $30. Installation is essentially "mount the hub, scan a QR code, pair the door sensor." Twenty minutes.
Universal Wi-Fi controllers. Meross, Refoss, and similar units work with virtually any opener with a low-voltage wall-button terminal. They wire across the same two terminals as the existing wall button - they don't replace it, they parallel it. Price runs $30 to $50. These are the workhorses for older openers. Trade-off: setup is fiddlier, and the Apple Home or Google Home integration quality varies by brand.
Tesla / vehicle-integrated systems. If you drive a Tesla, Rivian, or a recent GM EV with HomeLink, you may not need a phone-side retrofit at all - the car itself can learn the door's rolling code and trigger it on geofence. This doesn't give you remote access from outside the car, but it handles the "open as I pull in the driveway" case without any additional hardware. Worth considering if that's the only use case you care about.
For most readers with an older Genie, LiftMaster, or generic opener, the universal Wi-Fi controller is the right pick. Wirecutter's smart-garage coverage has been steady in recommending Meross as the best value in the universal category, and that aligns with what I've seen across installs.
Step-By-Step Install For A Universal Wi-Fi Controller
Pull the breaker that feeds the garage outlet, or at minimum unplug the opener. The low-voltage terminals carry 12 to 24V, not enough to hurt you, but a slipped wire across the wrong terminals can fry the opener's logic board. Better to work cold.
Find the wall-button terminal block on the motor head. It's typically two screw terminals labeled with a wall button icon, near the antenna wire and the safety-sensor terminals. Photograph the existing wiring before touching anything. Run two short wires from the controller's relay output to the same two terminals - they sit in parallel with the wall button, so both still work.
Mount the door-state sensor on the top panel of the door itself, near the opener. Most use a tilt sensor that detects when the door is vertical (open) versus horizontal (closed). Some use a magnetic reed switch on the track. Either works; the tilt sensor is easier to install and harder to misalign.
Plug the controller into a nearby outlet. Open the manufacturer app, connect to the controller's temporary Wi-Fi network, enter your home Wi-Fi credentials, and let it provision. Most controllers want 2.4 GHz Wi-Fi specifically - if you have a mesh network broadcasting both 2.4 and 5 GHz on the same SSID, you may need to temporarily disable 5 GHz during setup. The Wi-Fi Alliance has pushed for better band-steering on newer routers, but garage controllers are often the laggard device in a home network.
Test thoroughly. Trigger from the app, watch the door open, then close it. Trigger when the door is partway open - the relay should still fire and the door should reverse or continue per its safety logic. Then test the original wall button and the visor remote - both should still work normally. If any of them stopped working, your controller is wired in series instead of parallel. Swap the wiring.
What To Buy First
Before you order anything, do this thirty-second check: look at the motor head of your opener for a model number and a manufacture date. If the manufacturer is Chamberlain, LiftMaster, or Craftsman and the date is 2012 or later, the myQ Smart Garage Hub is the simplest path. Order it, install it, you're done in twenty minutes. If you have any other brand, or anything older, the Meross or Refoss universal controller is the right pick - figure $35 plus an hour for the full install.
One question worth answering honestly before you start: do you actually need remote control, or do you just want to know whether the door is closed? If it's only the latter, a $15 contact sensor paired with your existing smart-home hub gives you the visibility without the relay complexity. Many homeowners realize after install that they never use the remote-open feature - they just wanted the peace of mind of checking from work whether they remembered to close the door.
Three rules that apply regardless of which retrofit path: never disable the photoelectric safety sensors at the bottom of the track (UL 325 requires them, and the door will refuse to close in auto mode without them), always test remote close from a vantage point where you can see the door, and configure the auto-close timer for at least 30 seconds so a person or pet in the path has time to clear.
A few install gotchas worth flagging. If the wall button is a "Smart Control Panel" with its own LED display (common on newer LiftMaster and Chamberlain units), wiring a universal controller across the same terminals can confuse the panel's polling logic - it expects to be the only device on the bus. In those cases, the myQ hub is the right pairing because it talks to the opener's own radio rather than parallel-wiring the button terminals.
If you're in a multi-car garage with two openers, you typically need two controllers - but check whether your chosen app supports multi-door scenes (most do). If you have an opener that's near end-of-life, retrofitting is throwing good money after bad. Look at the chain or belt for stretching, the carriage for cracks, and listen for grinding from the gear case. Any of those means the unit has under two years left and you're better off replacing the whole assembly.
Network placement matters too. The garage is often at the edge of Wi-Fi coverage, especially in detached garages or homes where the router lives at the opposite end. A mesh node or a directional Wi-Fi extender pointed at the garage is cheap insurance and dramatically improves controller responsiveness. Cellular fallback isn't really an option in this category - almost all retrofit controllers are Wi-Fi only.
Need help matching a specific opener model to the right retrofit? The smart-garage compatibility index on the site lists supported openers by brand and year - start there before ordering hardware.
Authority references: DASMA - Garage Door Operator Standards, UL 325 - Garage Door Operator Safety Listing.
More Articles You May Like



Comments
Post a Comment