Fireplace Mantel Float Bracket Installation On Brick
A floating mantel is one of the most quietly impressive details in a remodeled living room. There are no corbels, no visible brackets, no mechanical hardware, and yet a slab of solid oak or a clean steel-clad beam appears to grow out of the brick. The effect looks simple. The execution is not. A floating mantel installed casually into brick is a future insurance claim. A floating mantel installed correctly will outlive the house. This guide walks through the engineering, hardware, and finishing decisions that separate the two outcomes.
We will look at how to read the brick wall in front of you, how to choose the right bracket system for the weight you are mounting, how to drill into brick without cracking it, what the code says about clearances to combustibles, and how to finish the joint between mantel and wall so it looks intentional rather than improvised. By the end of the article, you should have a clear sequence for the project and a realistic sense of when to do it yourself and when to hire a hearth carpenter.
Reading the Brick Before You Touch It
Not all brick is created equal, and the differences matter enormously when you are about to drill four to six holes that need to carry sixty pounds of mantel for the next thirty years. The brick on the front face of your fireplace is one of three things: solid clay brick set in mortar, a brick veneer (a single wythe of brick attached to a structural backing), or a manufactured stone or brick-look concrete product attached to a substrate with mortar or mechanical clips.
Solid clay brick is the strongest substrate and accepts standard masonry anchors readily. Brick veneer is also acceptable but requires careful anchor placement to land in the brick itself rather than the mortar joint or the air gap behind the veneer. Manufactured stone and brick-look products are the most variable and the most likely to fail under load. Some are dense concrete that holds an anchor well; others are lightweight aggregate that crumbles on contact with a drill bit.
How do you tell which one you have? Tap the surface in several places with a knuckle and listen. Solid clay rings dense and quiet. Veneer over framing produces a slightly hollow sound. Lightweight manufactured stone often sounds notably hollow and feels colder to the touch. If you are not sure, drill a small test hole in an inconspicuous spot and look at the dust. Red-orange dust is fired clay; gray dust is concrete or manufactured product; white powdery dust is mortar joint, which is not where your anchors should land.
Bracket Systems and Load Math
Three bracket systems dominate the floating mantel market. The first is the threaded rod system: two or more steel rods, typically 5/8 or 3/4 inch in diameter, are anchored into the brick with epoxy and project out four to six inches. Holes are bored into the back of the mantel to match, and the mantel slides over the rods until it sits flush against the wall. This is the strongest and most common system for solid wood mantels over forty pounds.
The second is the steel plate system: a flat steel plate, sometimes shaped like a T or an I-beam, is anchored to the wall through pre-drilled holes, and the mantel is hollowed out from the back to slide over the plate. This system distributes load more evenly than rods and is well suited to longer mantels or mantels with limited depth.
The third is the commercial heavy-duty floating shelf bracket, often made by manufacturers serving the architectural millwork trade. These are pre-engineered, listed for specific load ratings, and remove most of the guesswork. Expect to pay $80 to $300 per bracket for premium models, and budget for two brackets minimum on any mantel up to 60 inches long, three brackets on mantels up to 84 inches.
The load math itself is straightforward. Calculate the weight of the mantel (solid oak is about 4 pounds per board foot; reclaimed barn timbers can run heavier), add a safety factor of 3, and choose hardware rated for that combined load. A 6 by 8 by 60 inch solid oak mantel weighs roughly 80 pounds. Multiply by 3 and your hardware needs to be rated for at least 240 pounds of pull-out resistance. Most epoxy-set 5/8 inch threaded rod in solid brick exceeds 1,000 pounds of pull-out, which is why this system is the residential default.
Code Clearances to Combustibles
Every jurisdiction in North America regulates how close combustible materials (which includes wood mantels) can come to the opening of a fireplace. The exact numbers are set by the appliance listing for gas and electric units and by NFPA 211 for wood burning units. As a general framework, a wood mantel projecting up to 1.5 inches from the face of the fireplace must sit at least 6 inches above the top of the firebox opening, and clearance increases by 1 inch for every additional 0.125 inch of mantel projection.
For a typical 8-inch-deep mantel projecting 8 inches from a brick face, you are looking at roughly 12 inches of clearance from the top of the firebox to the bottom of the mantel. These numbers come from the NFPA and are referenced by the International Code Council in the International Residential Code. Your local inspector will check this dimension on any permitted hearth work.
The same clearance math applies to floating mantels even though there are no visible brackets to inspect. The inspector measures from the top of the firebox opening to the bottom face of the mantel and confirms that the dimension meets or exceeds the listing or the model code. If your existing firebox has a manufacturer's plate inside the damper, the listed clearance on that plate supersedes the general code requirement.
Have you confirmed the type of appliance below the mantel? A wood burning firebox has higher radiant heat output than a sealed gas or electric unit, and clearance requirements are correspondingly more conservative. Skipping this check is one of the most common ways a beautiful mantel installation fails a final inspection or, worse, causes a charring problem years later.
Drilling Into Brick Without Cracking It
Brick is strong in compression and weak in tension, which means it will hold a heavy mantel for decades but can crack alarmingly if you drill it with the wrong technique. Use a rotary hammer drill, not a standard cordless drill, and use a high-quality SDS-Plus masonry bit sized to the manufacturer's specification for your anchor or epoxy system. A cordless impact driver will not deliver the energy needed to drill clean brick without overheating the bit and stressing the surrounding masonry.
Drill into the face of the brick itself, never into the mortar joint. Mortar joints are weaker than brick and will not hold a sustained load. Center your holes at least 1.5 inches from any edge of the brick to avoid edge spalling. If your bracket pattern forces a hole near an edge, shift the pattern up or down rather than risking a cracked brick on installation day.
Vacuum the holes thoroughly before installing anchors or epoxy. Brick dust left in the hole reduces anchor performance by 40 to 60 percent according to load-testing data published by major masonry-fastener manufacturers. A small shop vac with a crevice tool, used between drilling and anchor placement, is the difference between a strong installation and a marginal one.
For epoxy installations, mix only what you can place in the manufacturer-specified working time, typically five to fifteen minutes depending on temperature. Inject the epoxy from the bottom of the hole outward, insert the rod with a slow twisting motion, and clean off the excess immediately. Allow the full cure time, usually 24 hours, before hanging the mantel. The National Association of Home Builders (NAHB) publishes useful contractor guidance on epoxy anchoring in masonry that mirrors these basics.
Hanging the Mantel
The mantel itself needs to be prepared with bored holes or a routed channel that matches the bracket system precisely. For threaded rod installations, the holes in the back of the mantel should be drilled 1/16 to 1/8 inch larger in diameter than the rods to allow easy seating, and slightly deeper than the rod projection to ensure the mantel pulls flush against the wall.
Test fit the mantel before any adhesive is applied. If the mantel does not slide cleanly onto the rods and seat flush against the brick, identify the binding point and adjust before committing. The most common cause of binding is a misaligned hole in the mantel; the second most common is a brick face that is not as flat as it appears, with a high spot causing the mantel to rock.
Once the test fit is satisfactory, apply a bead of high-performance construction adhesive (polyurethane or hybrid) to the inside of each hole in the mantel and a thin bead around the perimeter where the mantel will meet the brick. Slide the mantel onto the rods, press firmly to seat, and hold for the manufacturer-specified open time. Wipe any squeezed-out adhesive immediately with a damp cloth. The combination of mechanical anchoring and adhesive is what gives a floating mantel its long-term rigidity.
Finishing the Joint and Final Details
The seam between a floating mantel and an irregular brick face is the detail that separates professional work from amateur work. Brick is rarely perfectly flat, and most installations show small gaps between the mantel and the wall, particularly along the top edge. There are three legitimate ways to handle this.
The first is to scribe the back edge of the mantel to match the brick profile, removing material with a sander or a router until the mantel sits tight to the wall along its entire length. This is the most time-intensive option and produces the cleanest result.
The second is to use a matched-color sanded caulk to fill the gap. A high-quality acrylic latex caulk tinted to the mortar color is virtually invisible at conversational distance and adds a slight visual softening to the joint that many designers prefer.
The third is to set the mantel proud of the brick face by 1/8 inch and let the shadow line of the gap read as an intentional reveal. This works best on contemporary installations with crisp geometry and a steel-clad or painted mantel rather than a rustic timber.
Finish the project by inspecting the mantel for level (a mantel that is 1/8 inch out of level over 60 inches will read as crooked to the eye), confirming that no fasteners are visible from any reasonable viewing angle, and photographing the installation for your records. If a future contractor ever needs to remove or replace the mantel, those photos and a note about the bracket system will save hours of investigation.
Conclusion
A floating mantel on brick is one of those projects that rewards careful preparation and punishes shortcuts. The hardware is straightforward, the math is approachable, and the techniques are well documented. What separates a great installation from a mediocre one is the discipline to read the brick first, calculate the load properly, drill cleanly, anchor with the right system, and finish the joint with care. Each step takes longer than the homeowner expects. The finished product takes longer to admire than the homeowner expects too.
If you are confident with masonry tools, you can absolutely do this project yourself, and the satisfaction of seeing the mantel float against the brick is significant. If you have never drilled into masonry, or if your mantel weighs over a hundred pounds, or if your brick is a manufactured product of uncertain density, hire a hearth carpenter. The hourly rate is far cheaper than replacing a cracked brick face or repairing the drywall after a mantel-and-anchor failure.
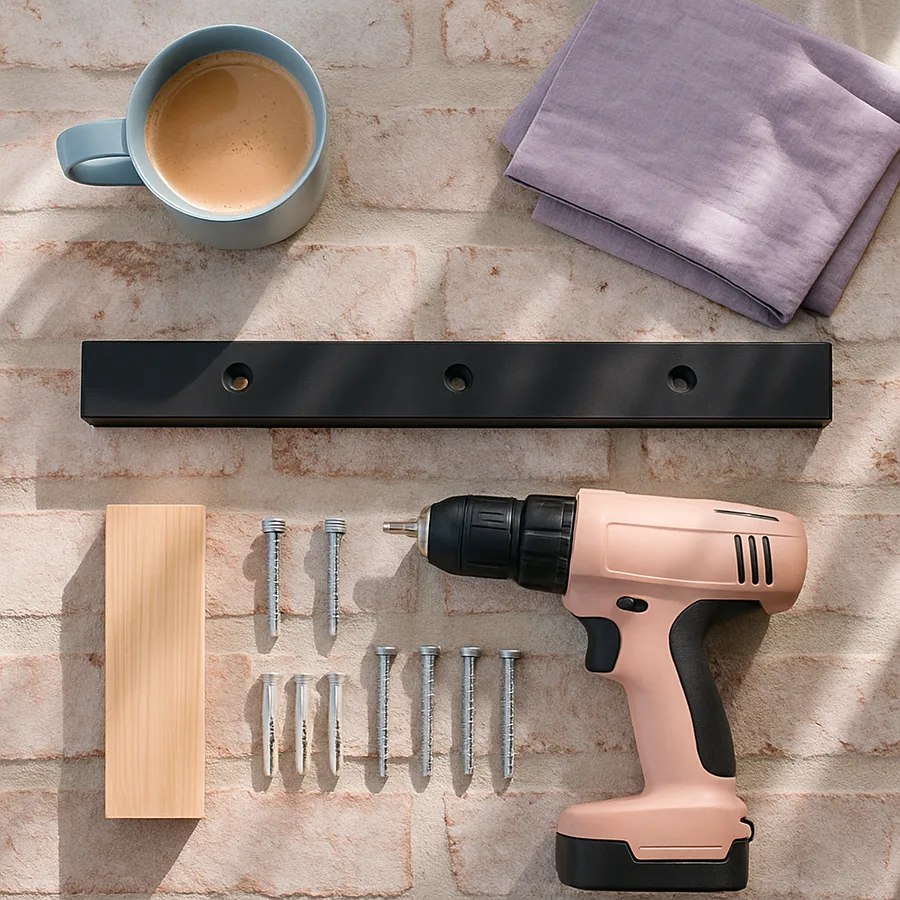
Before you start, gather the tools you will need: rotary hammer drill, SDS-Plus masonry bits in the sizes specified by your bracket system, two-part epoxy or a manufacturer-supplied anchor system, a shop vac, a 4-foot level, construction adhesive, and tinted caulk. Total tool cost if you are buying everything new lands around $250 to $400, most of which is the rotary hammer drill.
When you are ready, mock up the mantel position with painter's tape on the brick first, live with it for a day or two to confirm the height and placement feel right in the room, and only then drill. A mantel installed at the wrong height is the most common regret in any hearth remodel, and tape is much easier to move than epoxied steel rods. Book the project for a weekend, take your time, and enjoy the result for the next several decades.
More Articles You May Like



Comments
Post a Comment