Outdoor Sink Plumbing for Backyard Kitchen Prep Stations
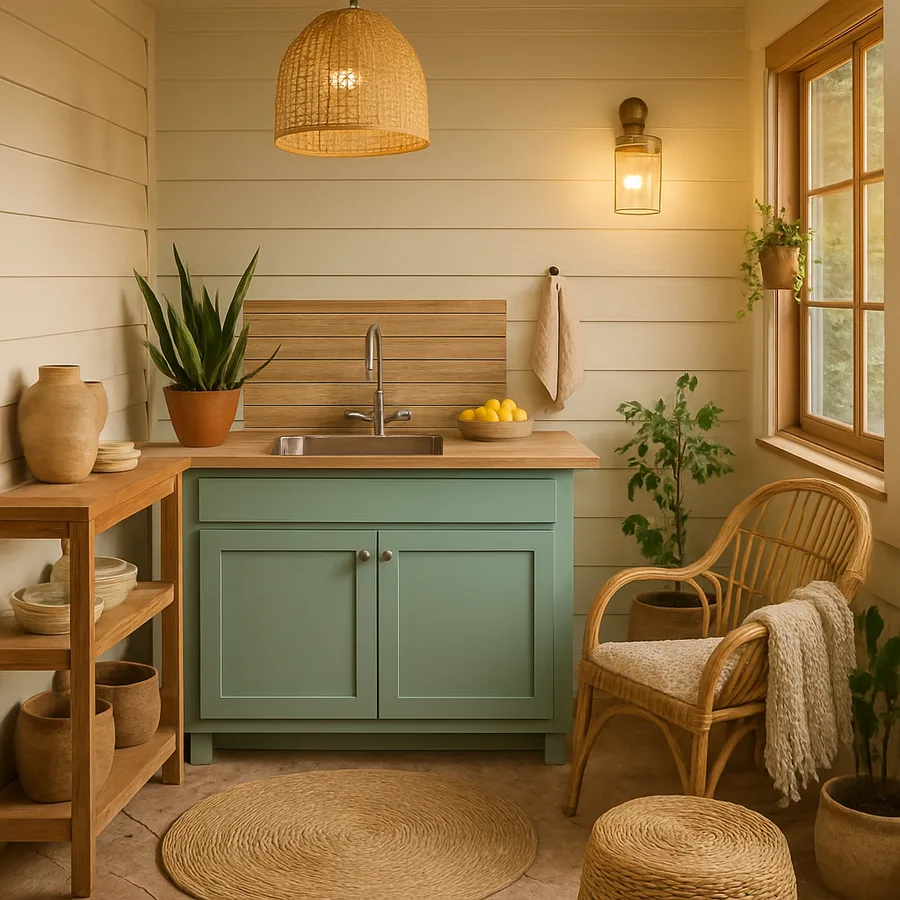
Adding a sink to a backyard prep station is the difference between cooking outside and barbecuing outside with a pile of dishes to deal with at midnight. A working outdoor sink lets you rinse produce, hand-wash a cutting board, fill a stockpot, and clean up most of the meal in real time without ever crossing back through the kitchen door. The installation is more involved than running a hose bib, but it is genuinely within reach for any homeowner who plans the build correctly and works with a competent plumber.
This guide walks through the entire plumbing decision tree for a backyard sink: water supply options, drain strategies, freeze protection that actually works, code compliance with the Uniform Plumbing Code and your local jurisdiction, and the seasonal maintenance routine that keeps the system functional for decades. By the end you will know exactly what to spec, what to ask the plumber, and what to test before signing off on the work.
Hot and Cold or Cold Only: The First Decision
The fundamental choice for any outdoor sink is whether to run both hot and cold water or cold only. Each option suits a different use case, and the decision drives the entire plumbing complexity.
Cold-only sinks handle produce washing, dish rinsing, and pot filling. They are the right choice if the outdoor kitchen sits within 30 feet of an indoor sink that can handle the few hot-water tasks, if the climate sees hard freezes that complicate hot-water freeze protection, or if budget is tight. Installation runs $400 to $1,200 for the rough-in plus the sink and faucet, and the system can typically tap off an existing hose bib supply line.
Hot-and-cold sinks enable serious clean-up and food prep work outdoors. Greasy pans, sticky dough bowls, and any meaningful sanitization need hot water at 110 degrees or above. The installation is more involved because you need to run a hot supply line from the indoor water heater (or install a small dedicated water heater near the kitchen), insulate both supply lines against freeze, and plan a drain strategy that handles greasy water properly. Installation runs $1,200 to $3,500 depending on the run distance and freeze-protection scope.
For most year-round outdoor kitchens, the right answer is hot and cold with a small dedicated tankless water heater installed in a weatherproof enclosure within 6 feet of the sink. This eliminates the long hot-water supply run from the indoor heater (which loses heat over the run and creates a cold-slug delay at the faucet) and gives instant hot water on demand. A 4 GPM outdoor-rated tankless unit runs $700 to $1,500 and uses the same gas supply that feeds the grill.
Water Supply Options Ranked by Code Compliance
Three approaches exist for getting water to an outdoor sink, and only two of them comply with most municipal codes.
Approach 1: Dedicated rough-in from the main supply line. A plumber taps the main cold supply (and hot if applicable) inside the basement, garage, or crawlspace, runs 3/4 inch copper or PEX through the wall to the outdoor kitchen, and stubs out at the sink location with shutoff valves and air gap fittings as required by code. This is the proper installation, the most expensive at $800 to $2,500 for the rough-in alone, and the only approach that handles freeze protection correctly because the lines can be drained from inside the building.
The Uniform Plumbing Code requires a backflow preventer on any outdoor water supply that could potentially be cross-connected to a non-potable source, which includes any sink with a hose attachment or any sink positioned where a flooded drain could siphon backward. The proper backflow preventer for an outdoor sink is a reduced-pressure-zone (RPZ) assembly, which costs $250 to $600 plus annual testing in many jurisdictions. The National Association of Home Builders publishes outdoor plumbing rough-in standards and code references at the National Association of Home Builders site.
Approach 2: Tap off an existing hose bib supply. If a hose bib is already plumbed to the outside wall near the kitchen location, a plumber can tee off the supply line, add a shutoff valve and backflow preventer, and run a short branch to the sink. This is faster and cheaper at $400 to $1,000, but it works only for cold-water installations because hose bibs are not typically supplied by hot lines. It is also less robust because the existing hose bib supply was likely sized for outdoor watering, not continuous sink demand.
Approach 3: Garden hose connection through a quick-connect. Some homeowners attempt to skip the rough-in entirely by feeding the sink with a garden hose connected to a hose bib, with a quick-disconnect at the sink. This is the cheapest option at under $200 and the worst by every other measure. It violates most municipal plumbing codes because there is no backflow protection, the connection is not freeze-protected, the water pressure varies with hose length and temperature, and the visual is amateurish. Skip this approach unless the sink is genuinely temporary.
Drain Strategy: The Hidden Half of the Plumbing
Drainage gets less attention than supply but determines whether the sink is functional or a slow-draining nuisance. Three drain strategies suit different installations.
Tied into the building sewer or septic system. The proper installation routes the sink drain through a P-trap and vent, into the main building drain stack via a properly graded run. This handles all wastewater including greasy dishwater and complies with all codes. It is the most expensive at $600 to $2,000 depending on run distance and excavation, but it is the only approach that handles a dishwasher-grade kitchen sink load.
The drain run requires 1/4 inch per foot of slope, which limits the practical distance to roughly 25 feet from the sink to the building tie-in without an intermediate cleanout. Beyond 25 feet you need a lift station (a small sewage pump that handles the elevation) or a more elaborate drainage routing.
Drained to a dry well or French drain. A simpler installation routes the drain to a buried gravel pit (dry well) sized to handle the expected volume. This works only for cold-water cold-rinse sinks where the wastewater is essentially clean rinse water with no detergent, no grease, and no food particles. The Uniform Plumbing Code in most jurisdictions allows dry-well drainage for "graywater" with restrictions, but full kitchen-sink wastewater typically does not qualify and must go to the sewer.
Bucket drain or removable basin. The lowest-tech approach is a removable bucket or basin under the sink that catches drainage and gets emptied manually onto a planted bed or into a sewer cleanout. This works for genuinely seasonal use, vacation properties, or installations where any other drain option is impractical, but it is not a real solution for year-round use.
Whatever drain strategy you choose, the P-trap is non-negotiable. The trap holds water that prevents sewer gas from venting backward through the sink, and the trap design has to handle freeze conditions. In cold climates this typically means a heat-traced trap or a removable trap that can be drained for winter.
Freeze Protection: The Engineering That Saves the System
An outdoor plumbing system that freezes once typically destroys itself. Water expands roughly nine percent on freezing, and the expansion ruptures copper or PEX, splits valves, and cracks fittings. The replacement work runs $1,000 to $5,000 and often requires rebuilding parts of the cabinet to access the damaged plumbing.
Three freeze-protection strategies exist, and serious cold climates require all three layered together.
Strategy 1: Drainable installation. The system is designed so all outdoor lines can be drained from inside the heated envelope. This means a shutoff valve inside the basement or garage, with a separate drain valve downstream, that lets you isolate the outdoor system and drain the lines through the drain valve. Properly drainable systems survive any winter because there is nothing to freeze.
The catch is that the homeowner has to actually do the drain procedure each fall before the first hard freeze, and remember to do the reverse procedure each spring. The procedure takes 30 minutes and is the single most important seasonal maintenance task for any outdoor plumbing.
Strategy 2: Heat tracing. Self-regulating heat tape wrapped around the supply lines, plus the trap and exposed sections, prevents freezing during operation. The tape draws minimal power (typically 5 watts per foot) and only activates when the line temperature drops below 38 degrees. Modern self-regulating tape is genuinely robust and reliable, but it requires a dedicated 15-amp circuit, GFCI protection, and an outdoor-rated thermostat.
Heat tracing is the right choice for outdoor kitchens that are used year-round in moderate cold climates (down to 0 degrees), where draining the system every freeze event would defeat the purpose of having a functional outdoor sink in winter. Costs run $300 to $800 for tape and thermostat plus electrical work.
Strategy 3: Insulation everywhere. Closed-cell foam pipe insulation, rated for outdoor exposure, wraps every supply line and every fitting. Insulation alone does not prevent freezing if the temperature stays below freezing for extended periods, but it dramatically slows the freeze rate and works well in combination with either drainable installation or heat tracing.
The National Sanitation Foundation publishes outdoor plumbing material standards, including freeze-protection requirements for systems installed above the frost line, at the National Sanitation Foundation site, and they note that freeze damage is the single most common cause of outdoor plumbing failure in northern climates, accounting for over 70 percent of insurance claims on outdoor kitchen plumbing.
Sink Selection: Material, Bowl Configuration, Faucet Spec
The sink itself matters less than the plumbing behind it, but a few choices have outsized impact on usability.
Sink material should be 16-gauge or heavier 304 stainless steel for almost all outdoor installations. The marine-grade 316 alloy is justified within 5 miles of a coastline. Stamped 18-gauge sinks dent under normal use and amplify faucet noise unbearably. Avoid copper, which patinas inconsistently outdoors and stains; avoid composite sinks, which yellow under UV and crack in freeze-thaw.
Bowl configuration depends on the cooking pattern. A single deep bowl (12 to 14 inches) handles stockpot filling and pot soaking. A double bowl handles wash-and-rinse workflow but uses 36 inches of counter space versus 24 for a single. A small prep bowl (15 inches square) suits compact installations where the indoor sink handles serious washing. Most prep stations work best with a single 24-inch deep bowl, sized to fit a standard sheet pan or a half-sheet pan for soaking.
Faucet specification requires three considerations. The valve mechanism should be ceramic disc, which handles outdoor temperature swings without leaking; standard cartridge valves fail within two seasons outdoors. The finish should be PVD (physical vapor deposition) coated or solid brass, not chrome plated, because chrome plating peels under UV. The spout should be high-arc with a pull-down spray head for pot filling and rinse work.
Brands that make legitimately outdoor-rated faucets include Delta Trinsic Outdoor, Moen Arbor Outdoor, and Rohl Country Kitchen. Standard indoor kitchen faucets installed outside void warranty and fail in 18 to 36 months.
Code Compliance, Permits, and Inspection
Outdoor plumbing requires a permit in virtually every jurisdiction in the United States and Canada. The permit cost is small ($50 to $300 typically) but the inspection process catches the issues that fail the system, so it is genuinely worth the bureaucracy.
The inspector will check several specific items. The backflow preventer has to be the correct type for the application, installed at the proper height (typically 12 inches above the highest downstream connection), and accessible for testing. The shutoff valves must be reachable, ideally from a labeled panel inside the heated envelope. The drain venting has to comply with code, which usually means a 2-inch vent stack tied into the main vent system or an air admittance valve approved for outdoor use.
The National Sanitation Foundation certification, NSF/ANSI 61, applies to any plumbing component in contact with potable water. Verify that supply line materials carry the NSF/ANSI 61 mark; some imported PEX and brass fittings do not, and inspectors will reject the work. The NSF certification database is at the National Sanitation Foundation site.
One detail that surprises homeowners: the dedicated outdoor water heater, if you install one, requires its own permit and inspection separate from the sink plumbing. Tankless gas heaters need combustion air, venting, and gas-line sizing that meets the National Fuel Gas Code. Skipping this permit is the most common reason outdoor kitchen plumbing work has to be redone after a home sale inspection turns up the violation.
Conclusion: A Plumbing Plan That Lasts Decades
Outdoor sink plumbing is more involved than indoor work, but it is also more rewarding because a functional outdoor sink genuinely transforms how the patio kitchen gets used. The single biggest mistake is treating the sink as a retrofit afterthought, hooked up to the nearest hose bib with a temporary drain. The single biggest success factor is planning the plumbing as a code-compliant system from day one, with proper supply, drain, freeze protection, and shutoff design.
Budget-wise, a complete code-compliant outdoor sink installation with hot and cold water, sewer-tied drainage, and freeze protection runs $2,500 to $6,000 in most markets, plus the sink and faucet themselves at $400 to $1,500. The dedicated outdoor tankless water heater, if you choose to add one, runs an additional $1,200 to $2,500 installed. The total of $5,000 to $10,000 for a fully functional year-round outdoor sink is roughly 10 percent of a complete outdoor kitchen budget and contributes more to daily usability than any other single component.
Two questions to bring to the plumber: How does the proposed system handle a hard freeze, because the answer determines whether you can actually use the sink in winter or have to winterize it each fall? And where does the wastewater go, because the answer determines whether you have a true kitchen sink or a glorified hand-rinse station?
If you are scoping a build this season, get bids from three licensed plumbers who have completed outdoor kitchen installations specifically. The work involves code knowledge, freeze engineering, and integration with the building plumbing that general contractors and handymen will get wrong. The premium for a specialist runs 15 to 25 percent over a generalist and is worth every dollar over the 20-year service life of the system.
More Articles You May Like



Comments
Post a Comment