Radiant Barrier Installation In Attic For Cooling Cost Reduction
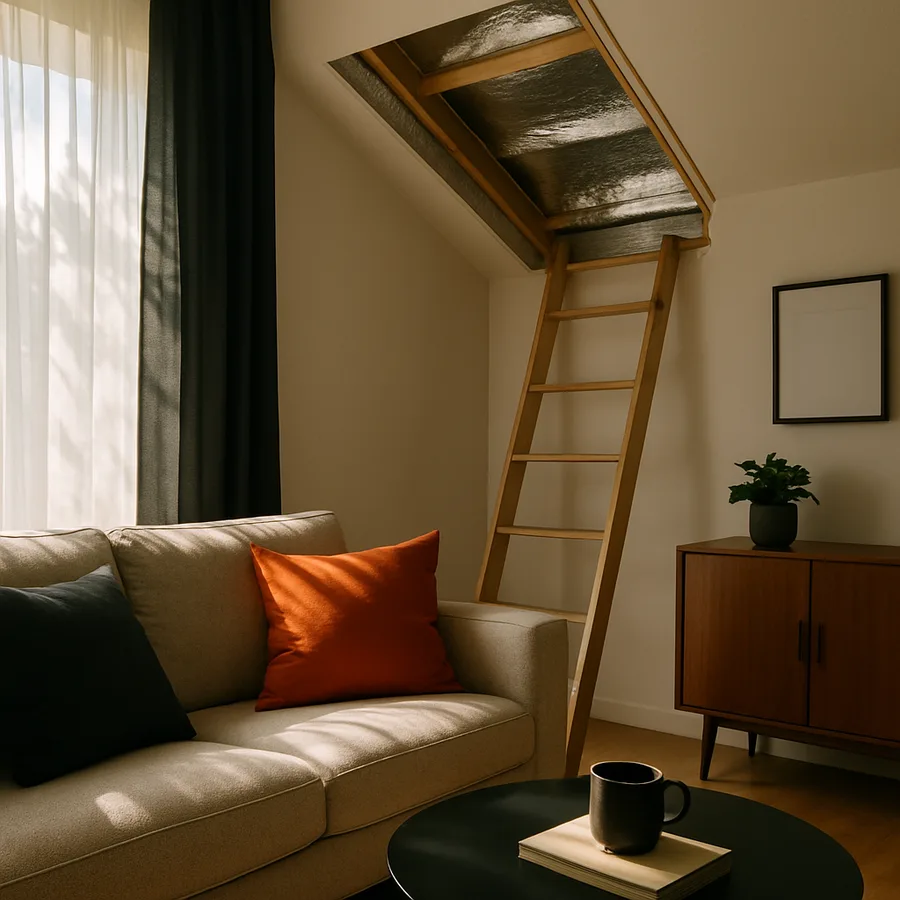
A radiant barrier is one of those building products that sounds almost too simple to work: a thin reflective sheet, usually aluminum foil bonded to a kraft or polyethylene backing, stapled to the underside of the rafters in an attic. Yet in the right climate, with the right installation, it can cut the radiant heat striking your insulation by up to 97 percent and trim summer cooling bills by 5 to 15 percent. The technology was originally developed for the Apollo program to manage spacecraft thermal loads, and it migrated into residential construction through Oak Ridge National Laboratory research in the 1980s. Today, radiant barriers are standard in many new homes across the Sun Belt and increasingly popular as a retrofit upgrade for older houses in Texas, Florida, California, and the desert Southwest. This guide walks through how the product works, when it makes sense, how to install it correctly, and how to avoid the mistakes that quietly cancel out its benefits.
The Physics Of Radiant Heat And Why Reflective Surfaces Matter
Heat moves through three mechanisms: conduction, convection, and radiation. Conventional fiberglass and cellulose insulation are excellent at slowing conduction and convection, which is why they form the primary thermal layer in nearly every home. What they do poorly is stop radiation, the invisible infrared energy that pours off a hot roof deck and travels in straight lines across the attic until it strikes something it can warm, usually your insulation, your ductwork, and your ceiling drywall. On a sunny afternoon, a dark asphalt roof can reach 160 degrees Fahrenheit, and the underside of the sheathing radiates that heat downward whether you have R-38 insulation below or not.
A radiant barrier works by exploiting a property called low emissivity. Polished aluminum reflects roughly 95 to 97 percent of infrared radiation that strikes it and emits less than 5 percent of the heat it absorbs. When you face that reflective surface toward an air space, the barrier breaks the radiative pathway and forces the heat to find another route, usually back through the roof and out into the sky. The U.S. Department of Energy notes that this reflection only works if the foil faces an open air gap of at least three quarters of an inch; pressed against insulation, the foil simply conducts heat like any thin sheet of metal and provides almost no benefit.
Climate Fit And Realistic Savings Expectations
Not every home benefits equally from a radiant barrier, and being honest about climate fit is the most important step in deciding whether to install one. The Oak Ridge National Laboratory study that established the modern performance numbers found that radiant barriers reduce cooling energy by 5 to 10 percent in hot climates with significant solar gain, and by closer to 2 to 3 percent in mixed climates. In cold-dominated climates like Minnesota or Vermont, the savings are negligible and the product may actually trap warm interior moisture in winter, raising the risk of sheathing condensation if not installed thoughtfully.
For a homeowner in Dallas with a $2,400 annual electric bill and roughly half of that going to cooling, a properly installed radiant barrier might save $80 to $180 per year. At a typical installed cost of $0.30 to $0.75 per square foot, a 1,500-square-foot attic adds up to $450 to $1,125 to retrofit, putting payback somewhere between four and ten years. The math improves significantly if you do the work yourself, if your ductwork runs through the attic, or if you live in a climate zone with summer peak electricity pricing where every kilowatt-hour you avoid during a 4 p.m. heat event is worth more than the average rate.
Duct location is the single largest amplifier of radiant barrier benefits. When supply ducts run through an unconditioned attic, the surrounding air temperature directly raises the temperature of the air being delivered to the rooms below. An attic that drops from 140 degrees to 115 degrees through the addition of a radiant barrier puts the ducts in a dramatically cooler environment, which means cooler supply air, shorter equipment cycles, and reduced strain on the compressor. Independent studies referenced by the Lawrence Berkeley National Laboratory have found that homes with attic-routed ducts see roughly twice the energy savings from radiant barriers compared to homes with ducts in conditioned space.
Local utility rebates can also shift the math meaningfully. Several utilities in Texas, Arizona, and California offer incentives between $100 and $300 for radiant barrier installation as part of broader weatherization programs, and these stack with the federal credit when the work also includes air sealing or insulation upgrades.
Product Types And How To Choose
Radiant barriers come in three main forms, each suited to a different installation scenario. Foil-faced sheathing like Georgia-Pacific's ThermoStat or LP TechShield arrives at the framing crew already integrated into the roof deck, which is the cleanest and most effective approach but only an option during new construction or a full re-roof. Reflective foil rolls, typically 48 inches wide and several hundred feet long, are the standard retrofit product and get stapled to the underside of rafters from the inside of the attic. Reflective paint or coating is the third category, but independent testing has shown it performs far worse than foil and the Florida Solar Energy Center generally recommends against it for primary radiant-barrier applications.
Within the foil-roll category, look for products with a perforated or microperforated surface, which allows water vapor to pass through and prevents moisture buildup behind the barrier. Solid foil products can trap humidity and contribute to mold or wood rot, especially in mixed climates where attics see daily condensation cycles. Have you checked your existing attic for signs of moisture issues before adding any barrier material? If you see staining on the sheathing, rusty nail tips, or musty smells, address those problems before installing reflective foil because the barrier will only make hidden moisture worse.
Installation Methods Compared
There are two practical ways to install a radiant barrier as a retrofit, and the choice matters more than most homeowners realize. The rafter-staple method involves stapling the foil to the underside of each rafter, creating a continuous reflective plane just below the roof sheathing with an air gap above. This is the method recommended by the Oak Ridge studies and produces the strongest cooling effect because it intercepts heat before it reaches the attic air. It does, however, require working overhead in a hot, cramped space and is the more labor-intensive option.
The attic-floor method involves laying foil on top of existing insulation across the attic floor. It is much easier to install but performs worse over time because dust accumulation on the upward-facing foil dramatically reduces reflectivity within just a few years. National Association of Home Builders research has shown that attic-floor radiant barriers can lose 25 to 50 percent of their effectiveness within five years due to dust buildup, while rafter-stapled barriers in a sealed attic retain most of their reflectivity for the life of the roof. If you want lasting performance, stapling to the rafters is worth the extra effort.
Step-By-Step Retrofit Process
A typical retrofit installation begins with thorough safety preparation: a respirator rated for fiberglass exposure, safety glasses, long sleeves, sturdy knee pads, and a battery-powered work light bright enough to reveal hazards in the dim corners of the attic. Walk the attic on the joists, never the drywall, and lay temporary plywood paths if needed. Before unrolling any foil, inspect the attic for active leaks, damaged sheathing, exposed knob-and-tube wiring (which must not be covered by a radiant barrier), and recessed light fixtures that require clearance. Mark anything that needs to remain uncovered with painter's tape.
Starting at one gable end, unroll the foil along the rafters and staple it every 6 to 12 inches with a heavy-duty staple gun, leaving a small gap at the ridge and at the soffits for ventilation. The International Code Council recommends maintaining at least a 3-inch ventilation gap at both the ridge and the eave to preserve the attic's airflow path; blocking that flow can dramatically increase shingle temperatures and shorten roof life. Overlap each course of foil by 2 to 3 inches and tape seams with foil tape if your product manufacturer requires it. Plan to spend roughly six to ten hours on a 1,500-square-foot attic if you are working alone.
Common Mistakes That Kill Performance
The single most common installation error is laying foil directly on top of insulation with no air gap, which converts the reflective barrier into a thin conductive sheet that does essentially nothing. The second most common error is failing to maintain ridge and soffit ventilation, which can trap heat under the foil and accelerate shingle aging. Roof manufacturers including GAF and Owens Corning have, in some cases, voided warranties when poor radiant barrier installation contributed to premature shingle failure, so check your warranty terms before starting.
Other frequent mistakes include covering recessed lights that are not IC-rated (which creates a serious fire risk), blocking gable vents, leaving large unsealed gaps in the foil that allow radiative bypass, using staples that are too short to hold the foil securely against vibration from attic fans, and stapling the foil so tightly that the natural air gap between the reflective surface and the sheathing is compressed away. Even a small loss of the air gap, sometimes just a half inch, can cut the effective emissivity benefit by a third because the foil begins to conduct heat rather than reflect it. Have you confirmed that every recessed light in your attic is rated for insulation contact? If any are not, install a fire-rated cover or replace the fixture before the radiant barrier goes in. The Insurance Institute for Business and Home Safety tracks attic fires linked to improper insulation work and consistently identifies recessed lights as a leading cause.
Conclusion
A radiant barrier is not a magic bullet, but in a hot, sunny climate it is one of the most cost-effective attic upgrades available to a homeowner who already has adequate insulation. The product itself is inexpensive, the installation is well within reach of a determined DIYer, and the energy savings compound year after year for the life of the roof. The key is matching the product and method to your specific situation: rafter-stapled, perforated foil with maintained ventilation gaps will outperform any quicker shortcut.
Before you buy a single roll, walk your attic with a thermometer on a sunny afternoon and measure the actual temperature at the ridge. If you are seeing 130 degrees or higher and your ducts run through that space, a radiant barrier will deliver meaningful comfort and cost savings. If your attic stays below 110 degrees because of generous ridge venting and a light-colored roof, the payback will stretch much longer and the money might be better spent elsewhere, perhaps on additional ceiling insulation or air sealing.
If you decide to move forward, plan the project for cool weather when working in the attic is bearable, schedule it before any planned roof replacement so you can coordinate ventilation upgrades, and consider getting a contractor quote alongside your DIY estimate so you have a clear sense of what the labor is actually worth in your market. Schedule a free attic energy assessment with a qualified local contractor before you commit to any product, and ask specifically about radiant barriers, air sealing, and insulation depth as a coordinated package rather than three separate jobs.
Done correctly, a radiant barrier turns your attic from a heat reservoir into a reflective shield, easing the load on your air conditioner, extending the life of any ductwork running through the space, and making the upstairs rooms noticeably more comfortable on the worst summer afternoons. Authoritative resources from the U.S. Department of Energy, the National Association of Home Builders, and the ENERGY STAR program can help you compare specific products, verify R-value claims, and find any local utility rebates that apply to radiant barrier installations in your area.
More Articles You May Like



Comments
Post a Comment