Drapery Rod Length Rules for Wall to Wall Window Treatments
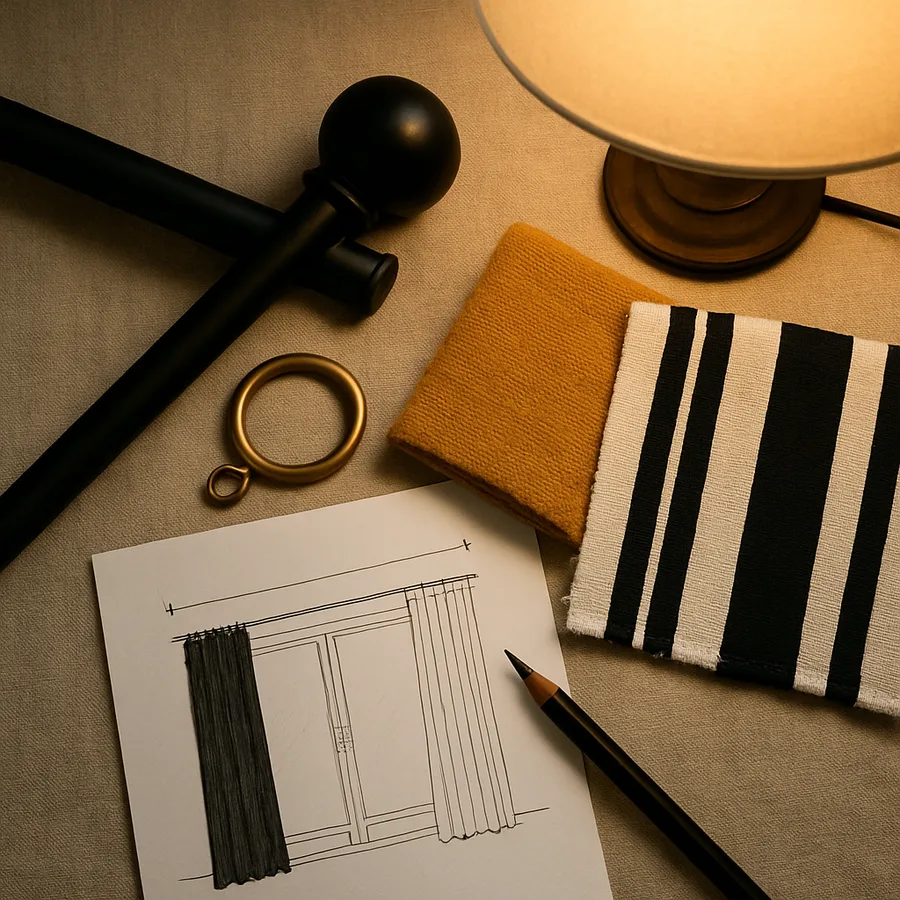
Drapery rod length is the quiet variable that decides whether a wall of windows looks expansive and luxurious or cramped and apologetic. Too short and the panels block daylight when open, leaving the room feeling smaller than it is. Too long and the panels never reach the wall they are meant to terminate against, creating a sloppy gap that no amount of beautiful fabric can disguise. The rules that govern correct rod length are not subjective. They derive from three measurable variables, the stack-back of the panels themselves, the extension beyond the window casing, and the relationship between rod length and ceiling height, and once you know those numbers the answer is almost mechanical.
This guide walks through the math, the proportional rules, and the small mounting decisions that turn a simple rod purchase into a window treatment that actually performs. We focus on the wall-to-wall scenario, where the rod spans the entire wall rather than treating a single window in isolation, because that is the case where most homeowners get it wrong and the case where the cost of a mistake is highest.
The Stack-Back Rule, Where Most Mistakes Begin
The first principle of rod sizing is stack-back: the horizontal width that drapery panels occupy when fully drawn open. If you do not plan for stack-back, the panels block a portion of the window even when open, which is the most common visual failure in residential drapery. Pinch-pleat panels stack back at roughly 12 to 18 percent of their flat fabric width. Grommet and rod-pocket panels stack at about 25 to 33 percent. Ripple-fold and S-fold panels, the modern continuous-wave style, stack at roughly 18 to 22 percent.
The practical implication is that a rod must extend beyond the window opening on each side by enough distance to accommodate the stacked panel. For a single window 60 inches wide treated with pinch-pleat panels in a fabric width of 100 inches, each side needs roughly 9 inches of stack-back room beyond the glass. The rod should therefore extend at least 9 to 12 inches beyond the casing on each side, for a total rod length of 60 plus 18 to 24, or 78 to 84 inches.
For wall-to-wall installations, the math compounds. If you have three windows of 36 inches each, separated by 12 inches of wall, and the wall is 156 inches across, you do not simply hang a rod that spans the windows. You hang a rod that spans the entire wall, with stack-back planned at the two outer ends only, since the panels in the middle simply slide along the rod from one window to the next. The Window Coverings Association of America's installation guidance through WCAA professional resources recommends a continuous rod across the full wall whenever the gaps between windows are less than the stack-back depth of a single panel.
Extension Beyond the Casing, the Visual Multiplier
Even when stack-back is not a constraint, extending the rod beyond the window casing is one of the highest-leverage moves in window treatment design. A rod that ends right at the casing makes the window look its actual size. A rod that extends 8 to 12 inches beyond the casing on each side makes the window look 16 to 24 inches wider than it actually is, because the eye reads the panel width as part of the window opening.
The standard rule is to extend the rod between 8 and 16 inches past the casing on each side, with the larger number reserved for taller rooms and grander windows. For wall-to-wall installations, this rule is replaced by a simpler one: the rod terminates roughly 4 to 6 inches before the side wall, with the panel itself terminating against or near the wall when fully drawn closed. The visual goal is for the panel, not the rod, to reach the side wall.
Have you measured the actual distance from your last window's casing to the side wall? In many homes that distance is 18 inches or less, which means the rod extension and the wall distance are nearly equal, and the choice is between a long extension that looks luxurious and a shorter extension that lets you walk past the panels without brushing against them. The Better Homes and Gardens drapery design guidance recommends prioritizing visual proportion over walking clearance unless the panels actually obstruct a doorway or air return.
Mounting Height and the Vertical Proportion
Rod length and mounting height work together to create the visual proportions that decorators care about. The mounting height rule is to install the rod between 4 and 8 inches above the top of the window casing, or to install it within 2 to 4 inches of the ceiling, whichever is higher. The latter, called ceiling-height drapery, is now the dominant residential trend because it visually heightens the room and makes panels read as architectural rather than as simple window covers.
For wall-to-wall installations, ceiling-height mounting is almost always correct. The continuous horizontal line of the rod, parallel to the ceiling and high above the windows themselves, creates a strong horizontal frame that makes the entire wall feel taller and more deliberate. A rod mounted just above each window casing, in contrast, draws attention to the inconsistencies between window heights and breaks the wall into separate visual zones.
Panel length follows from mounting height. Panels should either kiss the floor with a clearance of one-eighth to one-quarter inch, break softly with one-half to one inch of fabric resting on the floor, or puddle dramatically with two to six inches of fabric pooling at the floor. The American Society of Interior Designers, in materials available through ASID's design resources, generally recommends a soft break in family rooms and primary bedrooms because it forgives small floor-level inconsistencies that a kiss-the-floor specification would expose.
Hardware Sizing and Bracket Spacing
Once rod length is determined, hardware sizing follows from two factors: rod diameter and bracket spacing. Rod diameter scales with the length and weight of the panels. For rods up to 96 inches long carrying medium-weight cotton or linen panels, a one-inch diameter rod is adequate. For rods 96 to 144 inches long, step up to one and three-eighths inches. For rods 144 to 240 inches long, which is common in wall-to-wall installations, use one and three-quarters or two-inch diameter to prevent visible sag between brackets.
Bracket spacing is the often-forgotten companion rule. Standard bracket spacing for residential rods is 36 to 48 inches between brackets, with an additional bracket within 4 to 6 inches of each end of the rod. For long wall-to-wall installations of 12 feet or more, plan on at least three center brackets in addition to the two end brackets, and choose passing brackets rather than fixed brackets so that drapery rings can slide past them when opening and closing.
Wall anchoring matters more than buyers realize. The American Furniture Hall of Fame Foundation, drawing on research summarized at the AHFA industry archive, notes that drapery hardware in wall-to-wall installations can carry between 40 and 120 pounds of total fabric weight when fully extended. Drywall anchors rated for at least 50 pounds per fastener are the minimum, and brackets at the rod ends should be screwed directly into wall studs whenever possible.
Proportional Math for the Wall as a Whole
The proportions that make a wall-to-wall drapery installation feel deliberate rather than improvised are easier to specify than to describe. The rod should run within 2 to 4 inches of the ceiling, ideally aligned with the top of any adjacent door casings to maintain a consistent horizontal datum across the room. The rod should terminate 4 to 8 inches before each side wall, with the panel reaching to or nearly to the side wall when drawn closed.
The total fabric width should be 2.0 to 2.5 times the rod length for pinch-pleat panels, 1.8 to 2.2 times the rod length for ripple-fold or S-fold panels, and 2.5 to 3.0 times the rod length for sheer panels behind a primary drapery layer. These multipliers ensure that the panels look genuinely full rather than stretched flat across the rod when closed, which is the universal mark of an under-fabricated drapery treatment.
For a 156-inch wall with a rod terminating 6 inches before each side wall, the rod is 144 inches long. With pinch-pleat panels at 2.25 times fullness, you need 324 inches of total fabric width, which typically translates to four panels of 81 inches each or six panels of 54 inches each. The decision between four panels and six panels depends on whether you want the panels to part at distinct points along the wall, perhaps centered between the windows, or to read as a continuous expanse of fabric when partially closed.
Functional Adjustments for Real-World Constraints
Real walls rarely cooperate perfectly with the proportional rules. Air-conditioning return vents, electrical outlets, art installations, and architectural features all require small adjustments to the rod placement. The rod should generally be installed at least 4 inches above any return vent to prevent the panels from pulling against airflow. Outlets behind drapery panels are not a code problem, but they are inconvenient to use, so plan accordingly when arranging furniture against the wall.
Motorized drapery hardware, increasingly common in primary suites and great rooms, adds two constraints. First, the motor housing typically projects 2 to 4 inches behind the rod, which means ceiling-height mounting may interfere with crown molding. Second, the motorized track usually has a fixed length range that must be specified at order, with no field adjustment possible. The Occupational Safety and Health Administration OSHA workplace safety guidance on electrical accessory installations recommends professional installation for any motorized track that requires hardwired power, both for code compliance and for warranty reasons.
One last constraint that catches buyers is the relationship between drapery and adjacent furniture. A sofa pushed against the wall directly under a window will press against the bottom of the panels when they are drawn closed, eventually stretching and distorting the hem. Plan a 6 to 12 inch clearance between the sofa back and the wall, or specify panels that stop just above the sofa back, with a coordinating cellular shade or roller blind handling privacy below that line.
Conclusion
The rules for drapery rod length on a wall-to-wall installation come down to three calculations: stack-back, extension, and ceiling-height mounting. Plan for adequate stack-back so that panels clear the windows when open, extend the rod close enough to the side walls that the panels appear to span the full architectural width of the wall, and mount the rod within a few inches of the ceiling to maximize vertical proportion. The math is simple once you know the multipliers, and the visual difference between a rod sized correctly and a rod sized wrong is the difference between a custom-quality result and a generic one.
If you have to compromise, compromise on extension before stack-back. A panel that blocks a quarter of the window when open is a daily annoyance and a significant loss of daylight. A rod that extends six inches less than ideal but still clears the window is barely noticeable in real use. Stack-back is the rule you cannot break without consequence; extension is the rule you can bend slightly when budgets or wall conditions force a tighter installation.
One of the most useful practices is to mark the proposed rod position in painter's tape on the wall before any holes are drilled. Stand back twenty feet, look at the line, and adjust until the proportions feel right relative to the doors, the ceiling, and the furniture. Drapery hardware is one of the few residential design decisions that you live with for ten or twenty years; the fifteen minutes spent taping out the position is the cheapest insurance you can buy.
Pull out a tape measure tonight and record three numbers for each window wall in your home: total wall width, ceiling height, and casing-to-side-wall distance on each end. Bring those numbers to a workroom or your designer, and ask them to calculate stack-back, extension, and panel fullness for two or three pleat styles. The estimate they produce will be more accurate than any catalog photo and will save you a six-month wait for a reorder.
More Articles You May Like



Comments
Post a Comment